Charger & Compatibility

NeoBlade Support
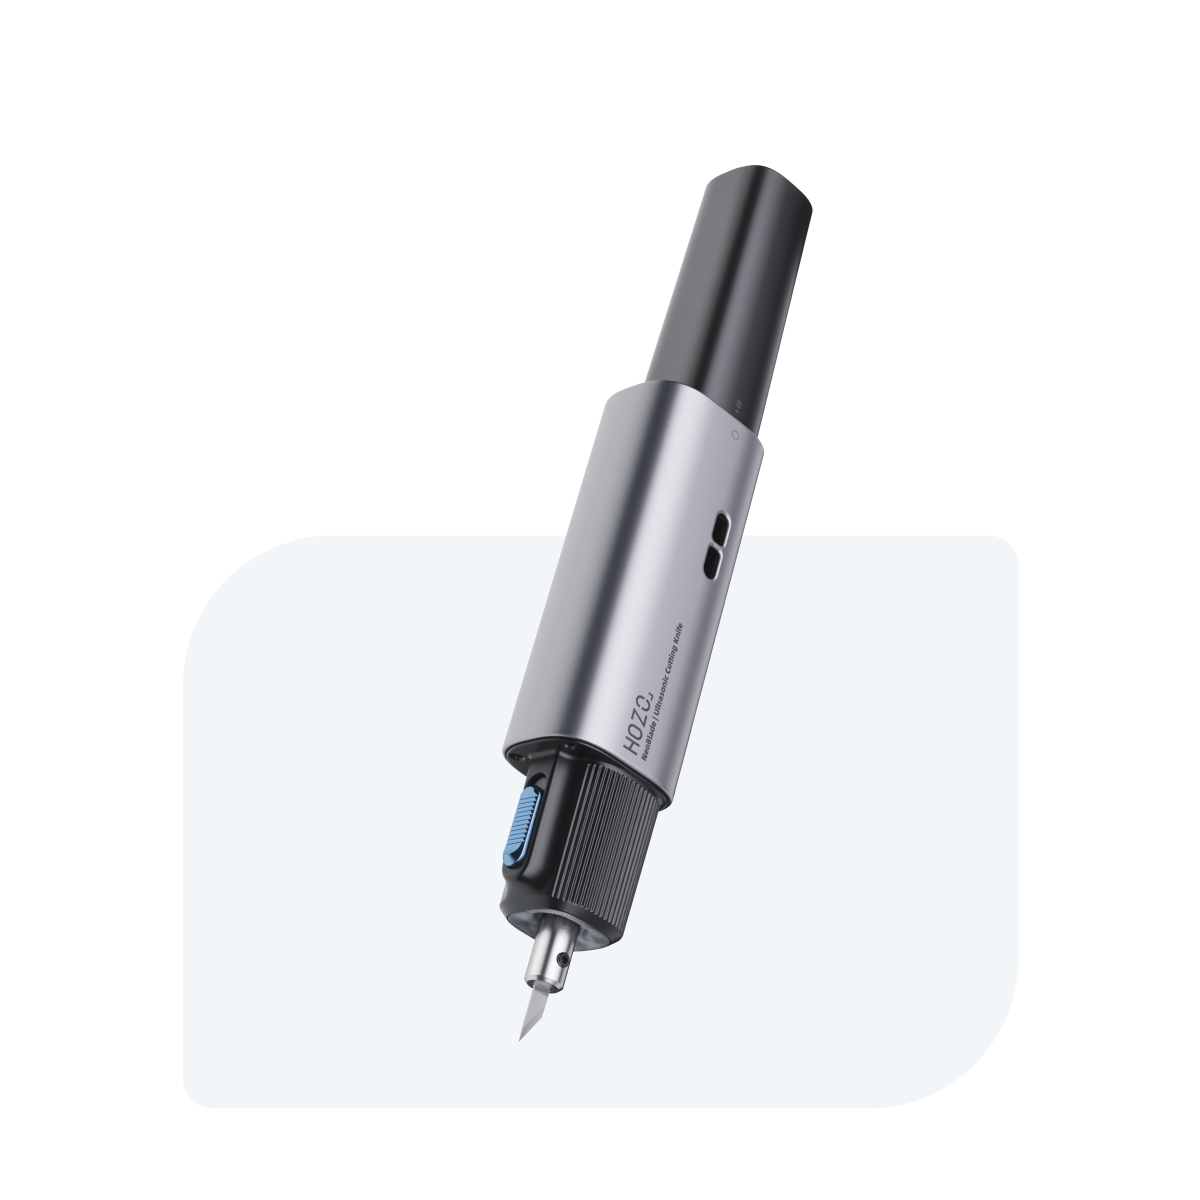
Everything You Need to Know About NeoBlade!
NeoBlade supports any Type-C PD charger of 20W or higher that includes a 12V PD profile. Even if you use a 100W charger, PD negotiation ensures that only the required 12V profile is used, so the device will not be damaged.
Cable requirement: PD Type-C.
Turbo Dock & Charging
- Dock self-test: When powered on, both LED rows light for ~2 seconds and then turn off. This indicates normal status.
- Contact seating: Ensure the battery pins are fully aligned with the dock’s spring pins. Press the battery firmly.
- Check for obstructions: Verify that dock pins aren’t broken or blocked by debris.
- Contact oxidation: Clean the battery contacts with an alcohol wipe to remove oxidation.
The main unit in the dock doesn’t show charging—what should I check?
Confirm the charging pads on the main unit are clean and free of dirt or debris.
Confirm the charging pads on the main unit are clean and free of dirt or debris.
About 30 minutes for either the main unit or the battery pack.
No. The dock prioritizes charging the NeoBlade first. Once full, it automatically switches to charge the battery.
Blinking LEDs on the top row = NeoBlade charging. Battery LEDs indicate current charge level (each LED ≈ 25%). Once the NeoBlade is full, the dock charges the battery.
Battery & Power
- Rotate to the Child-Lock position, then back to ON to ensure proper contact.
- Clean the three battery contacts with an alcohol wipe.
- The battery is low and needs recharging.
- The contacts may be oxidized—clean the three battery points and retry.
Blades & Installation
The blade screw may not be tightened enough. Gradually tighten until secure—do not overtighten.
- Repeated over-tightening can strip the threads. Replace the screw.
- Do not fully remove the screw when swapping blades. Loosen about 1.5 turns to release the blade, insert the new one, then re-tighten.
Operation & Safety
- If a blade breaks, let the tool cool for 1 minute before handling.
- Start with the tip down, adjusting pressure based on material hardness.
- Avoid sudden direction changes to prevent bending or breaking the blade.
- Keep your other hand at least 1 inch (2.5 cm) away from the blade.
- Ensure the screwdriver fits the screw slot before tightening—apply gradual force.
- Do not forcefully twist the battery during installation.
If abnormal noise occurs and the screw is tight, replace the blade immediately.
- Clean the battery’s three contacts regularly.
- Attach the protective cover when not in use to prevent accidental injury.
- For long-term storage, turn the battery to the Child-Lock position to reduce idle drain and extend lifespan.
LED Indicators
Battery level: Blue >60% · Yellow >30% · Red = Low / poor contact.
Charging: White (breathing) = charging · White (steady) = full.
Operation: Blue = normal cutting · White = high power · Yellow = error.
Dock (continuous-mode switch): Two blue LEDs stay on while charging; they turn off after ~2 minutes.
Video Tutorial
User Manual Download


