





Fine sanding is rarely difficult because the surface is large. It is difficult because the area is small, the edges are easy to soften, and one extra pass can remove a ridge or change a carefully printed detail. Makers often combine nippers, a hobby knife, sanding sticks, glass files, and several grits instead of relying on one tool for every job.
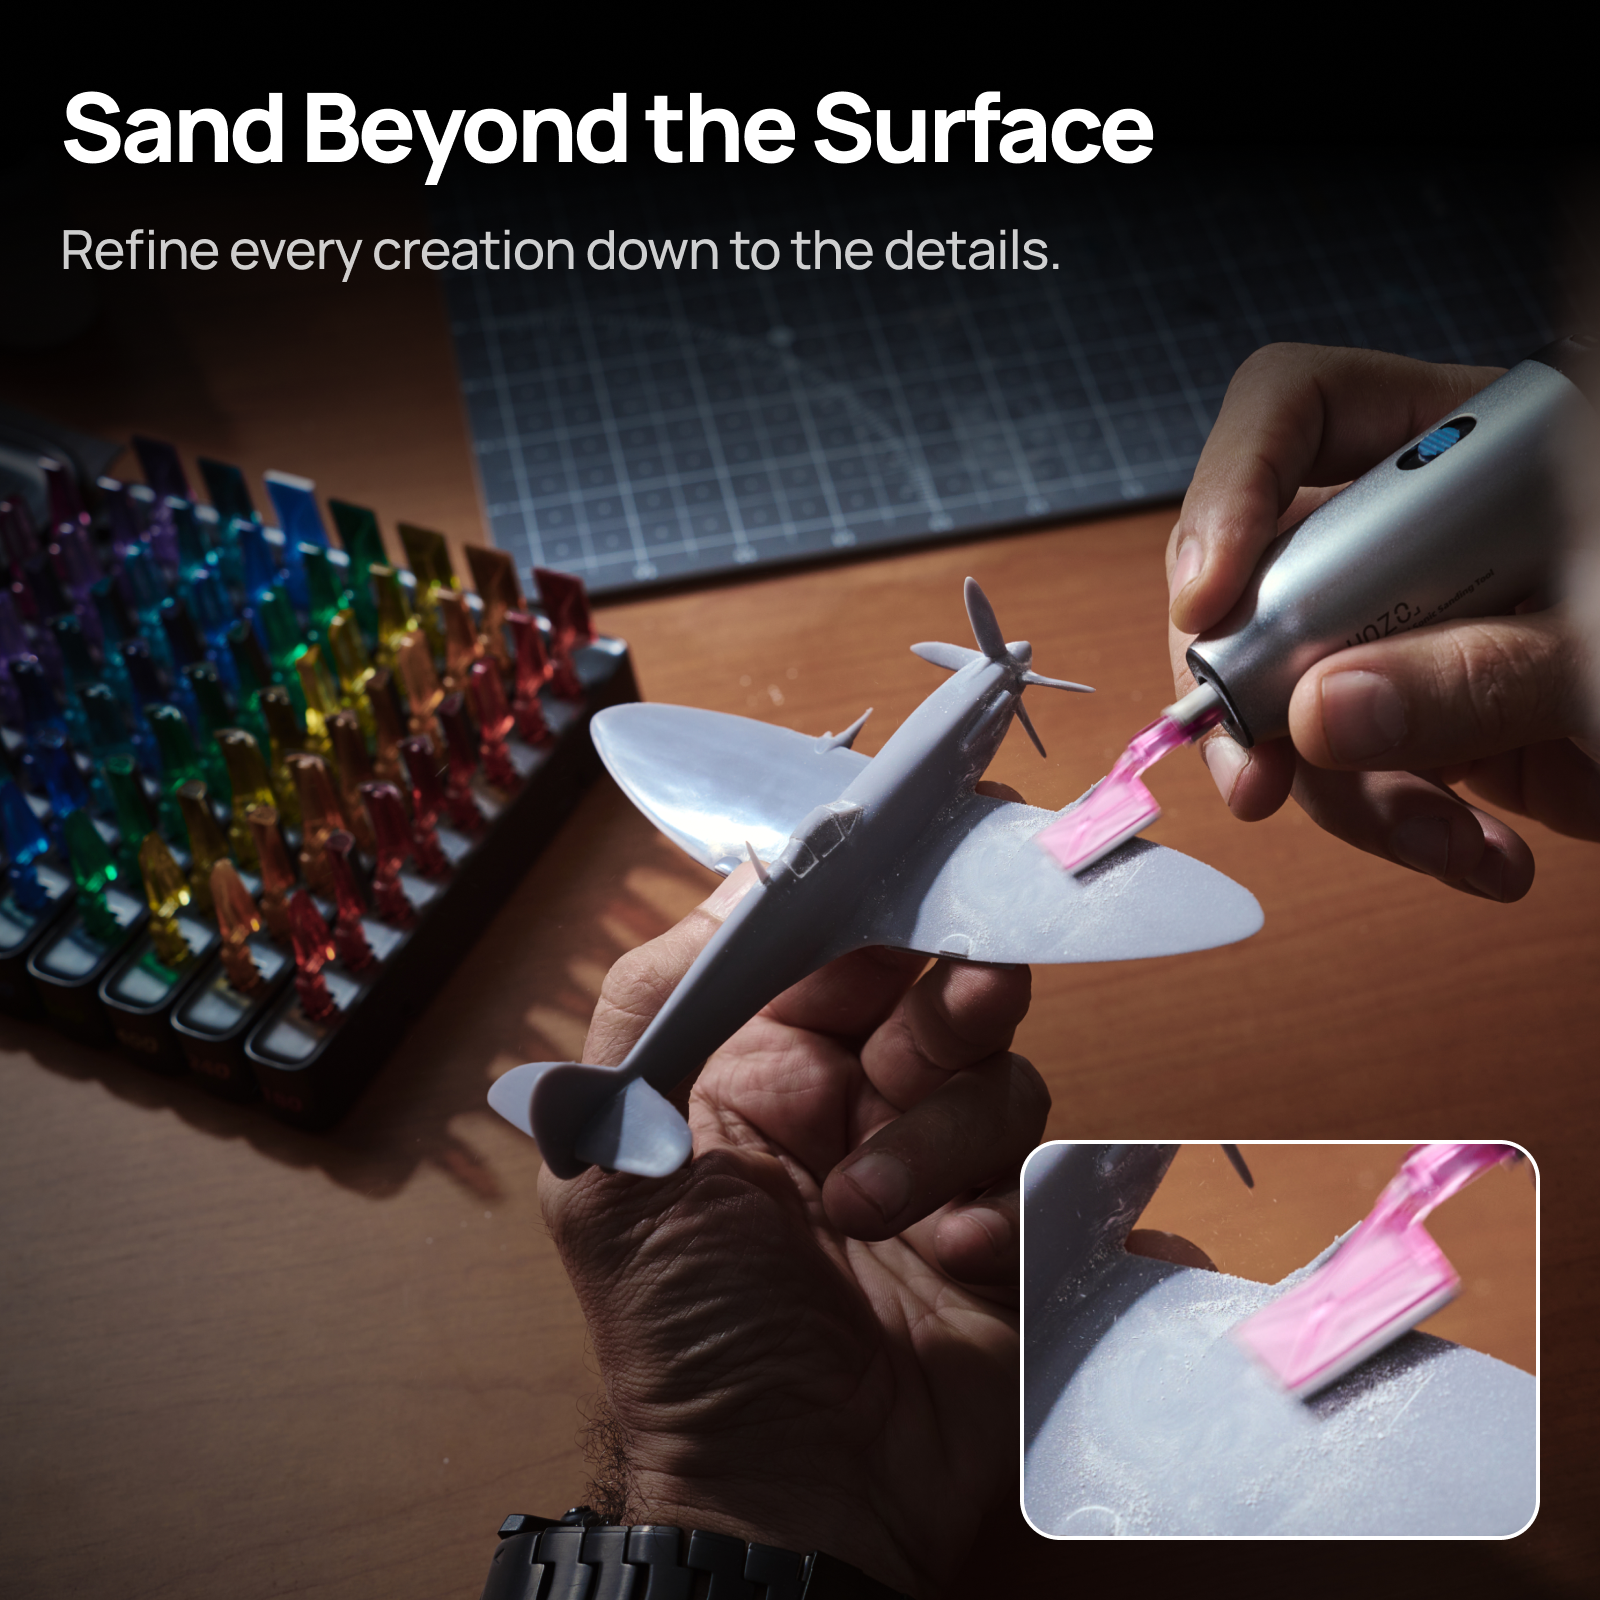
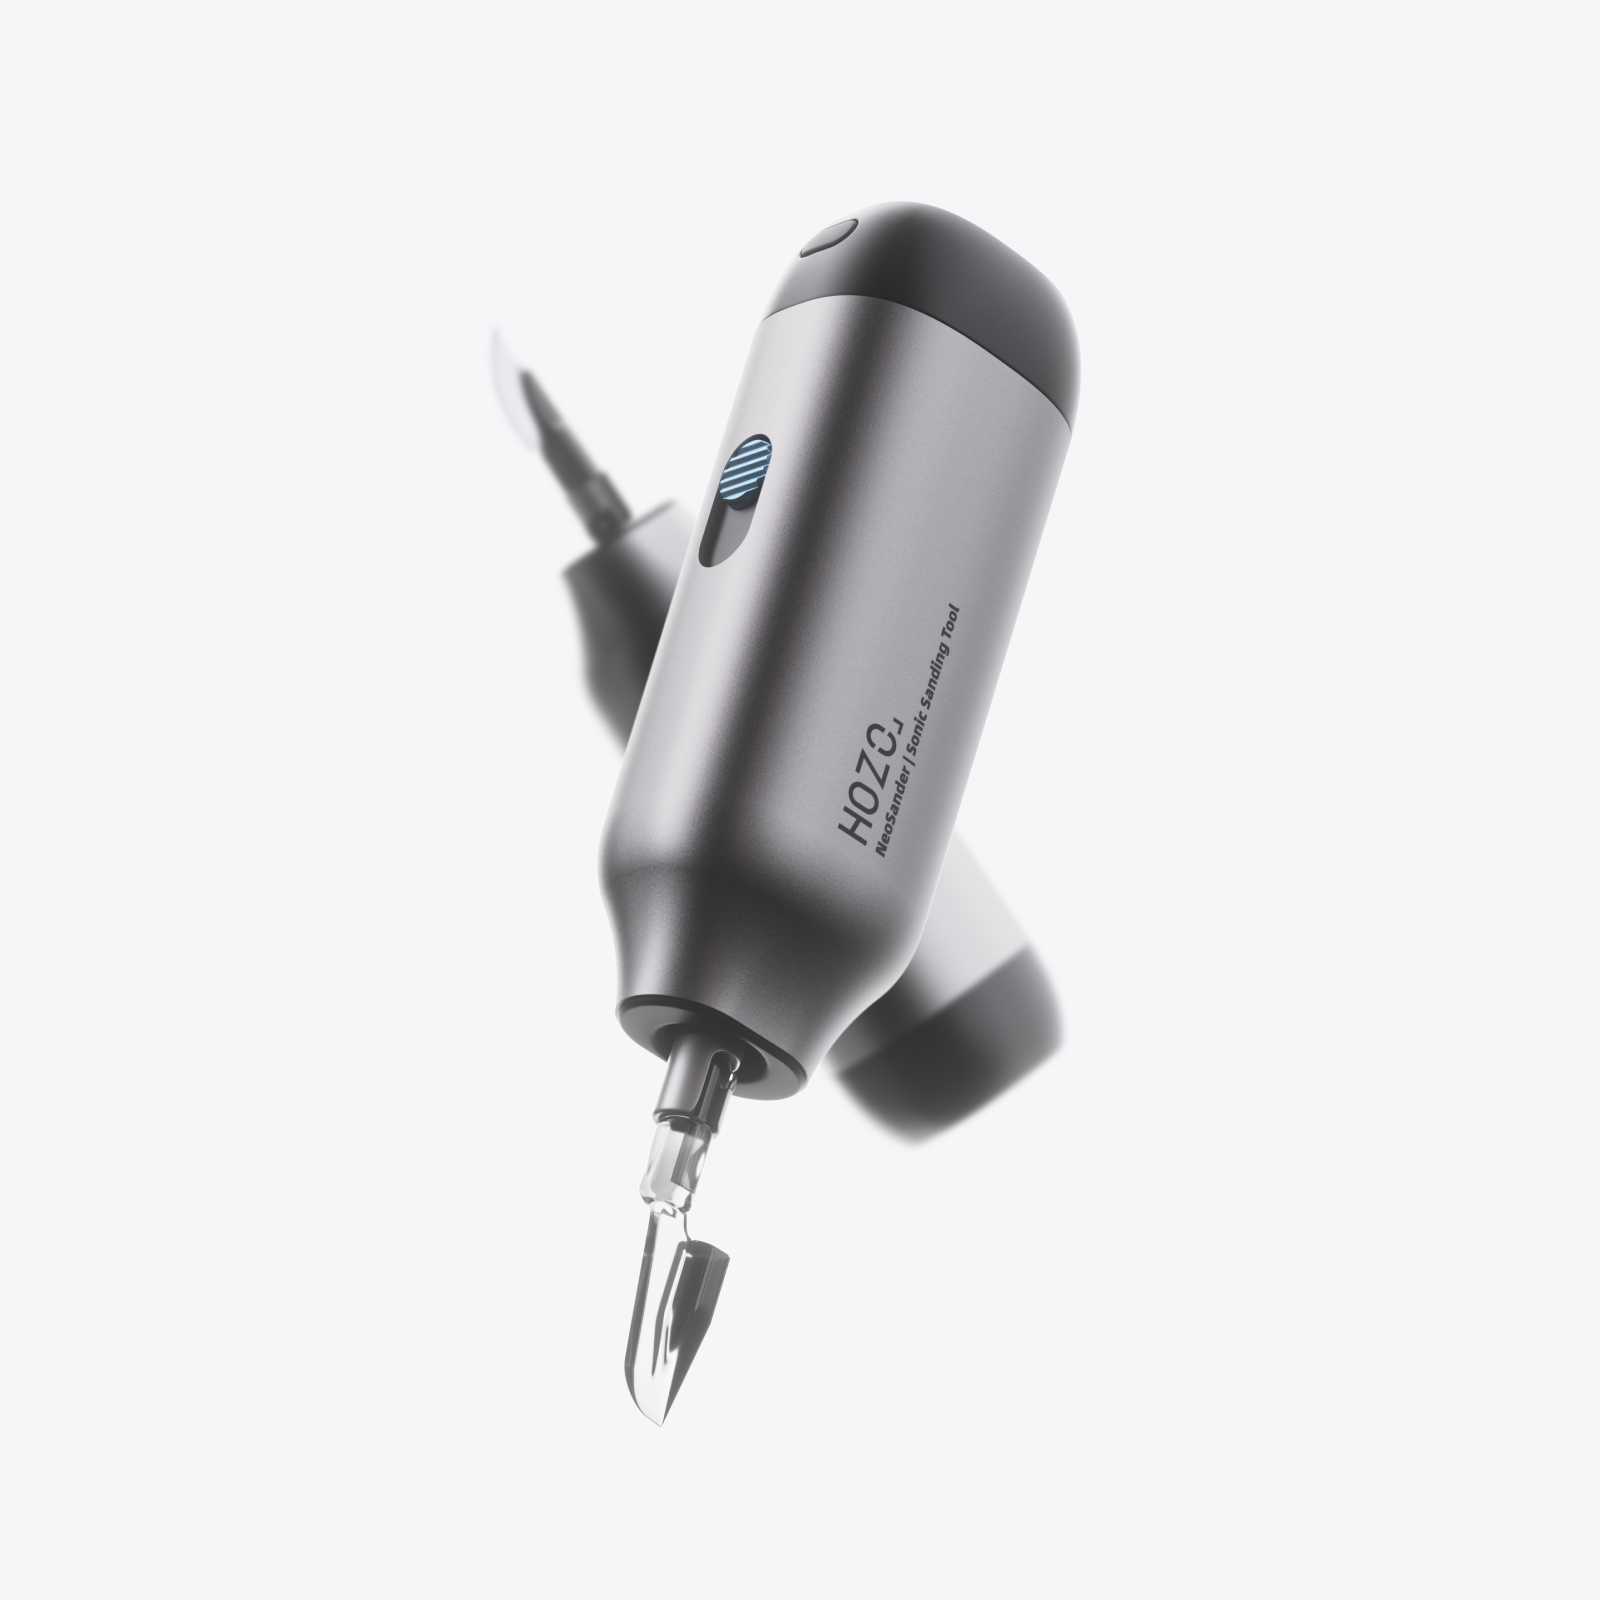
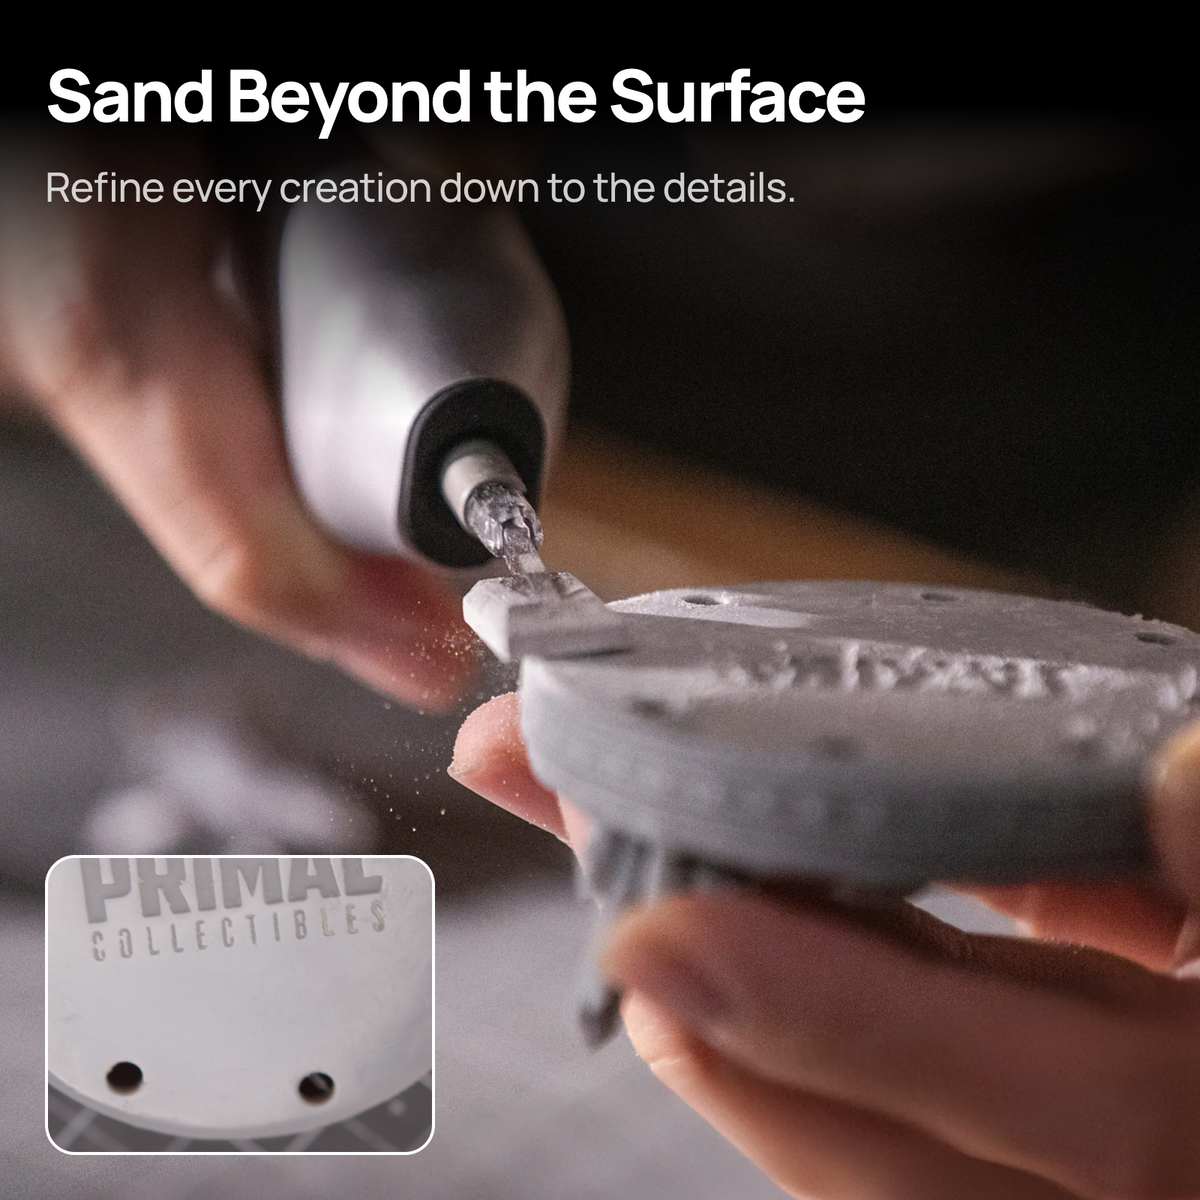
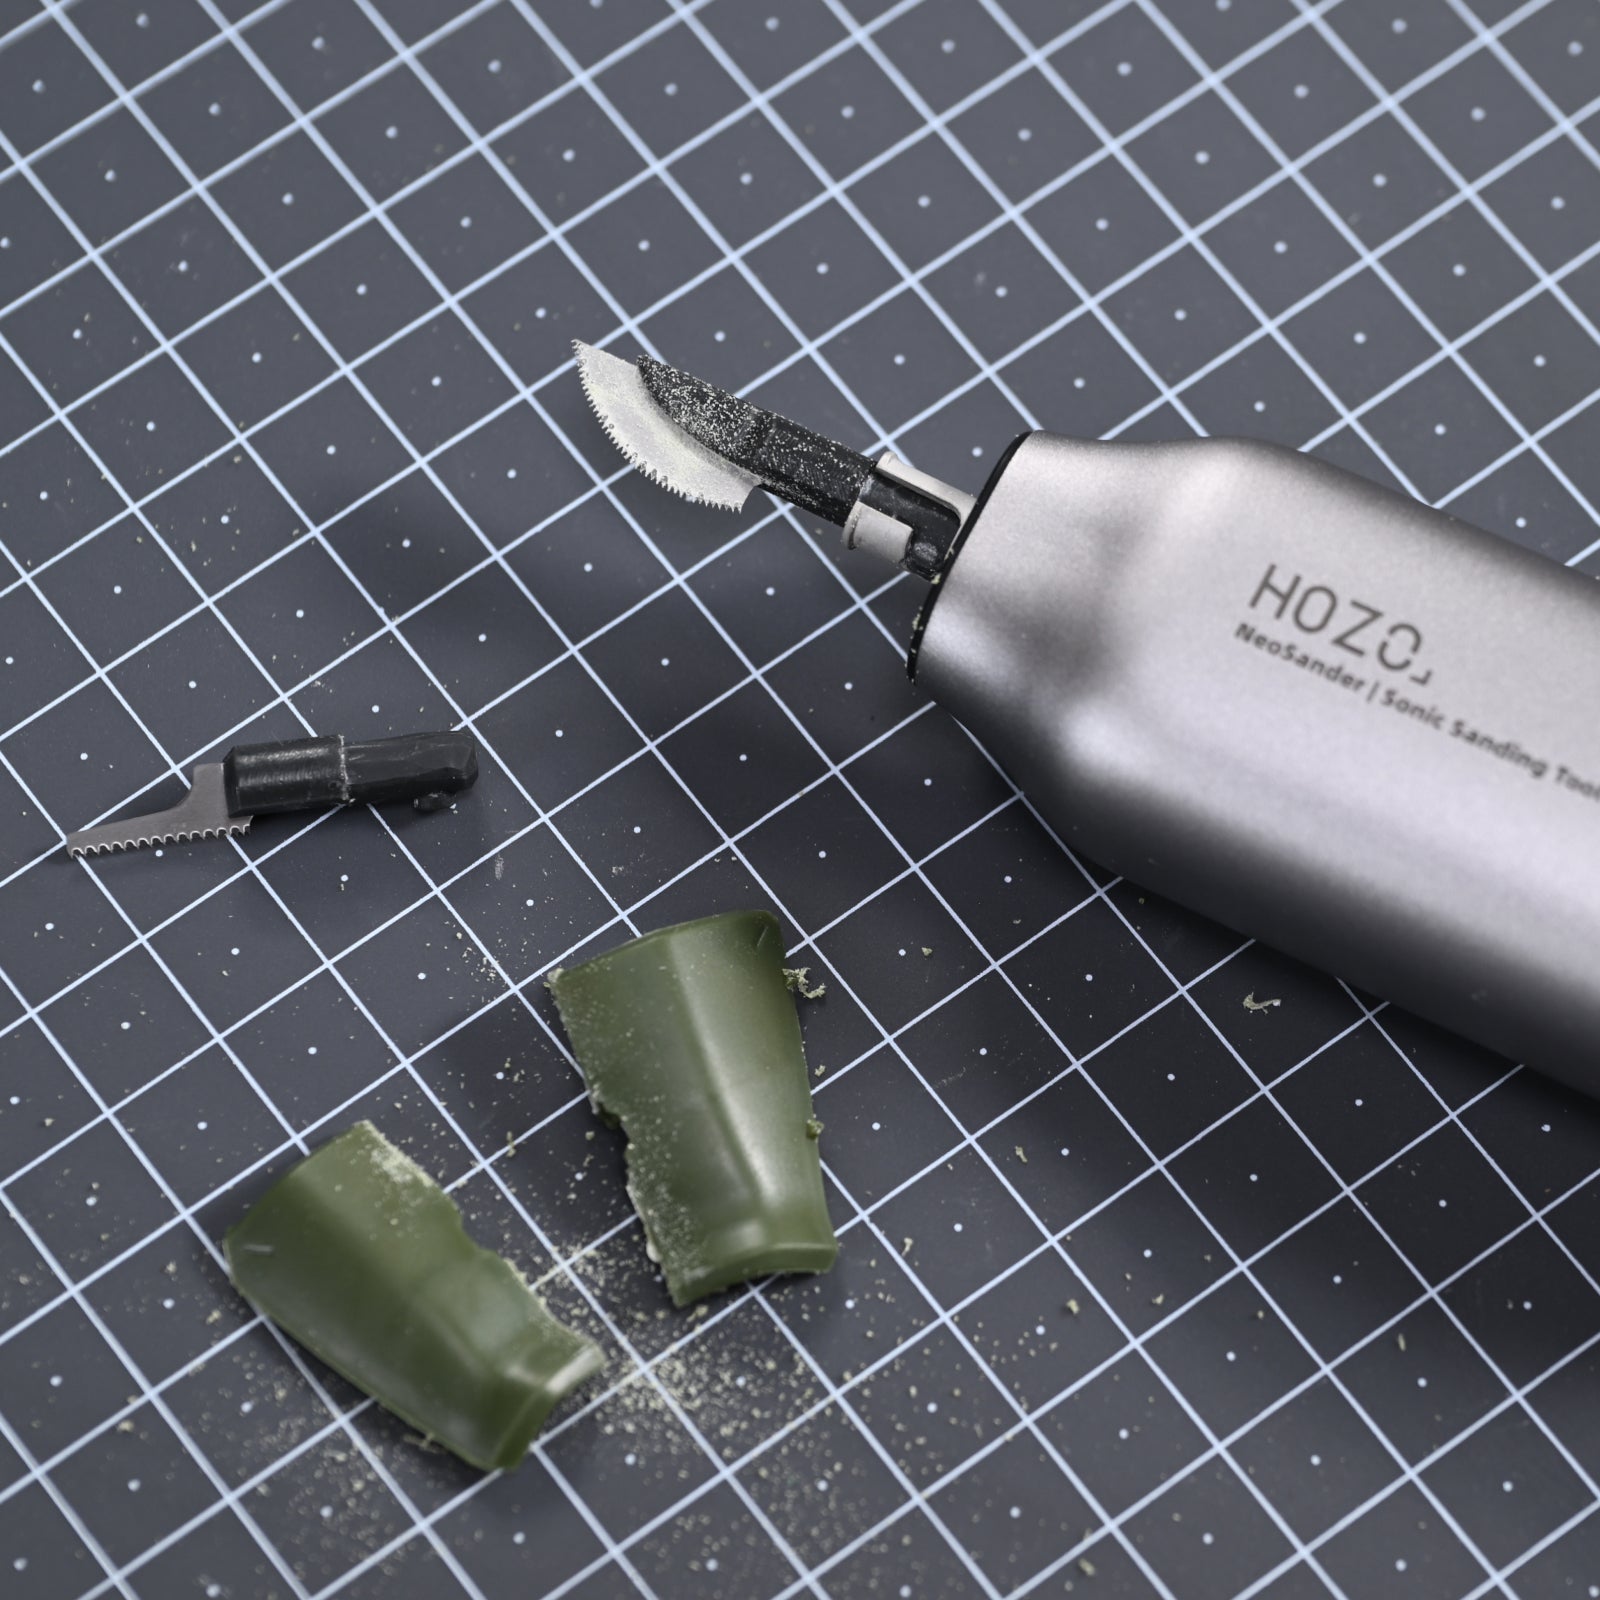
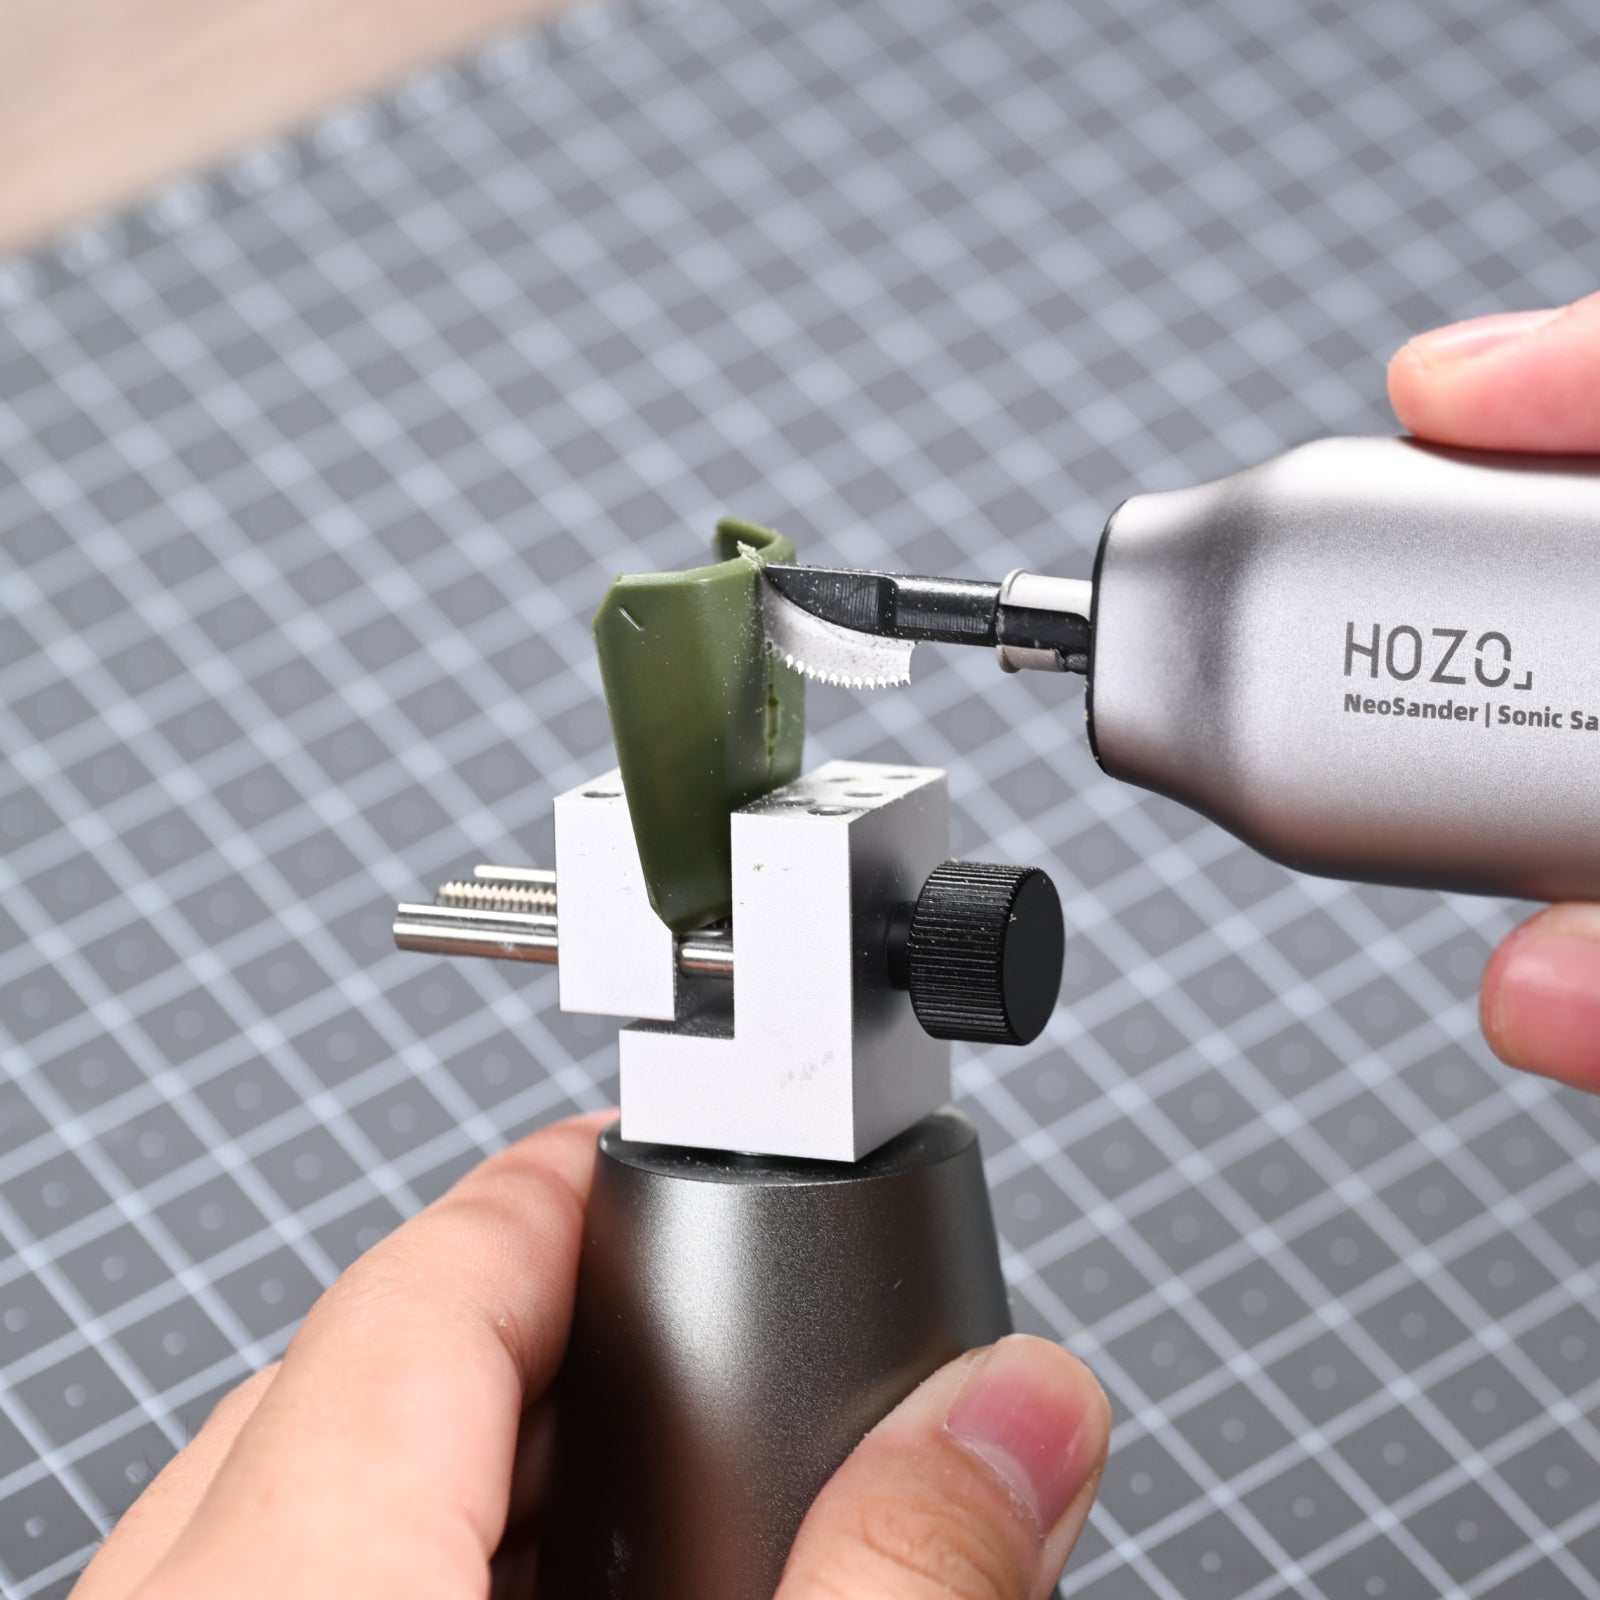
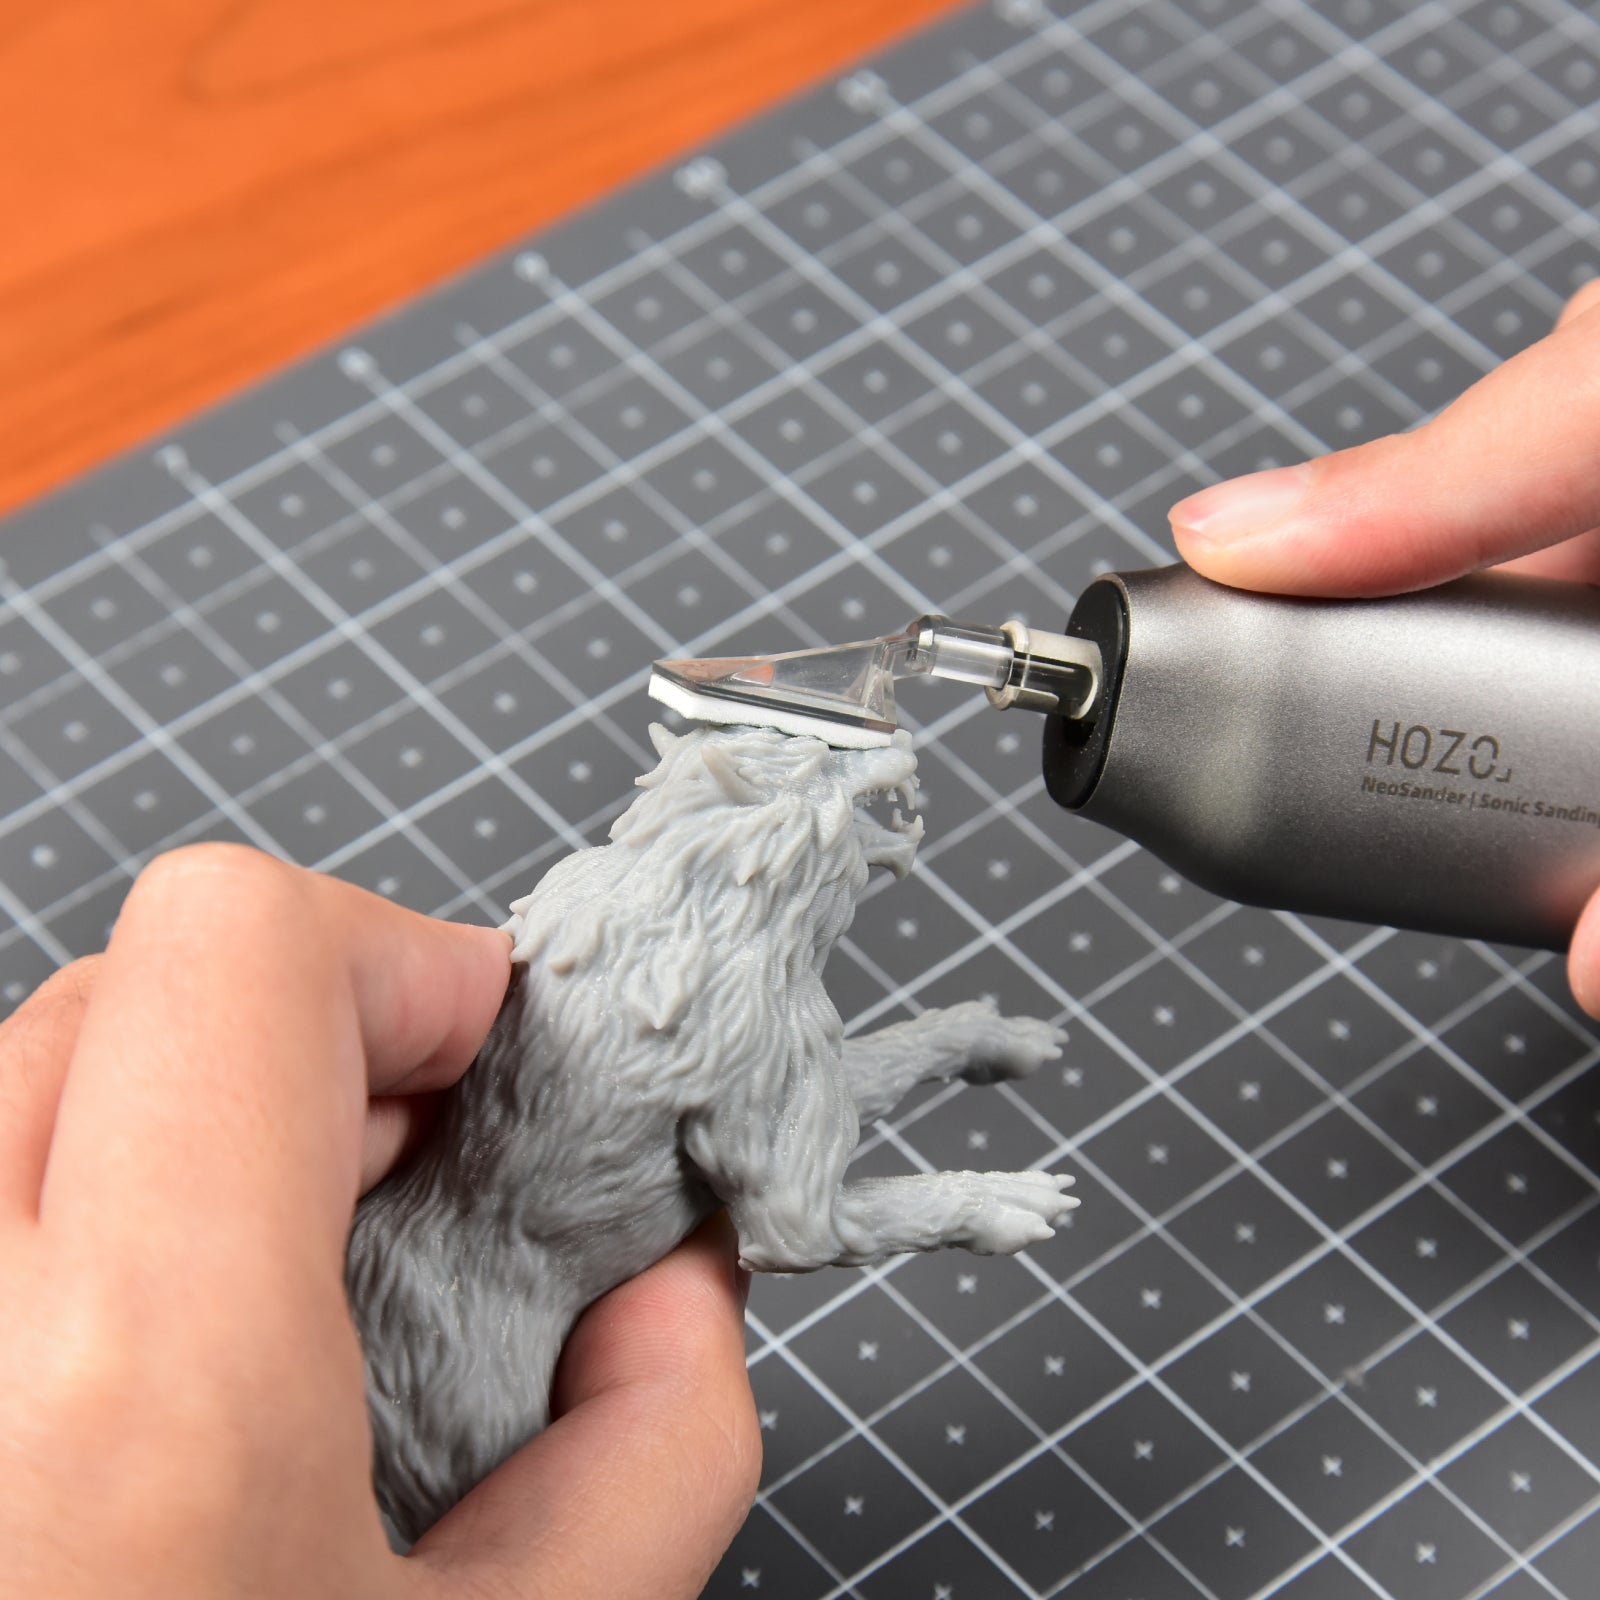
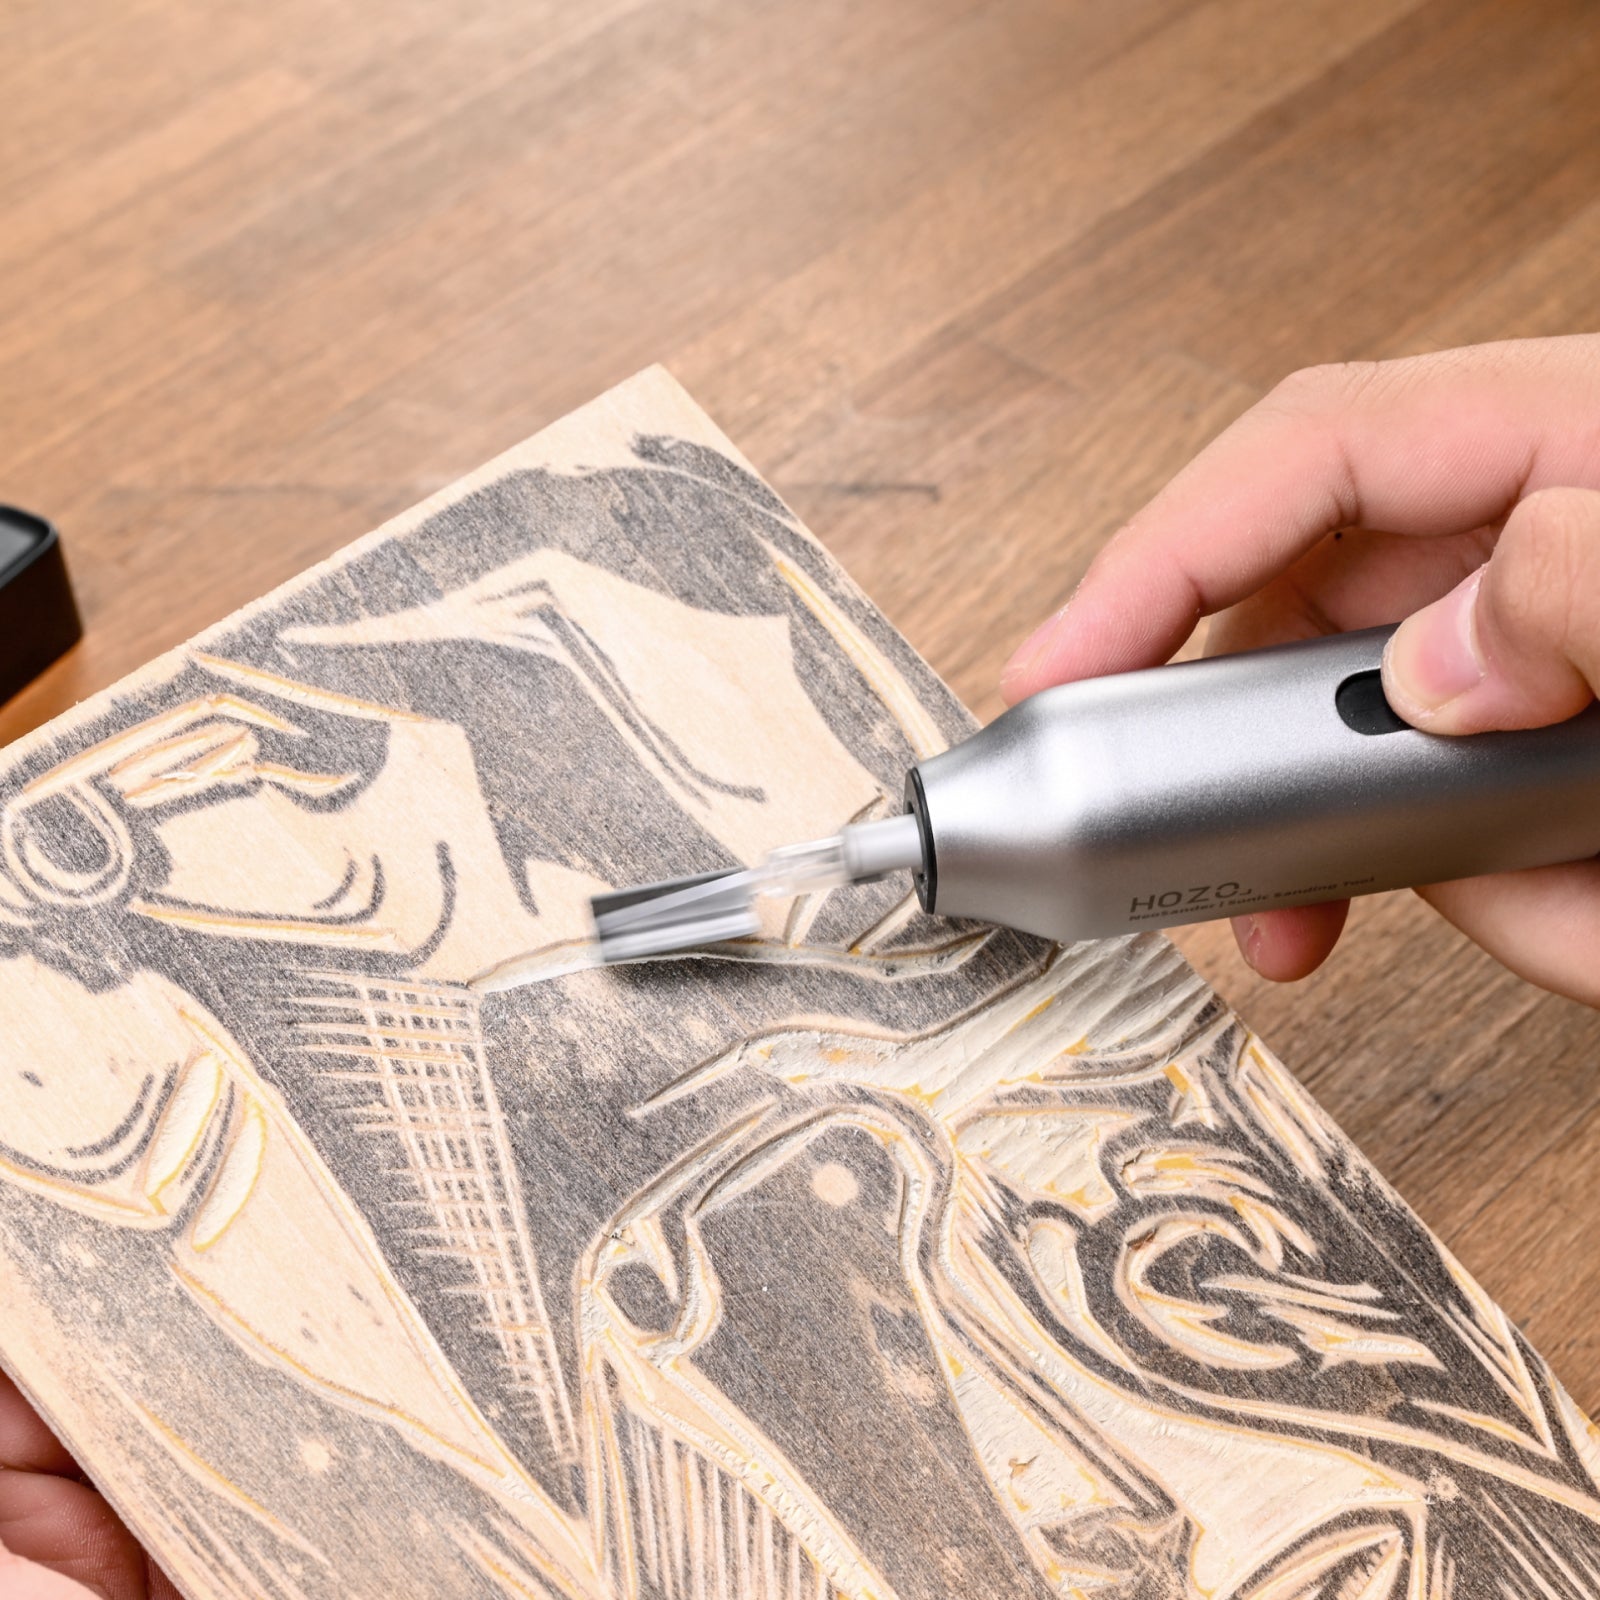
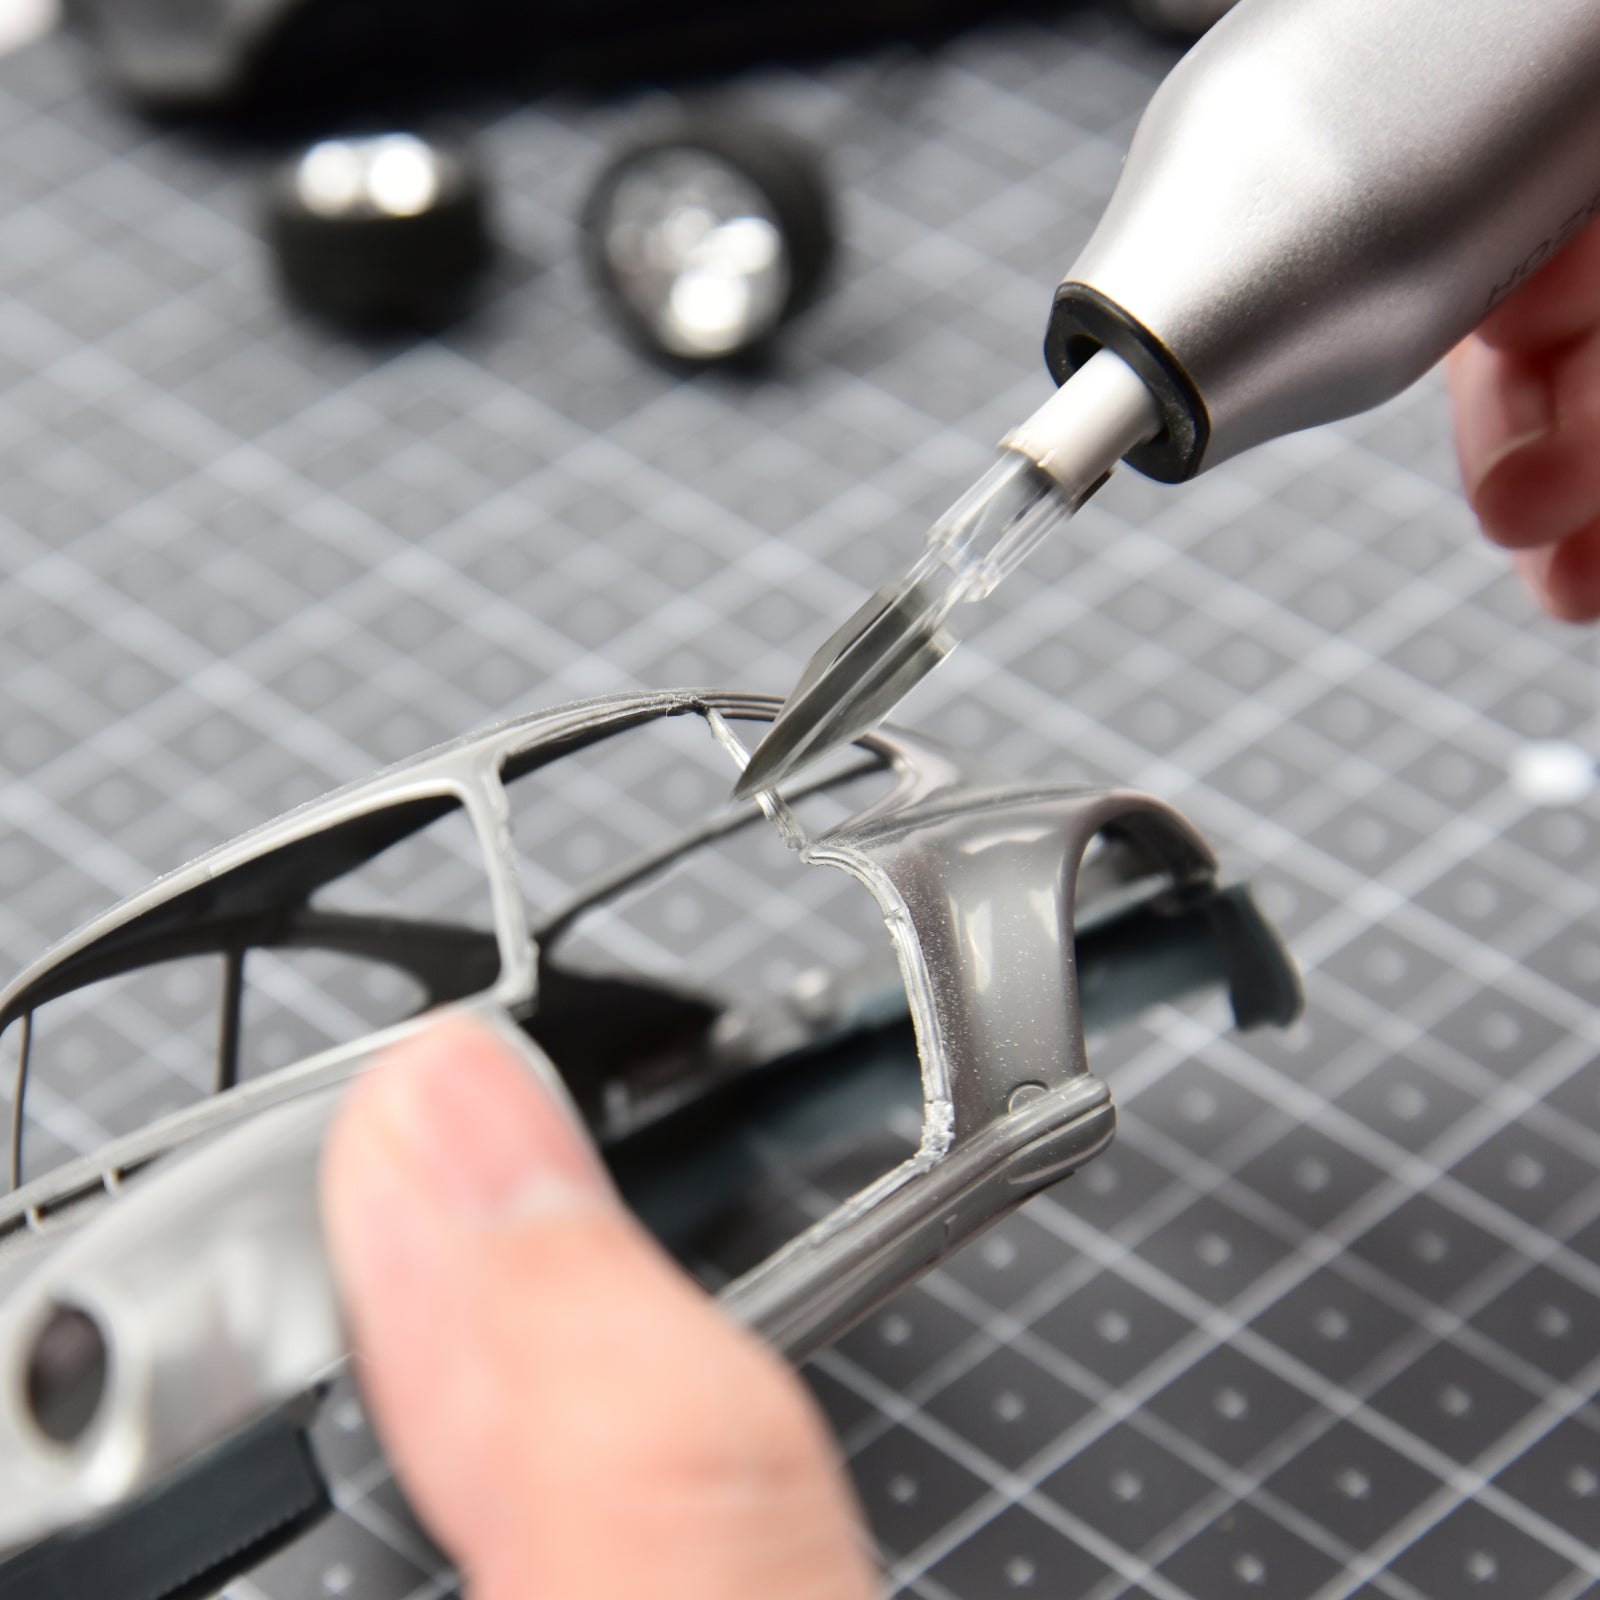
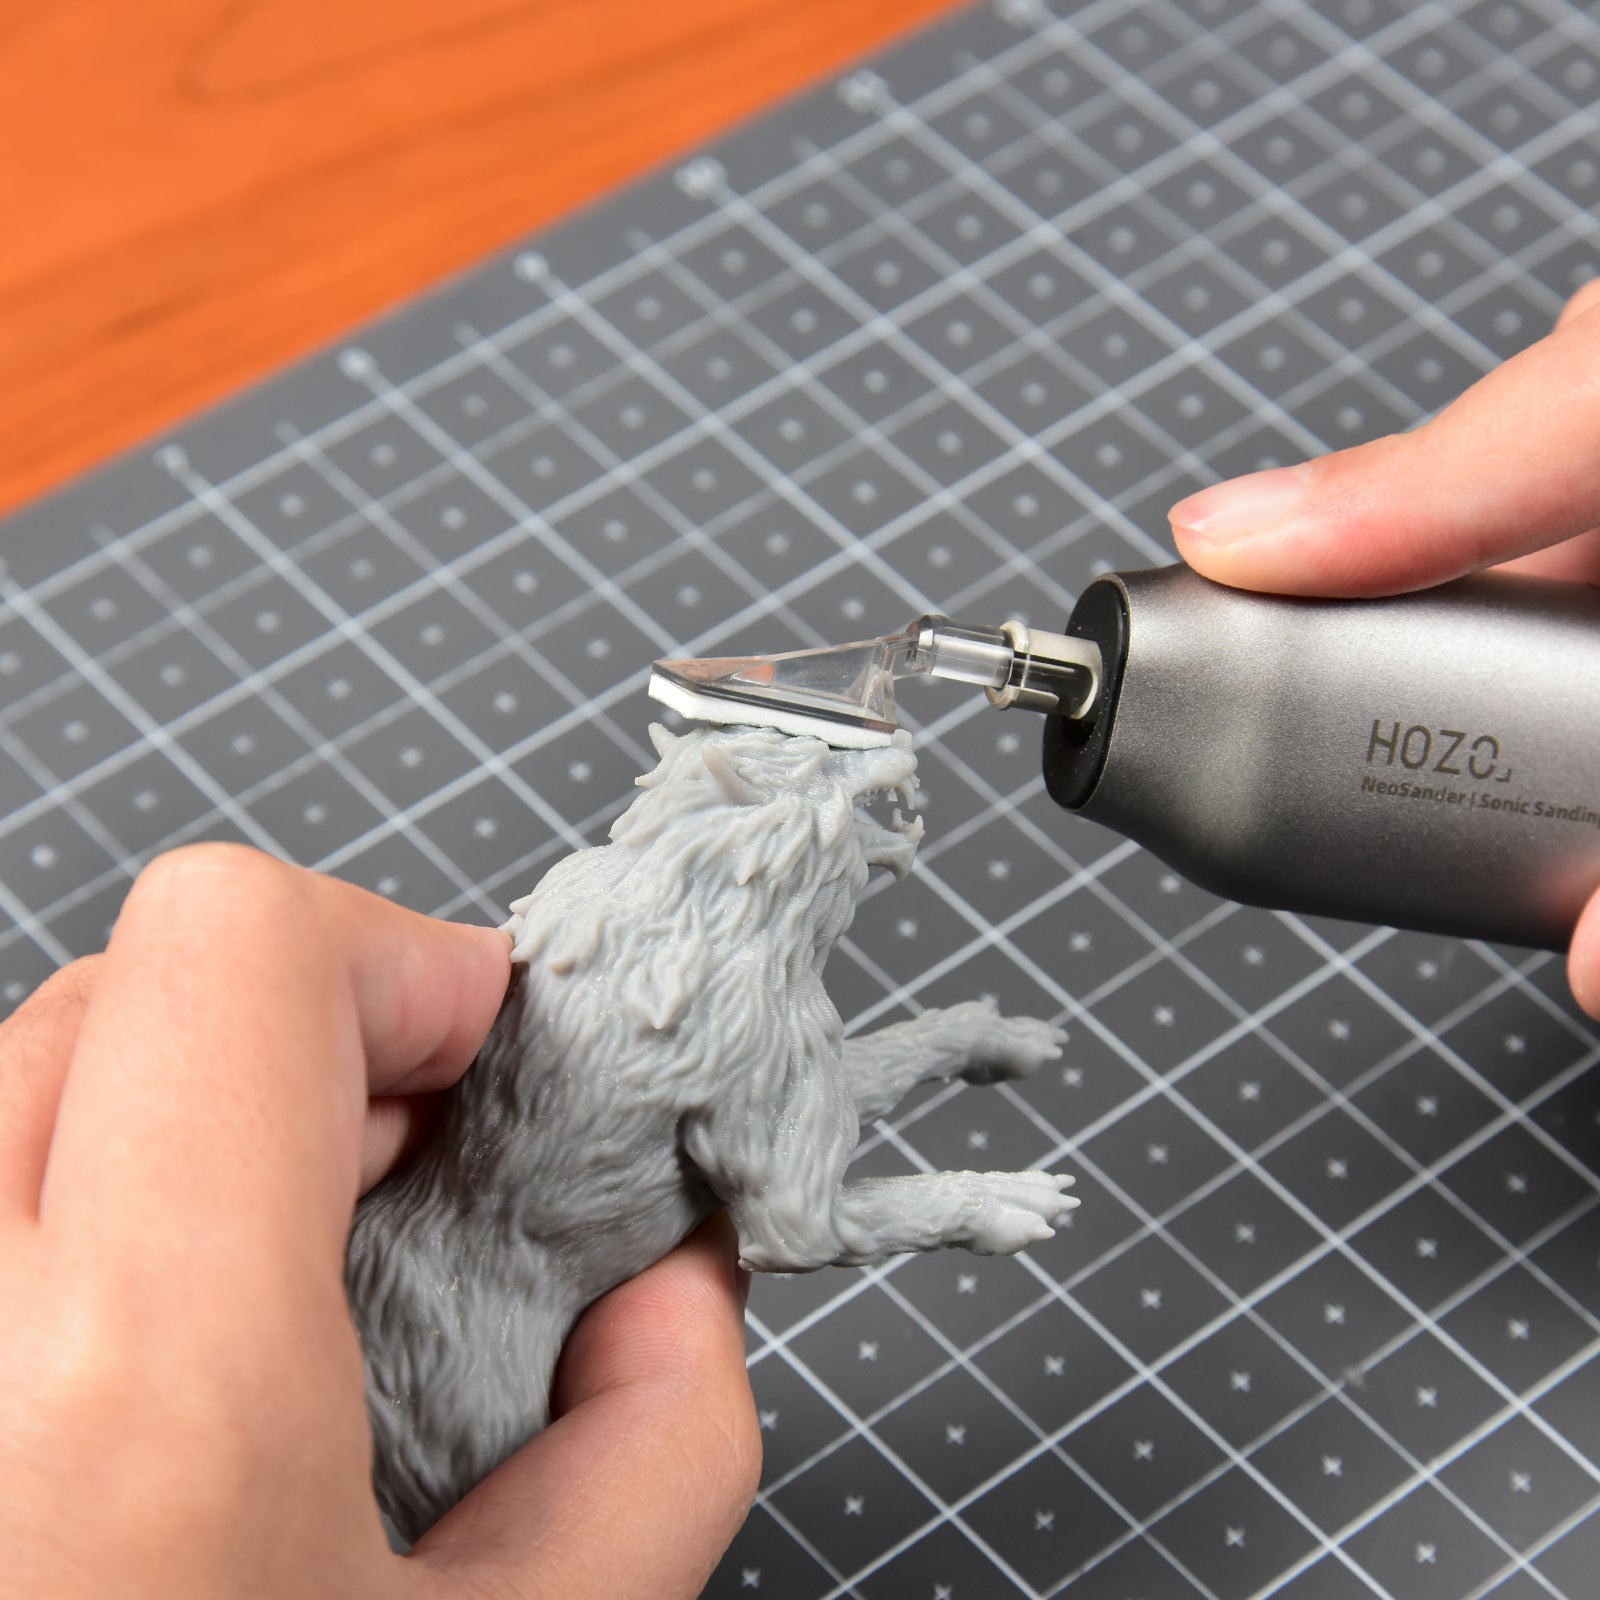
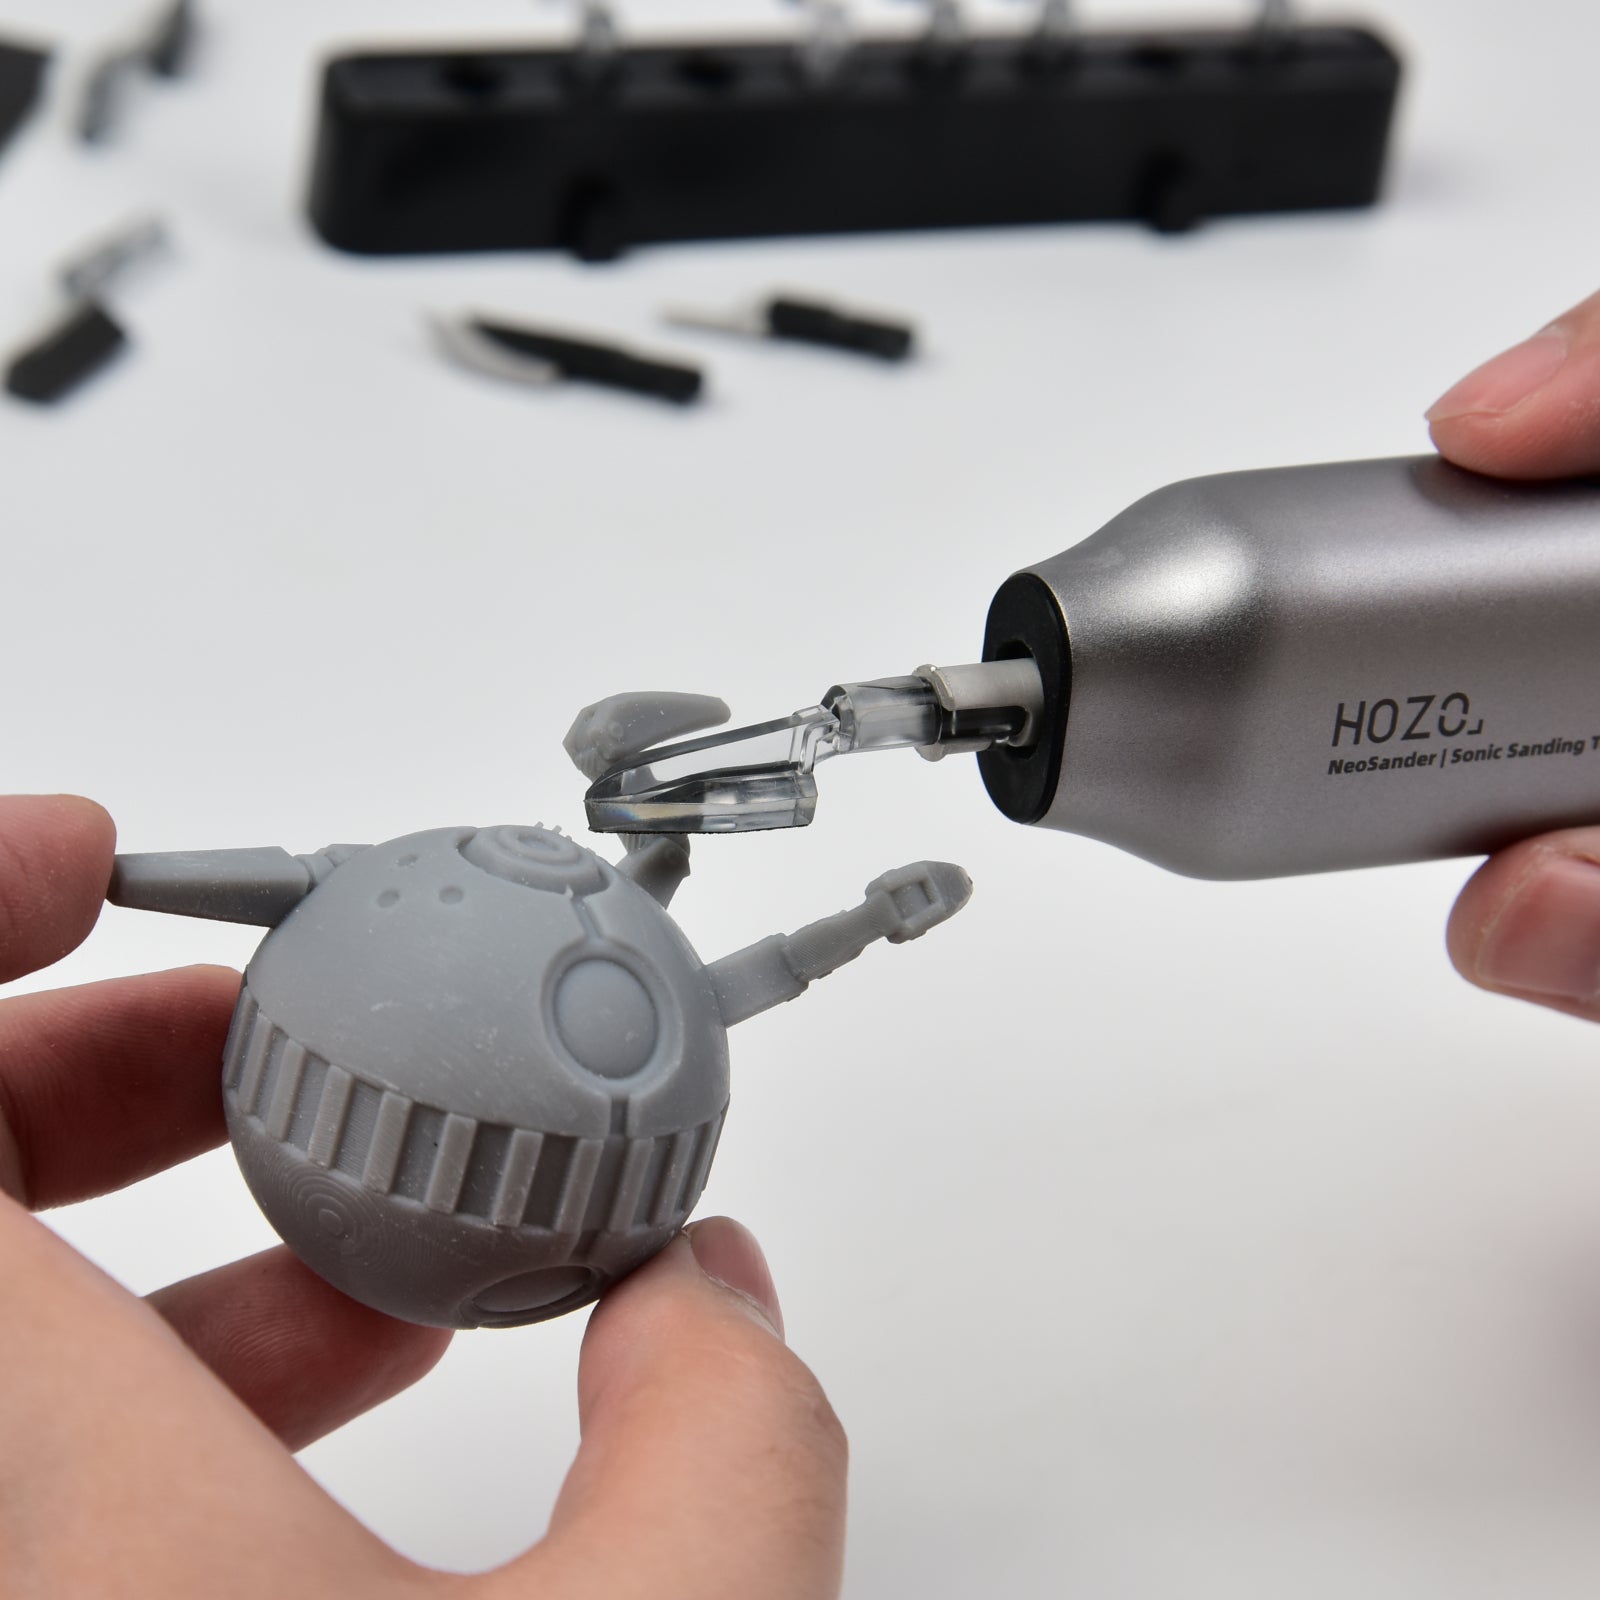
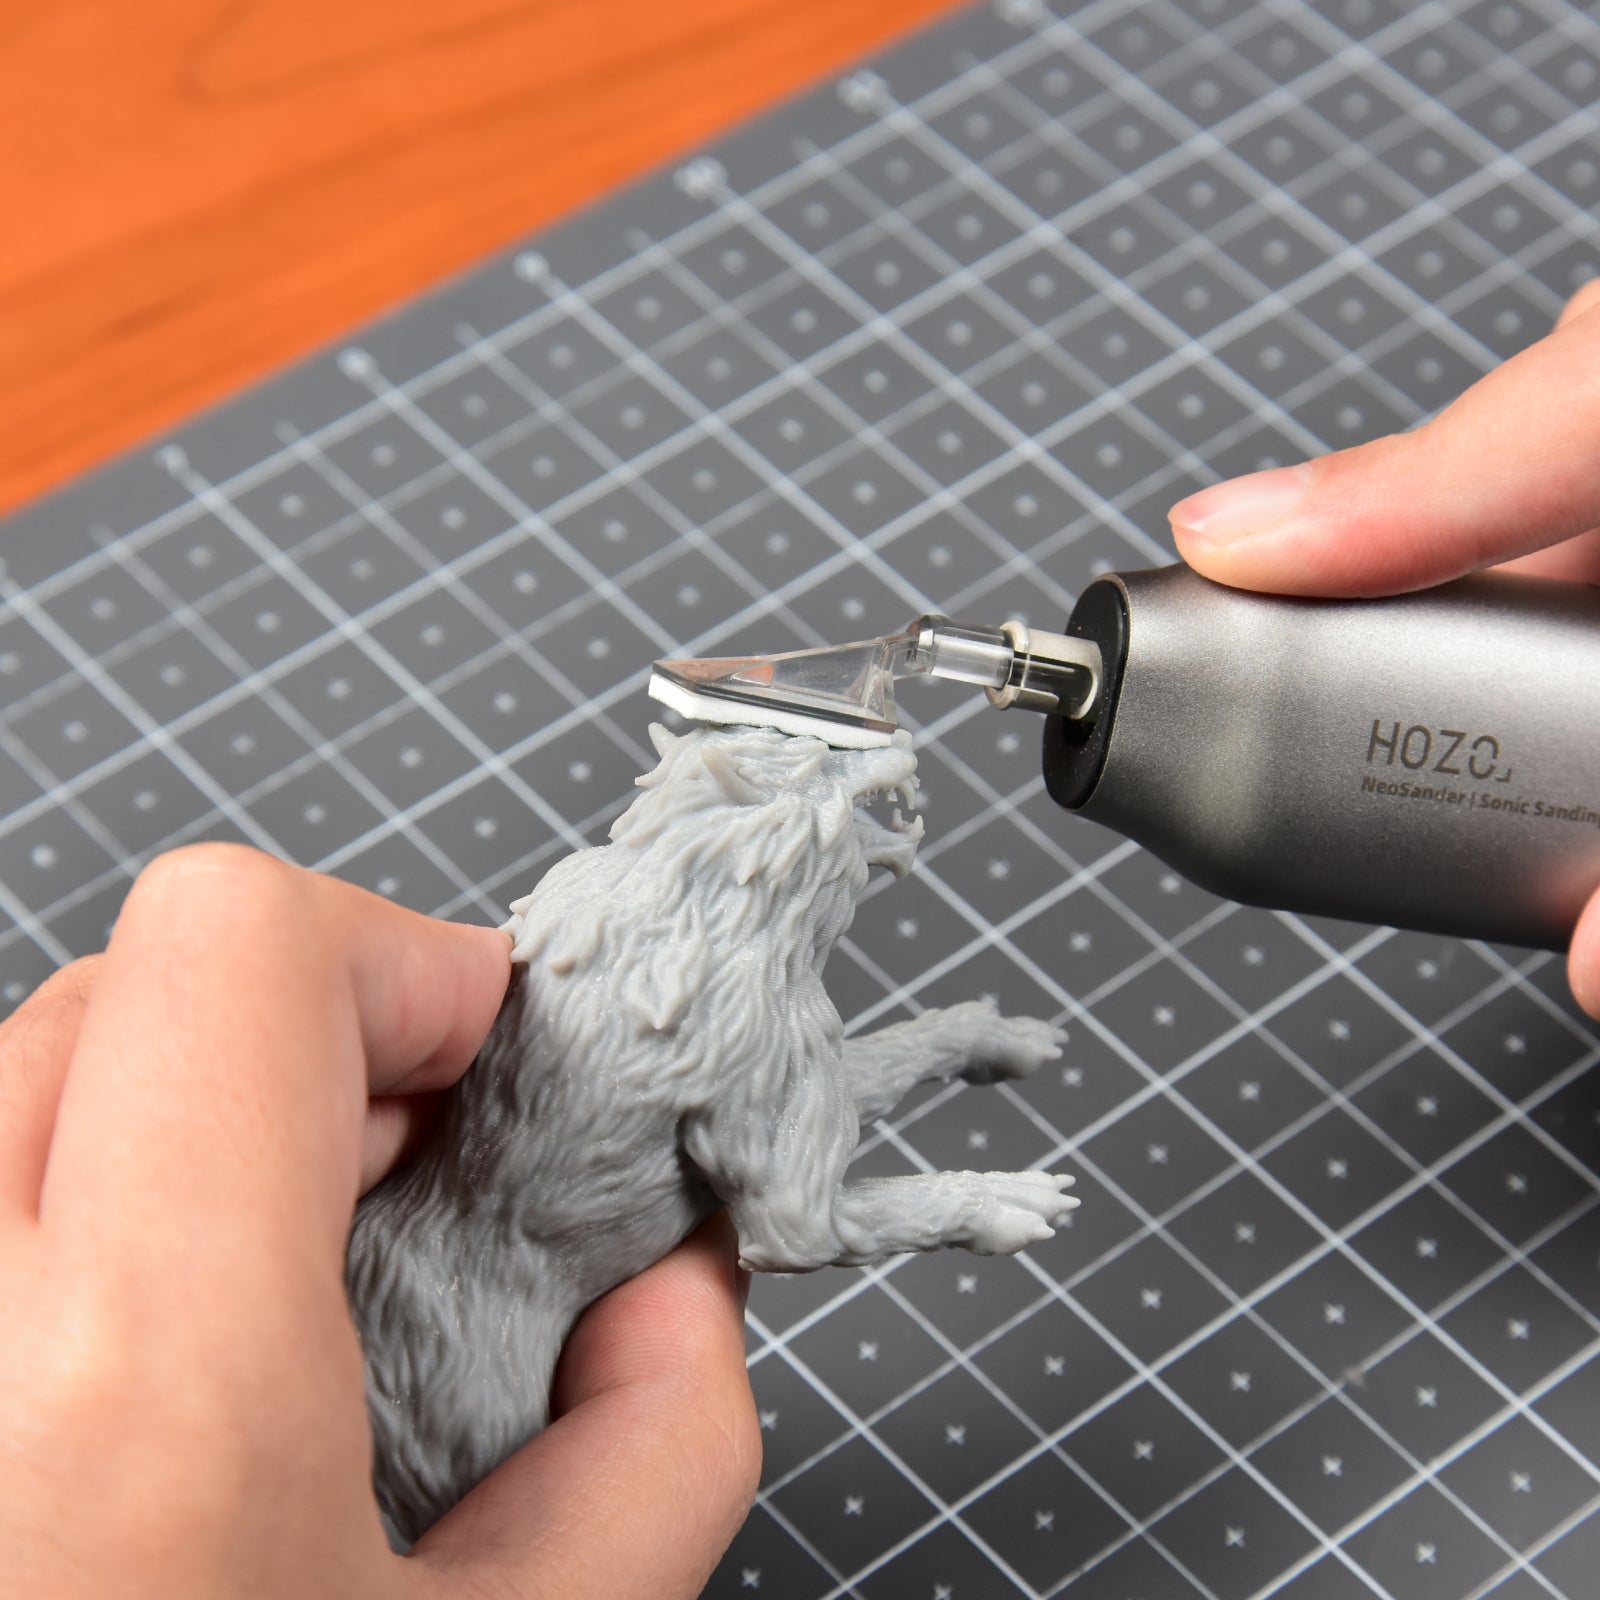
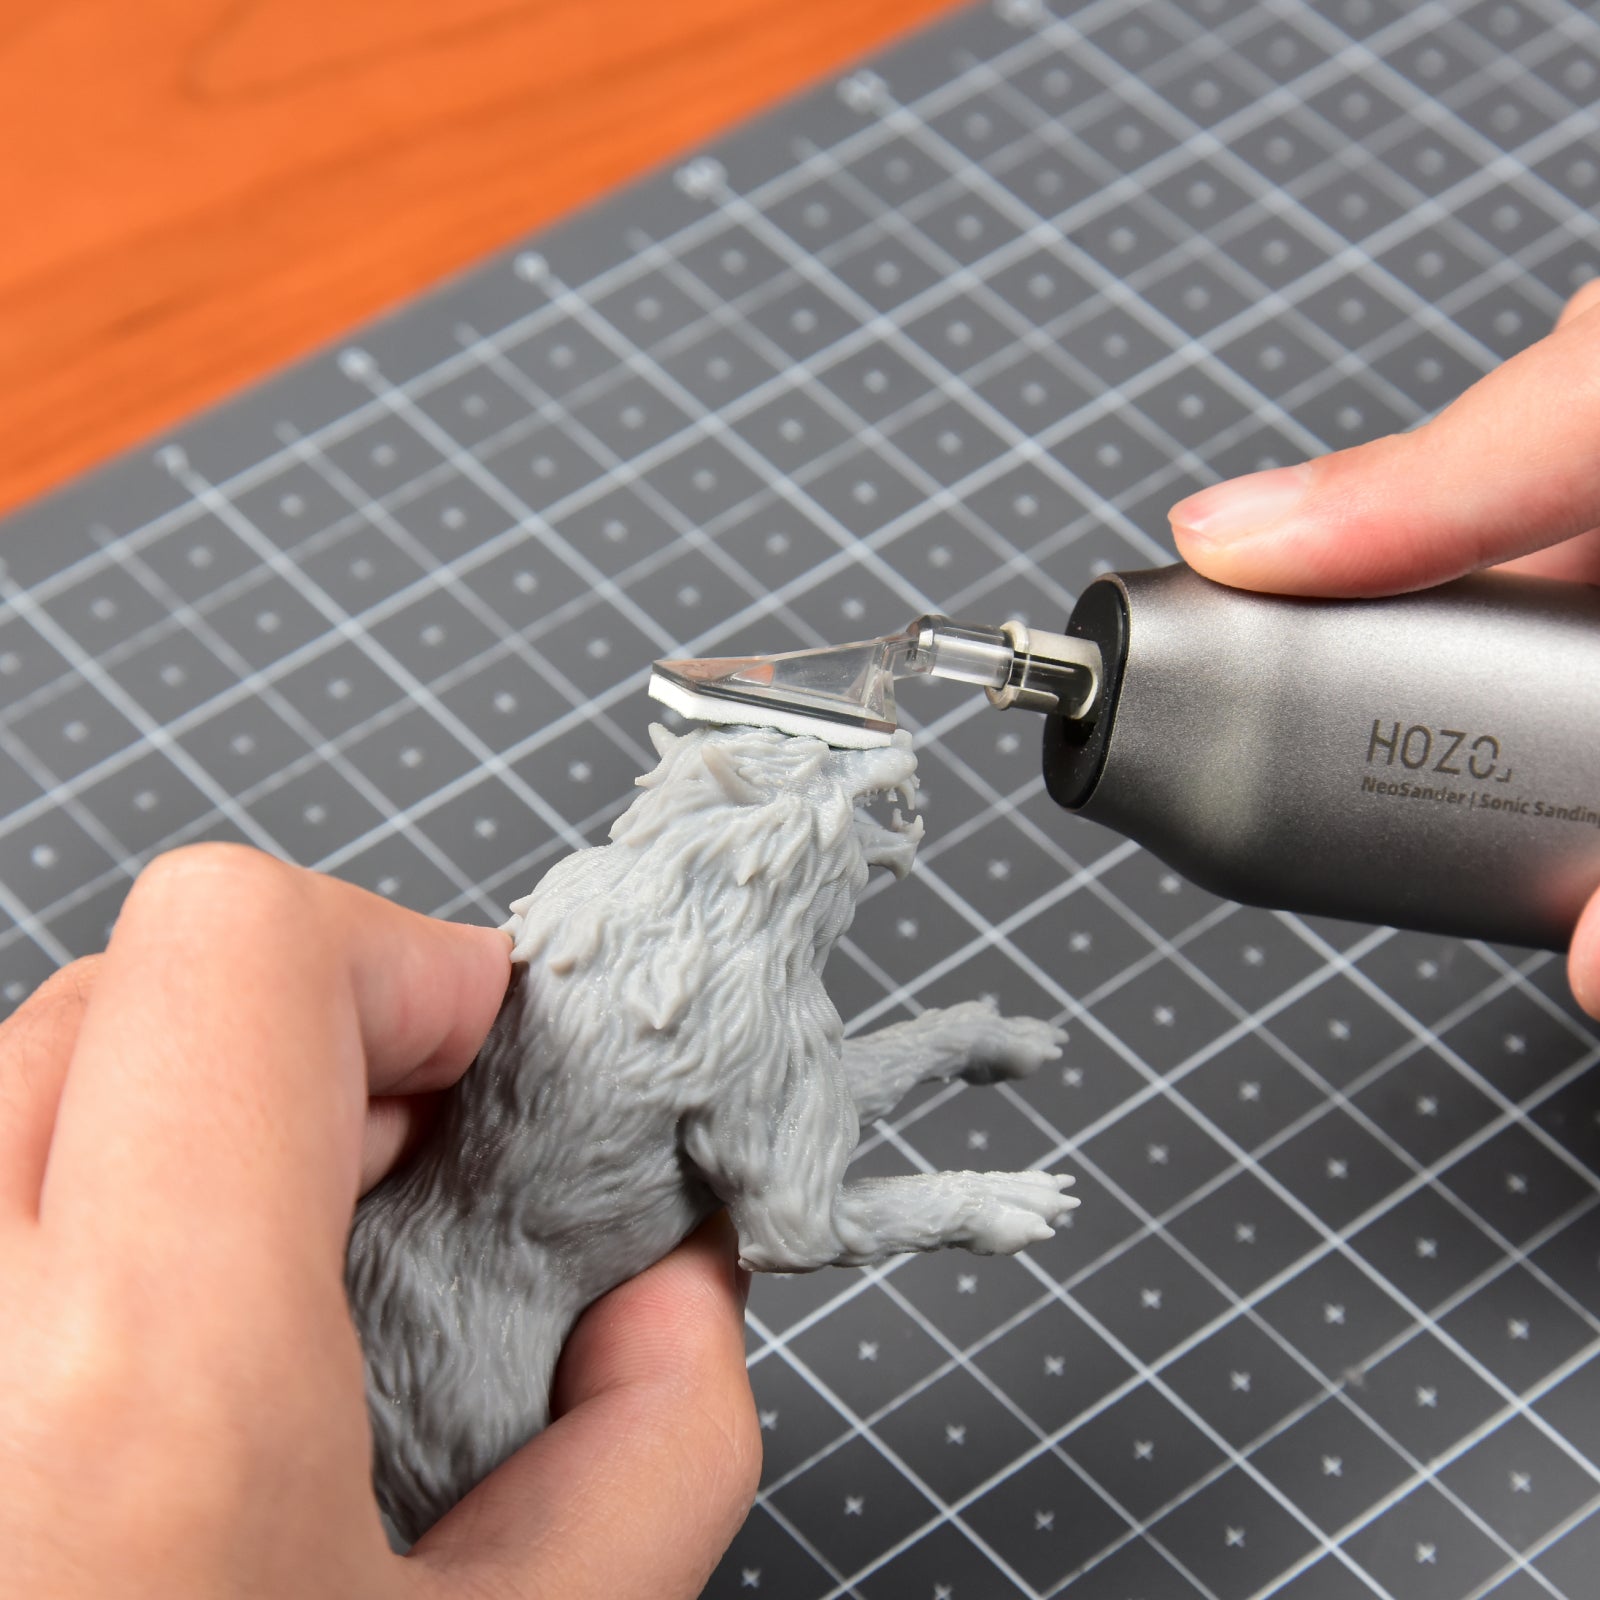
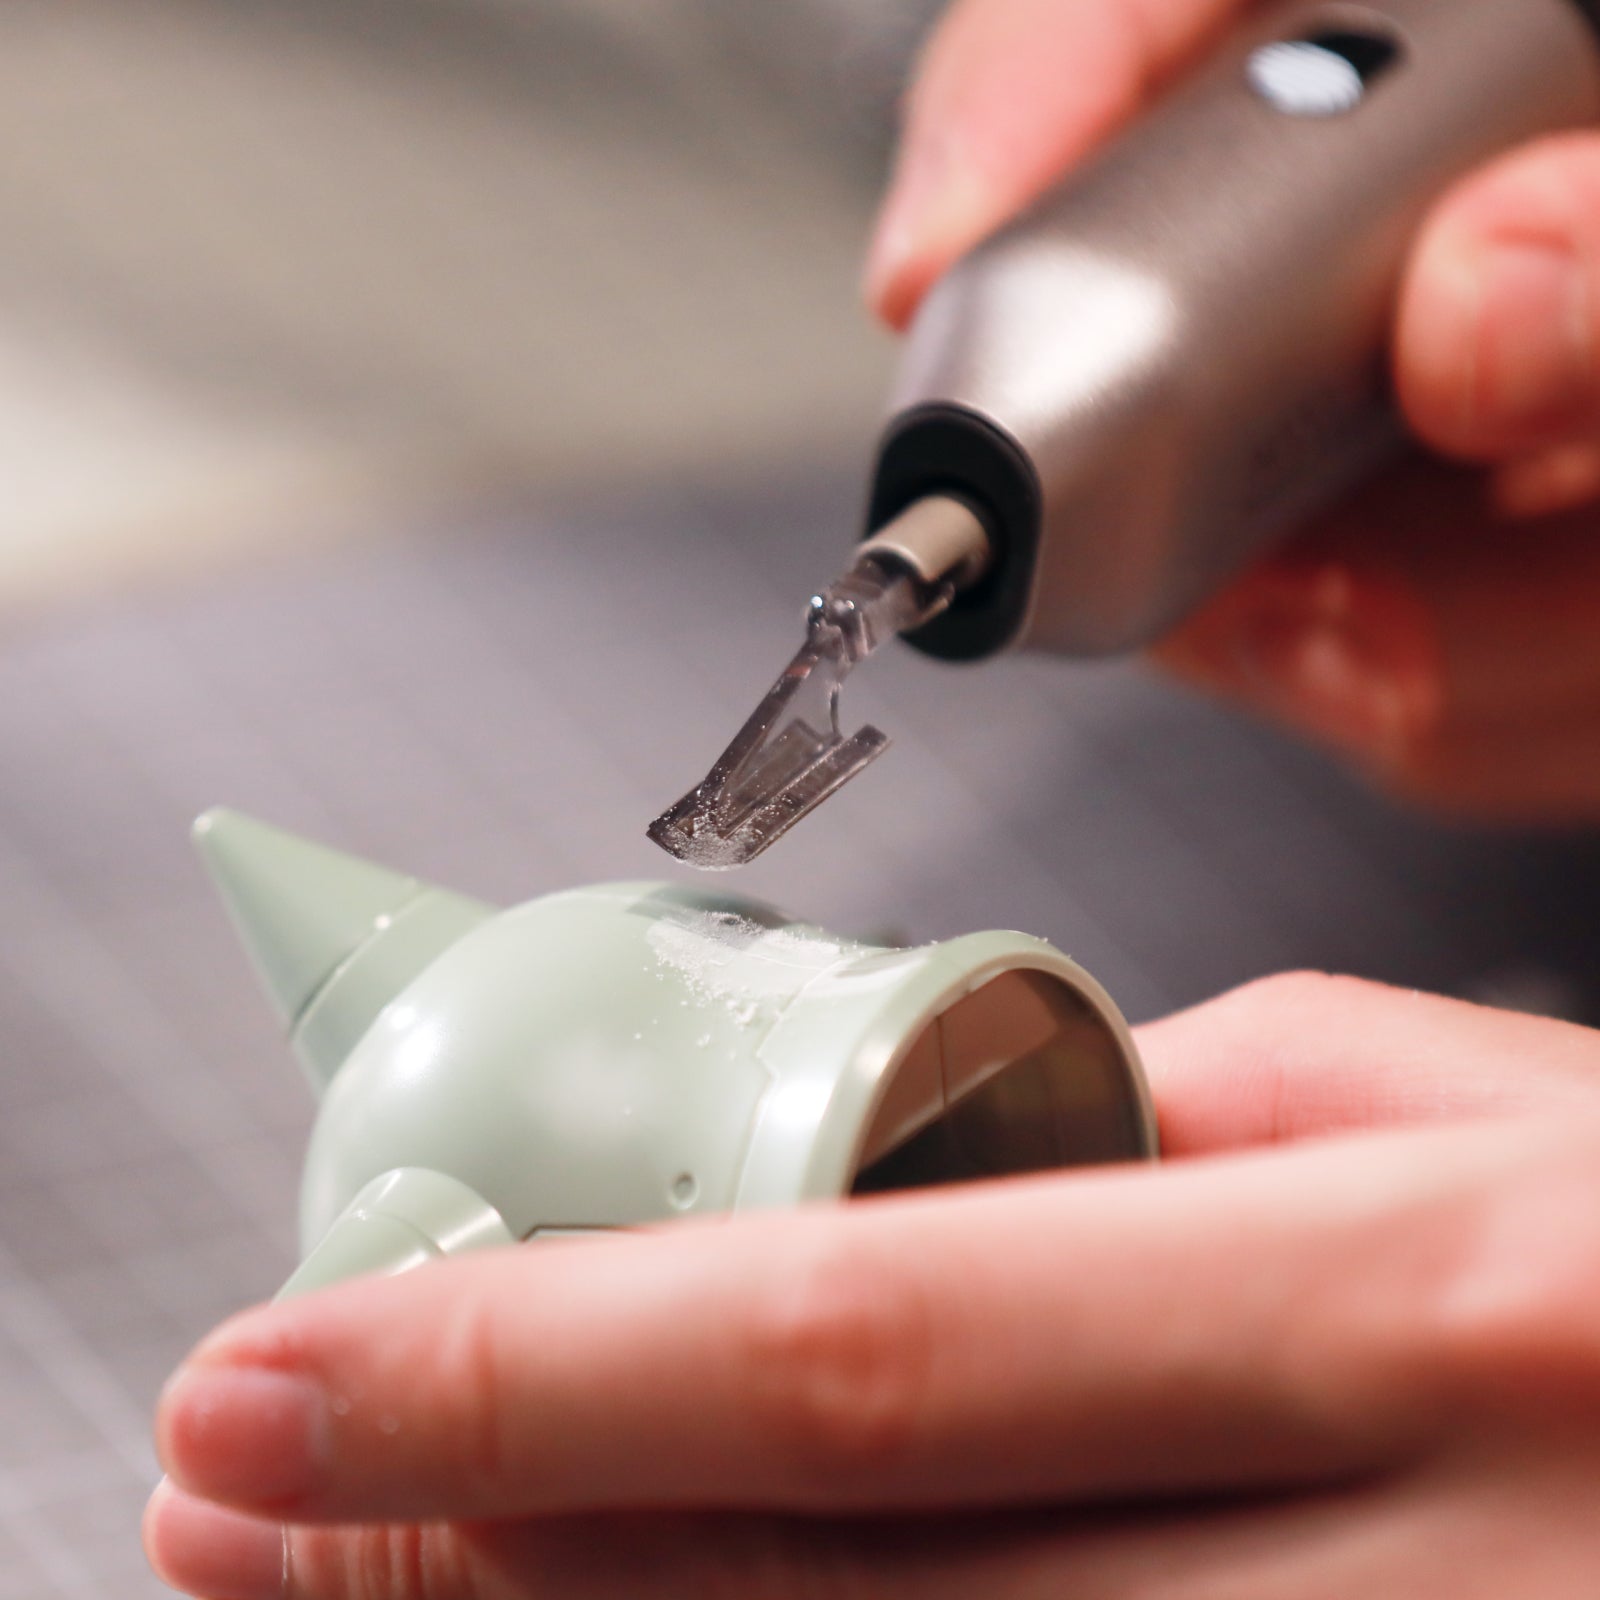
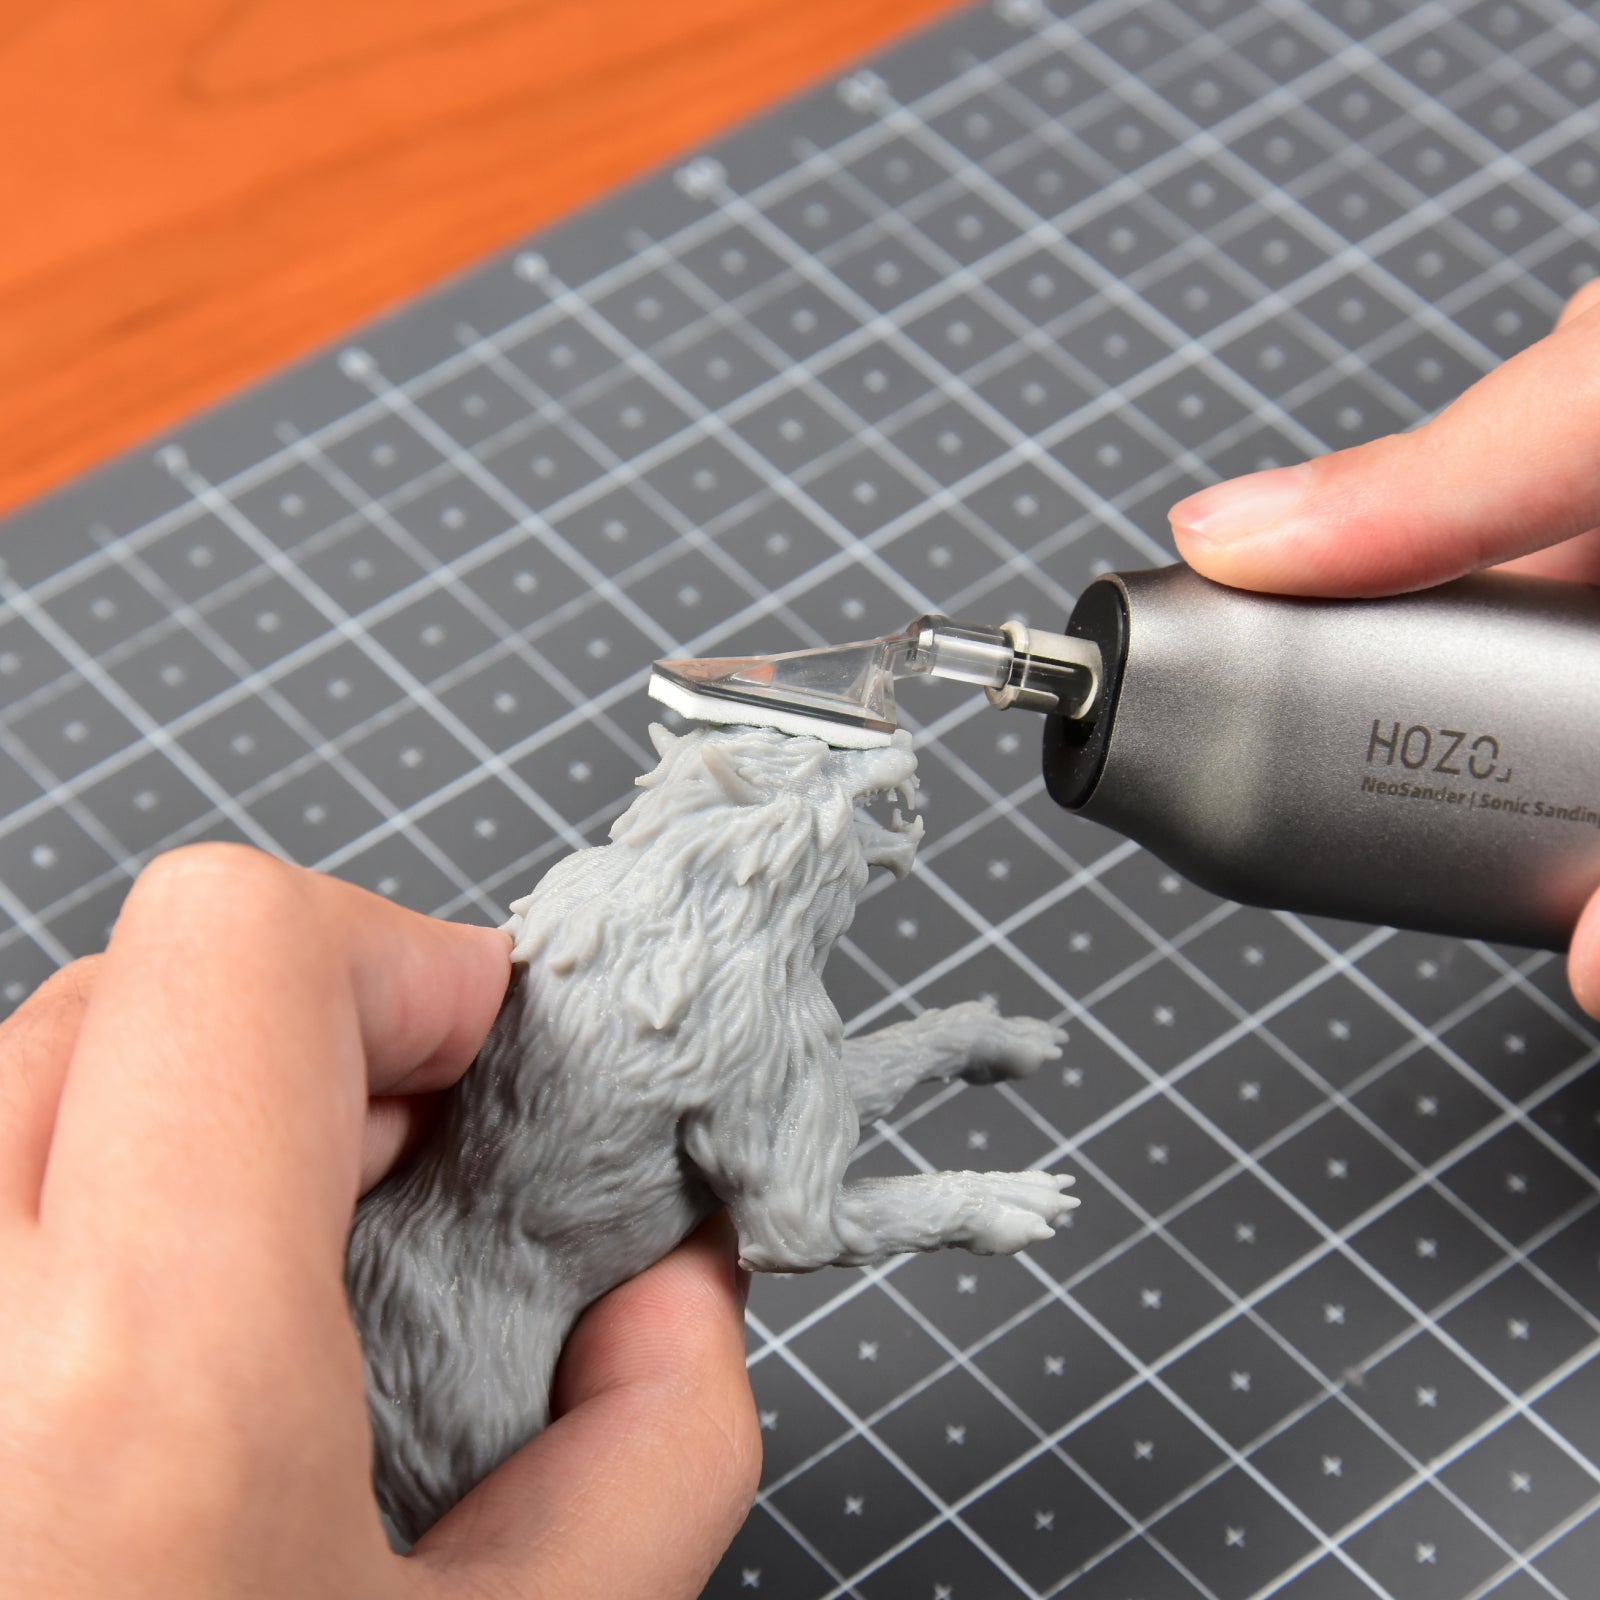
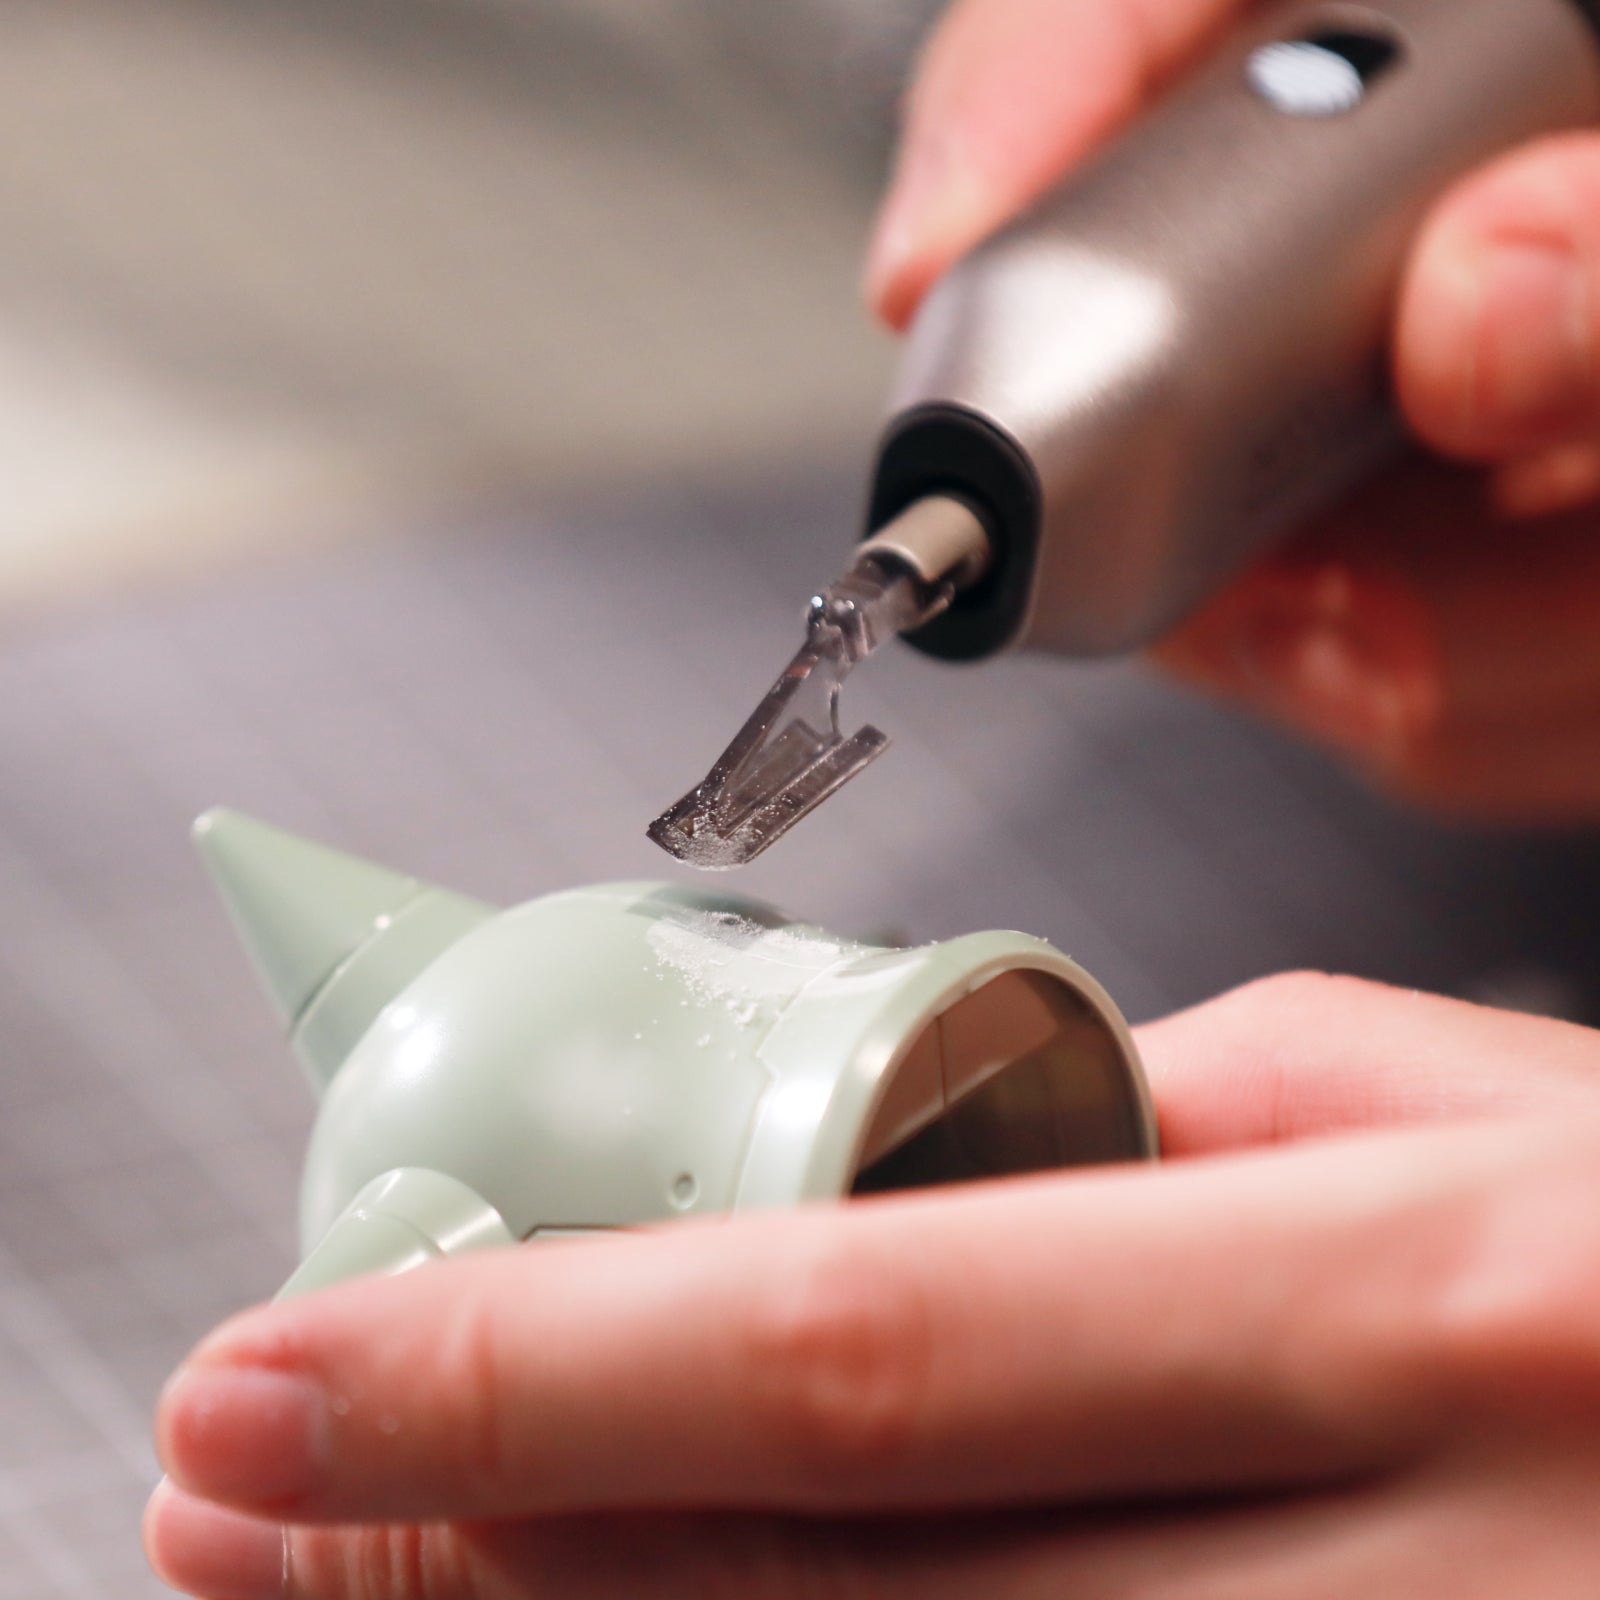
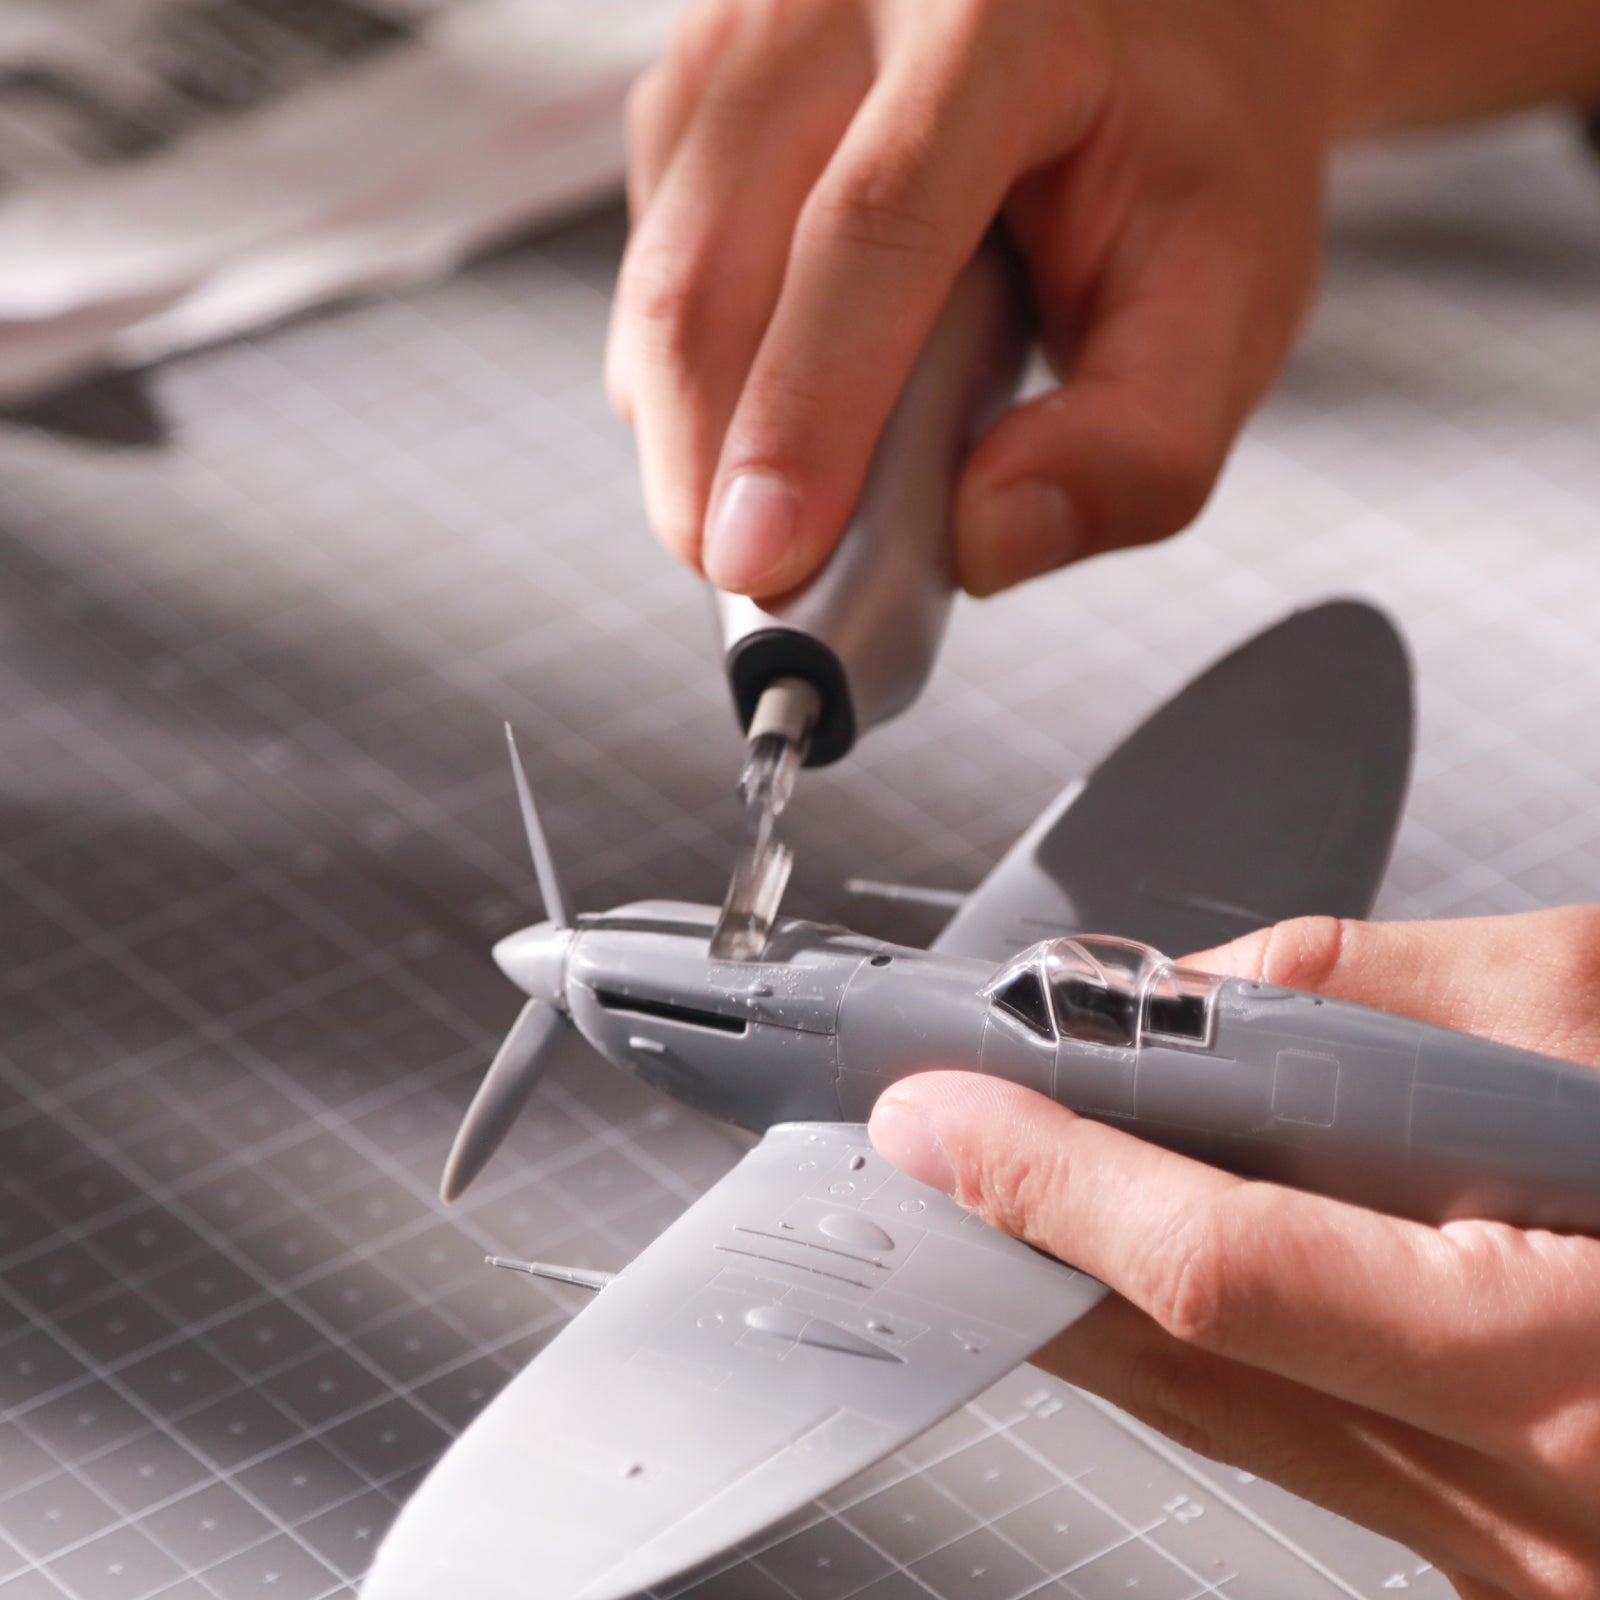
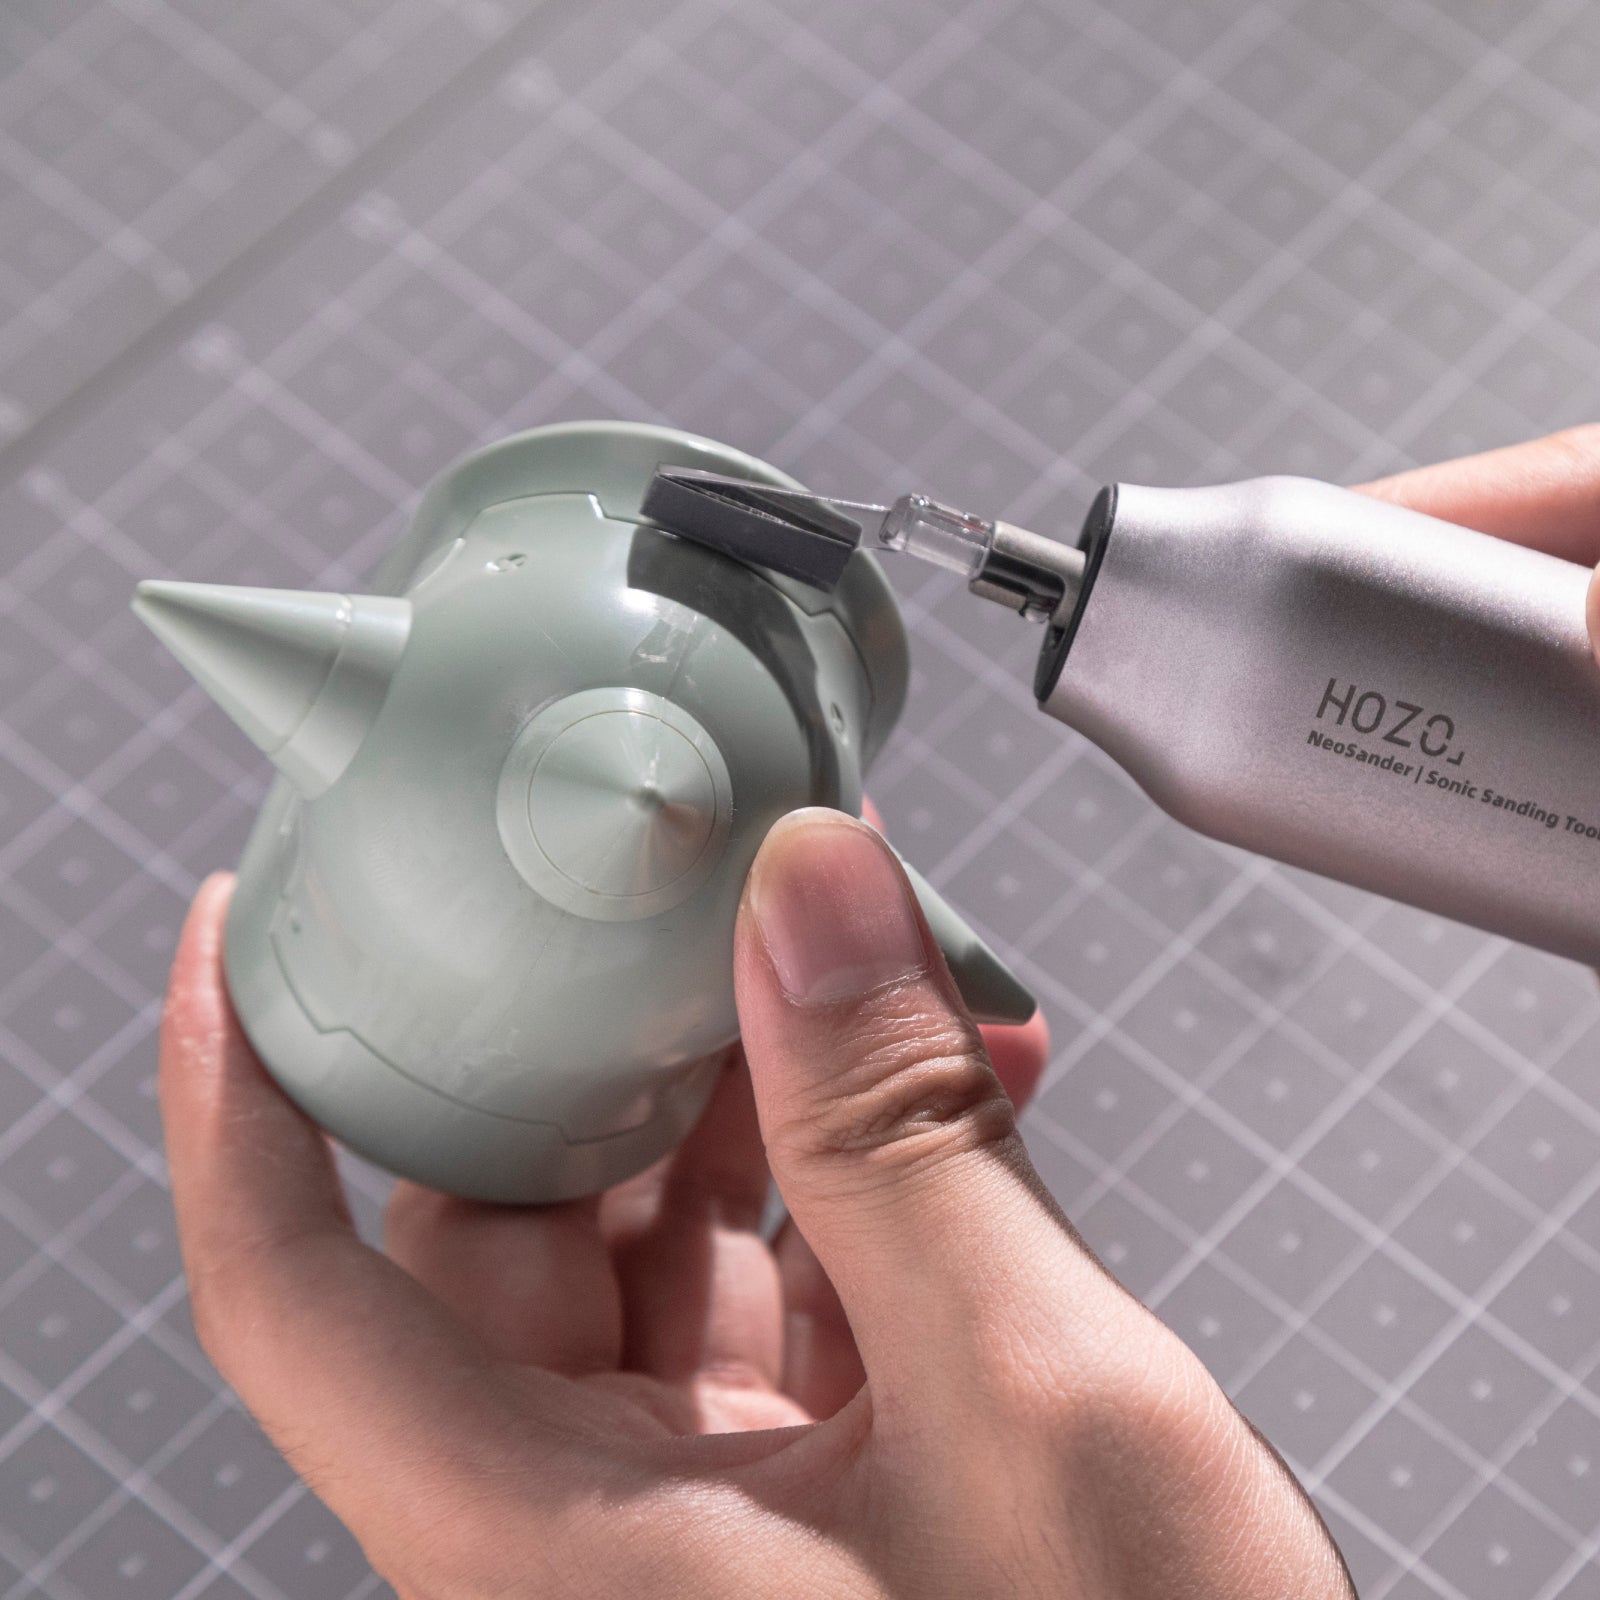
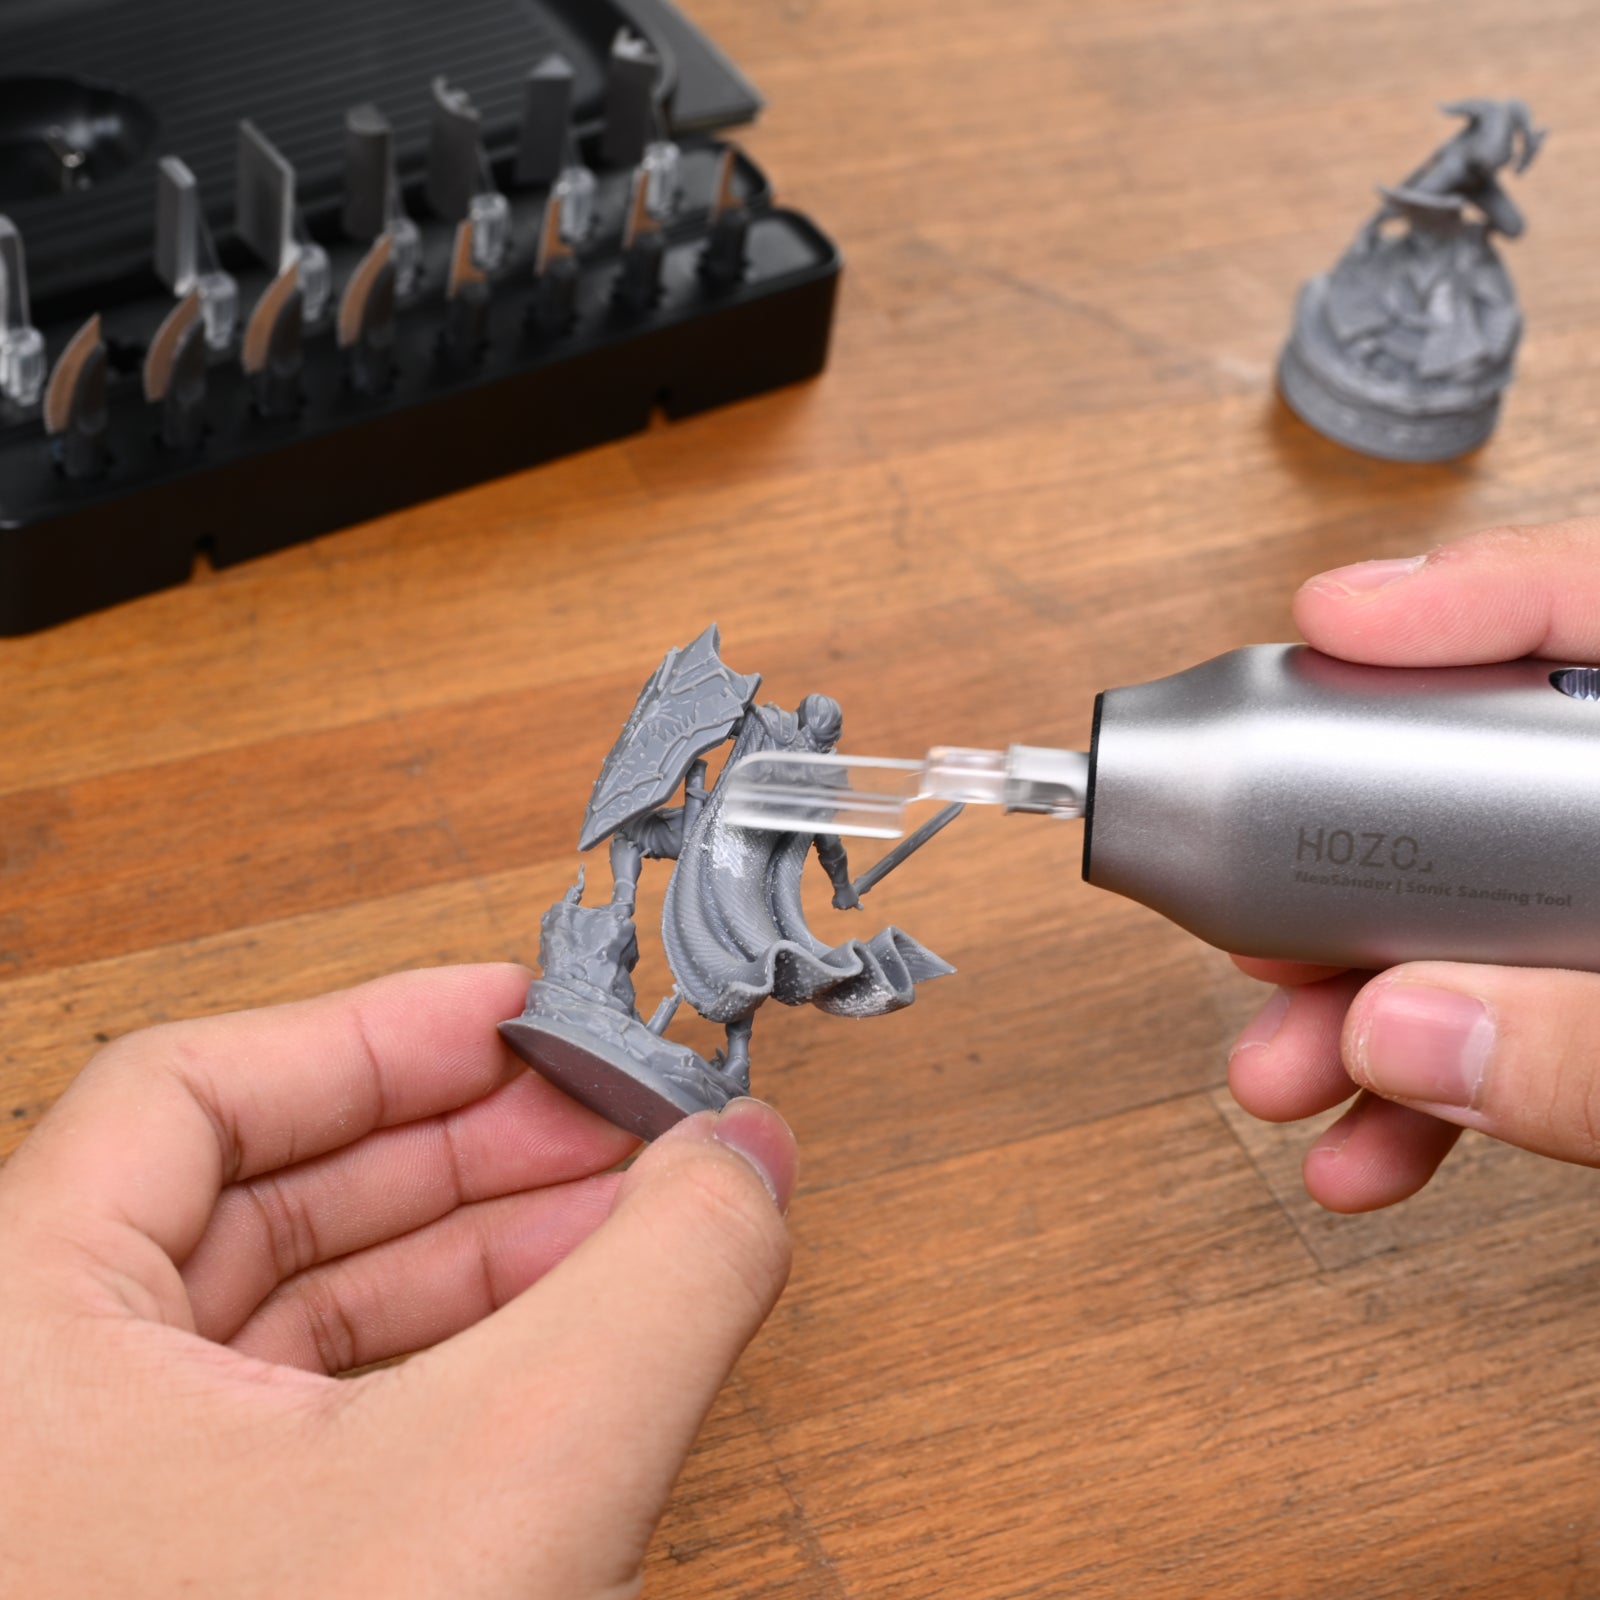
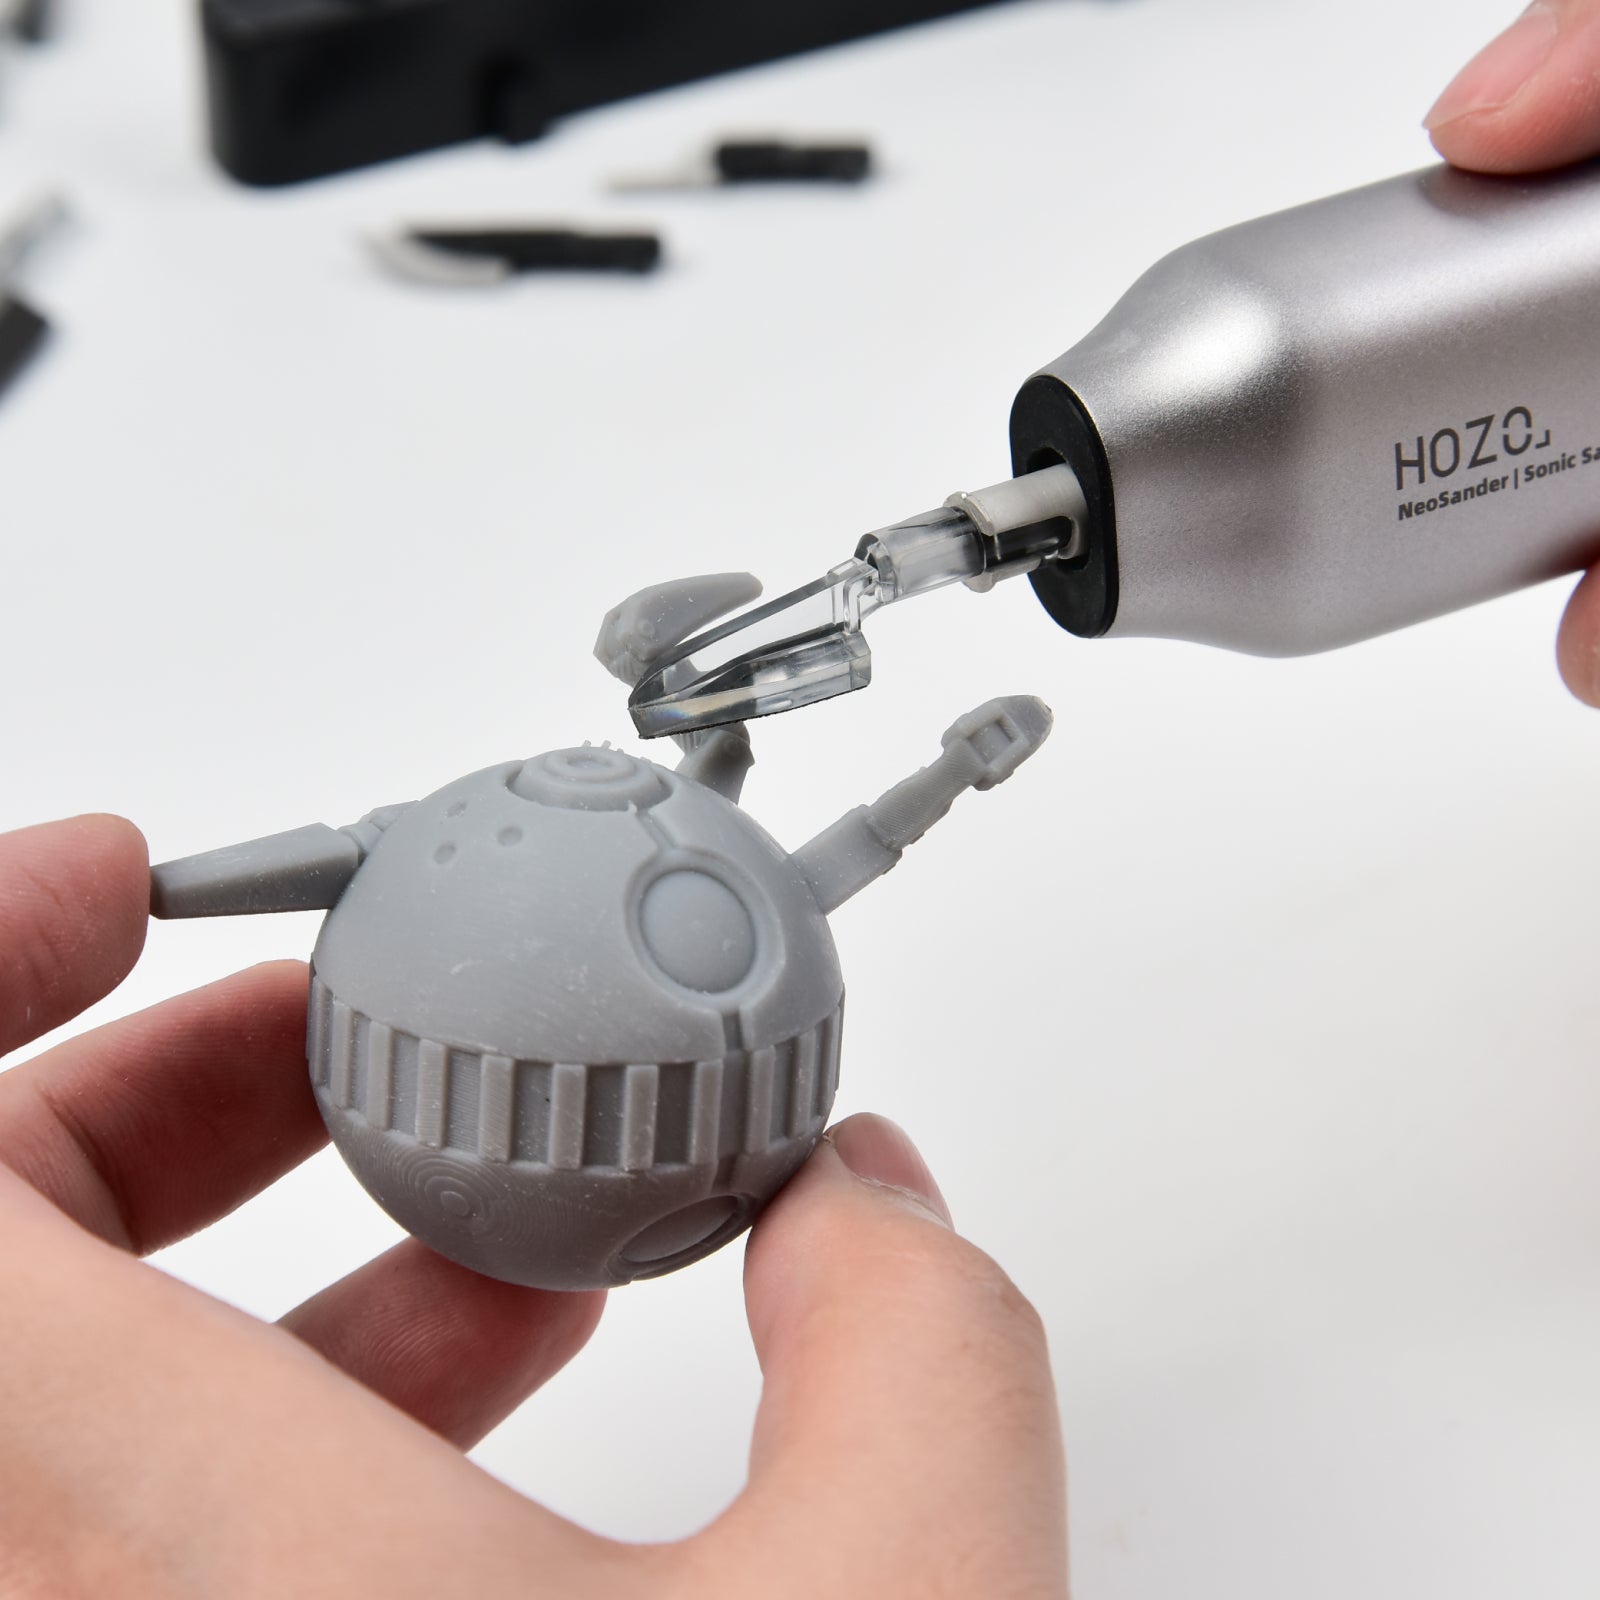
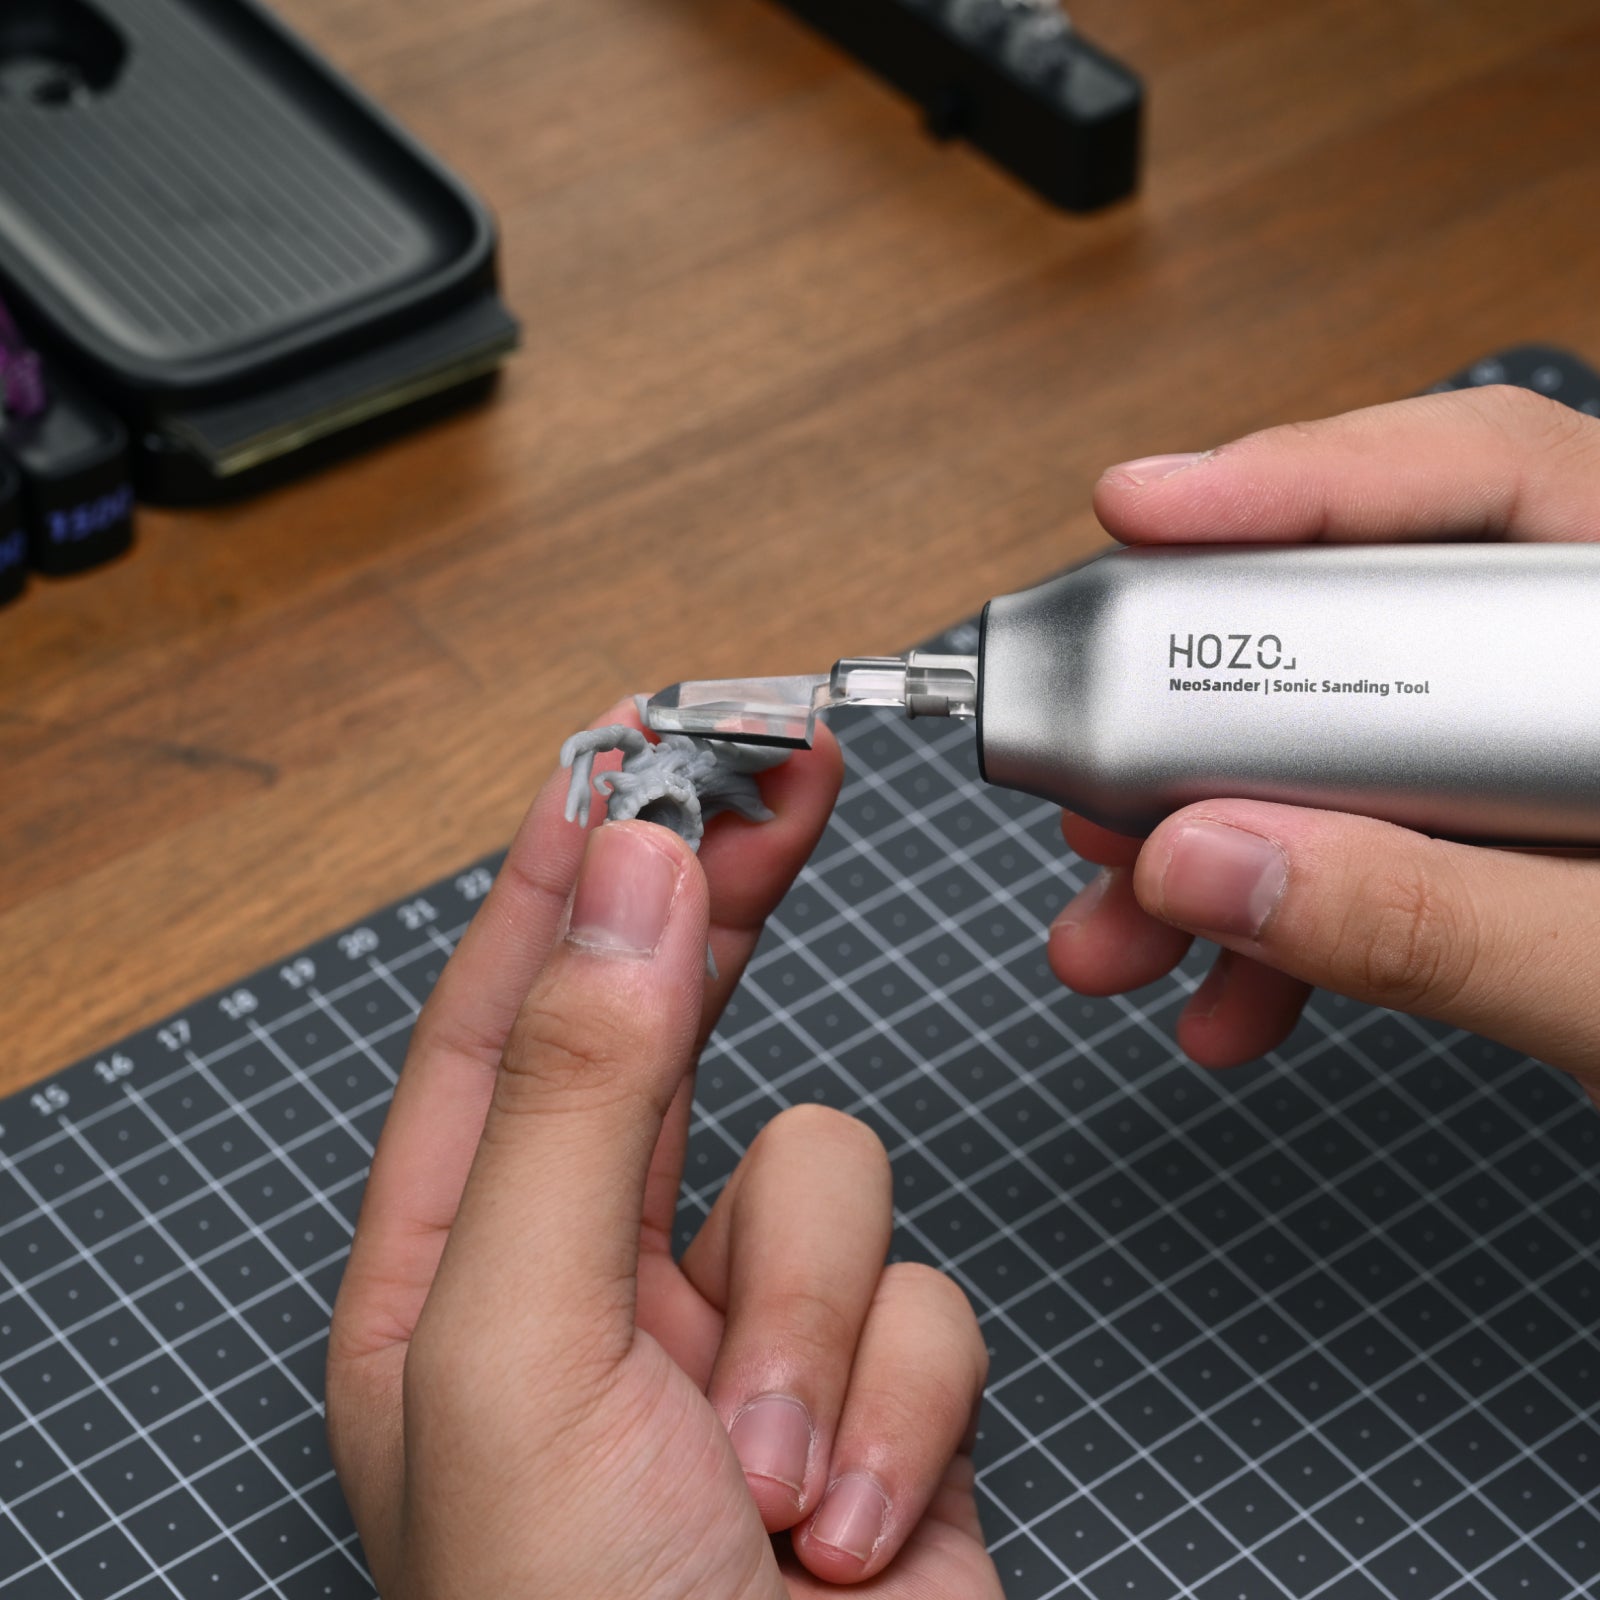
NeoSander is designed for the powered part of that workflow: controlled detail sanding on 3D prints, model parts, Gunpla cleanup, resin pieces, and fine crafts. Its reciprocating motion moves the sanding head back and forth rather than spinning, giving you a compact option for repetitive finishing work, tight spots, and surfaces where a rotary tool may feel too aggressive.
Choose Your NeoSander Setup
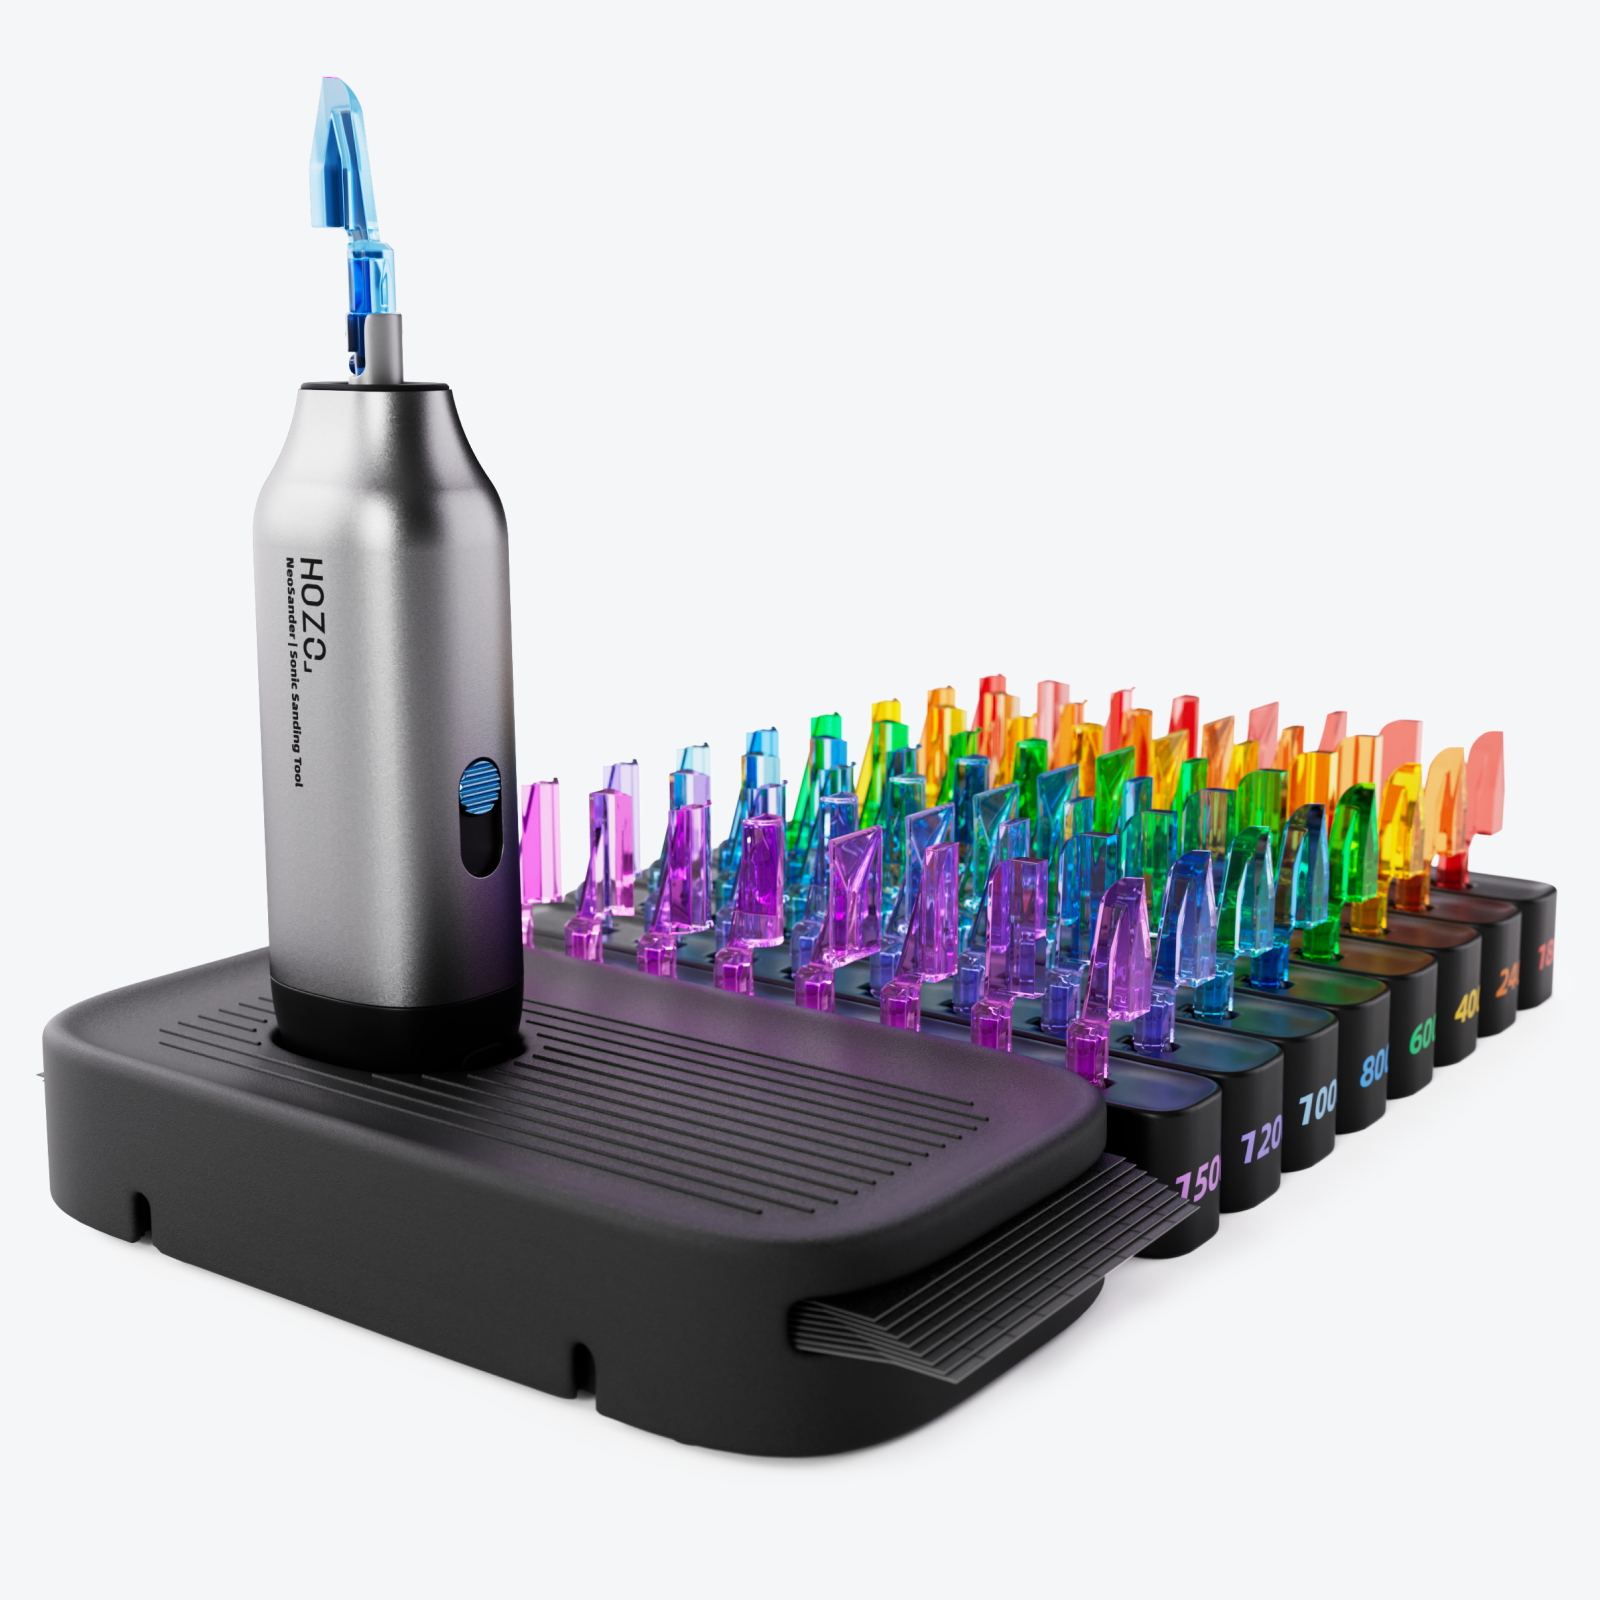
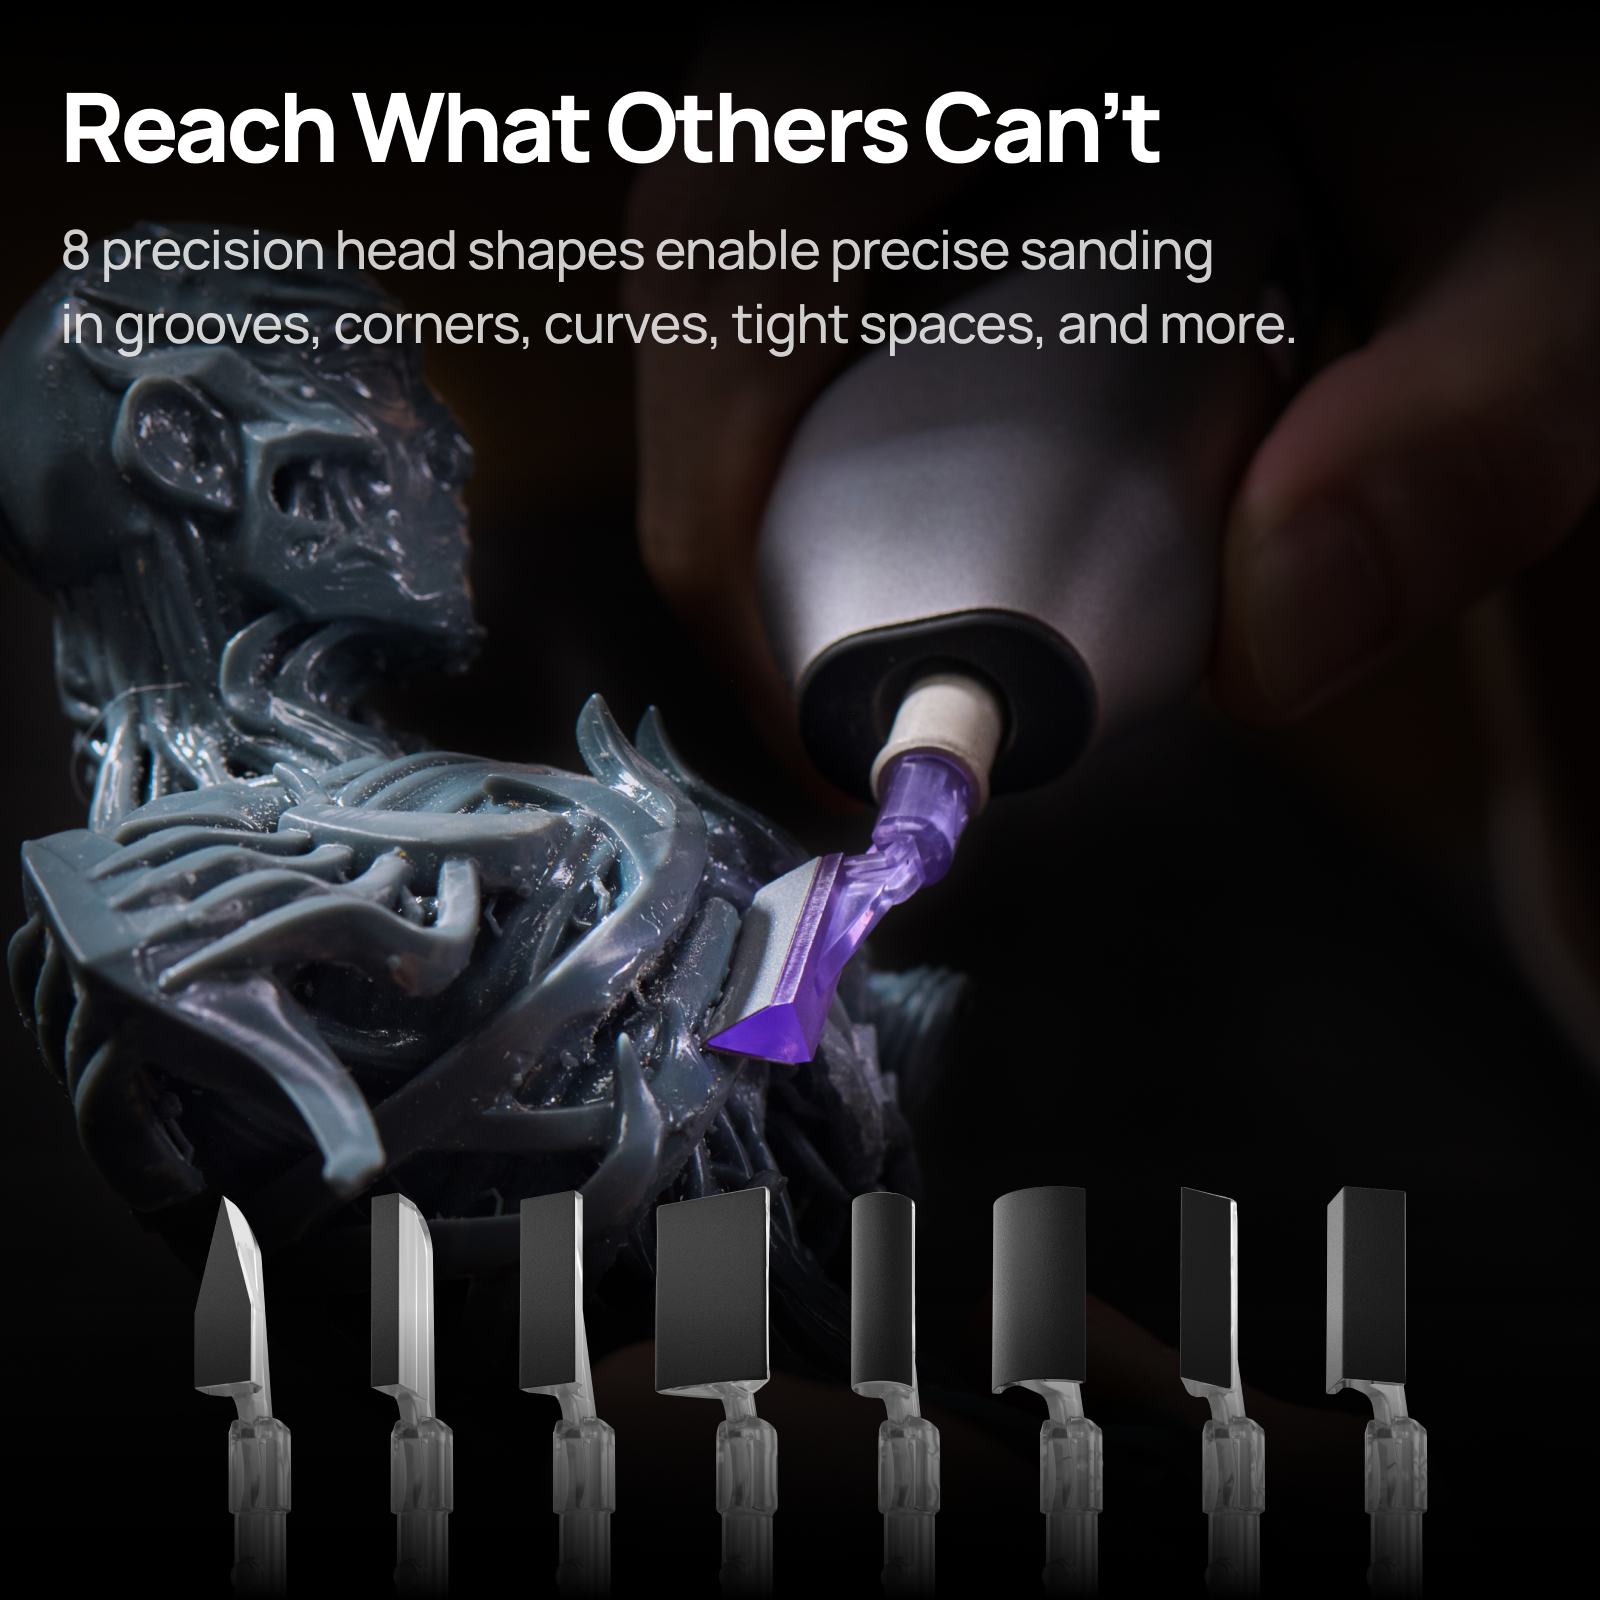
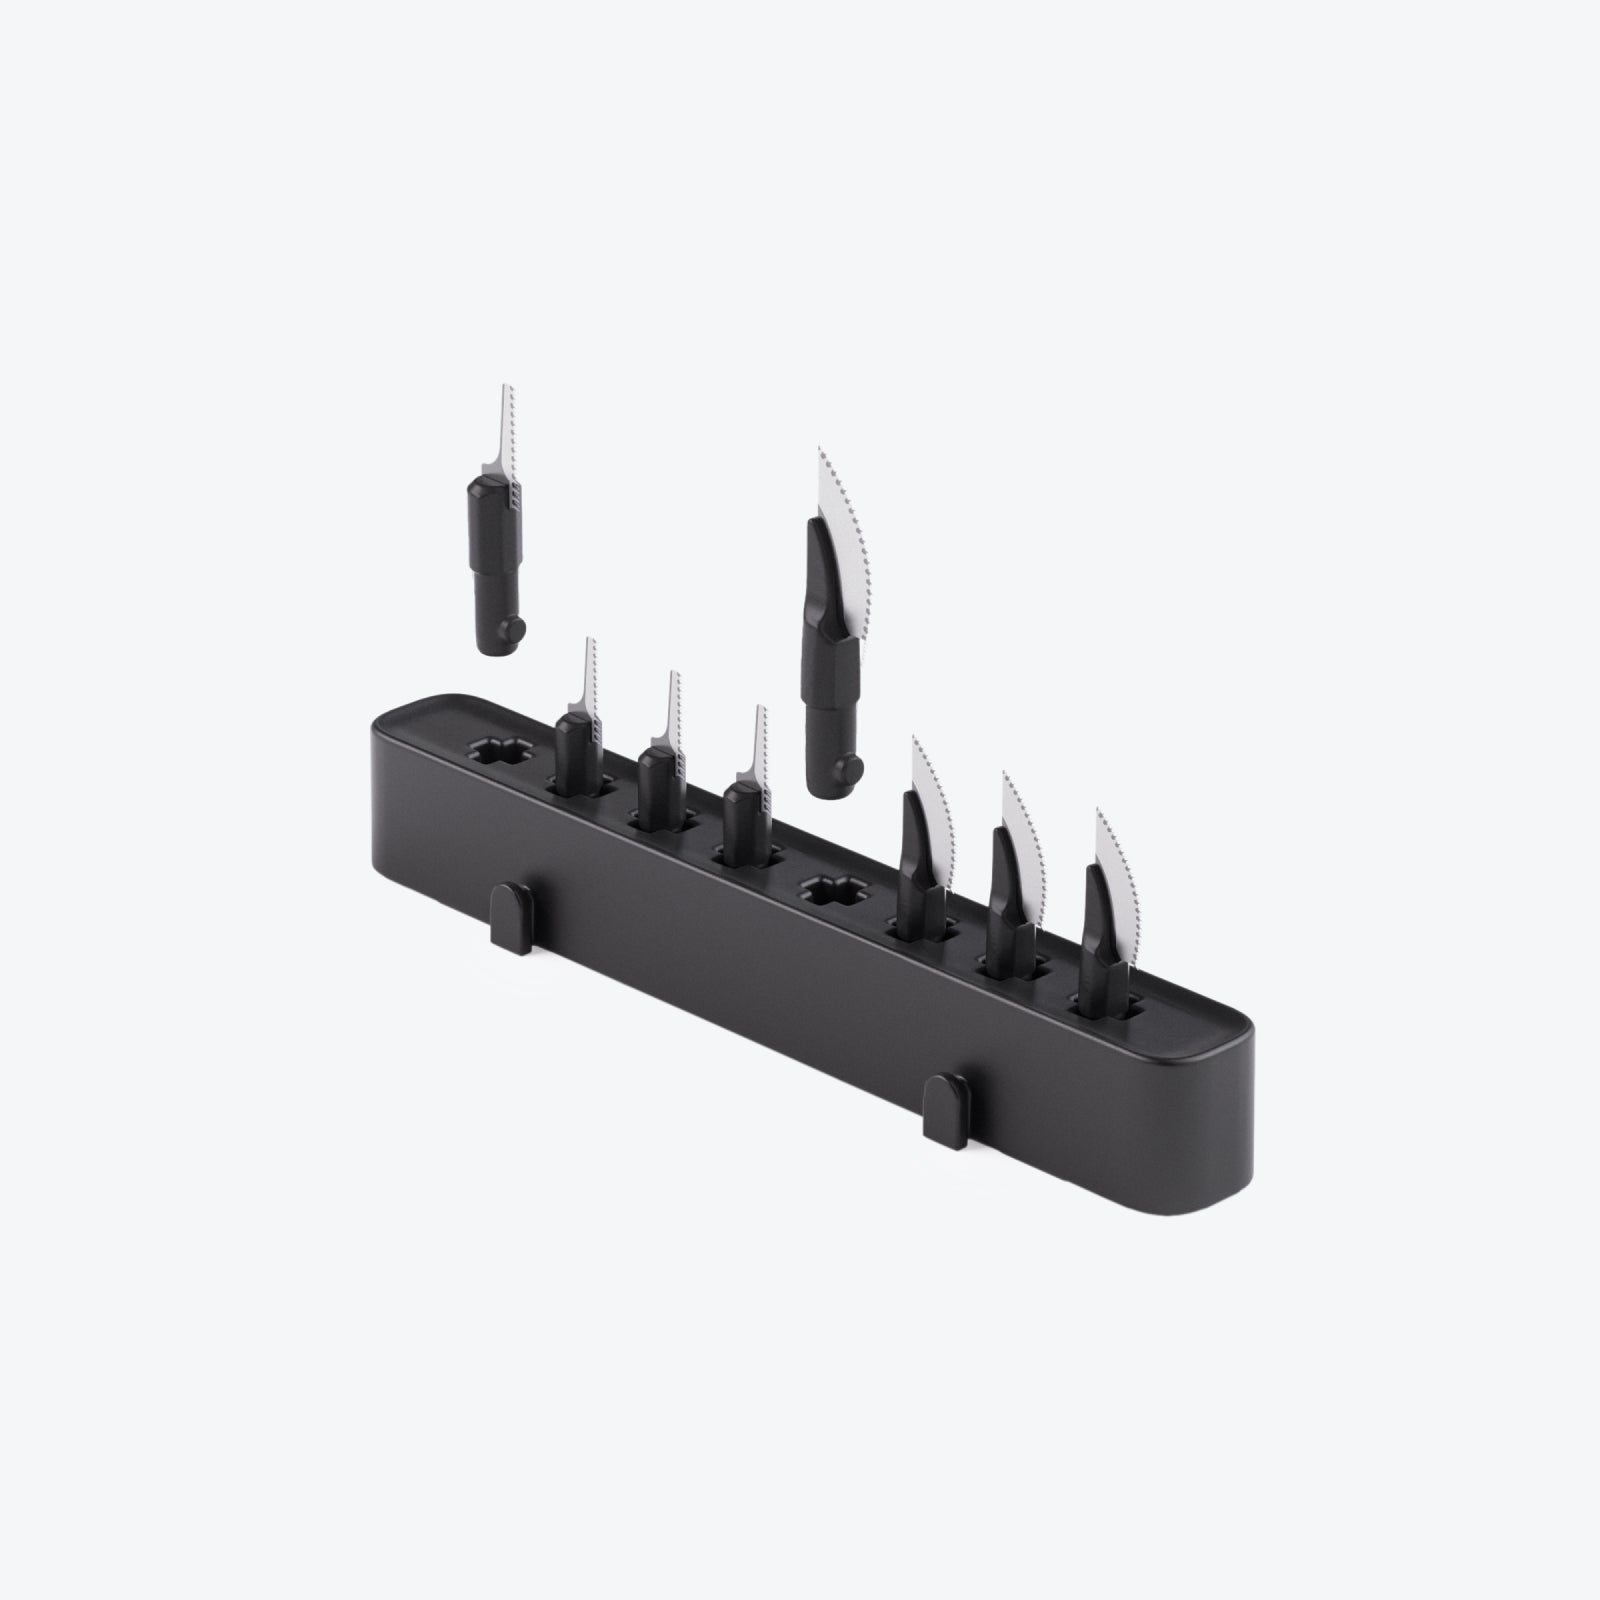
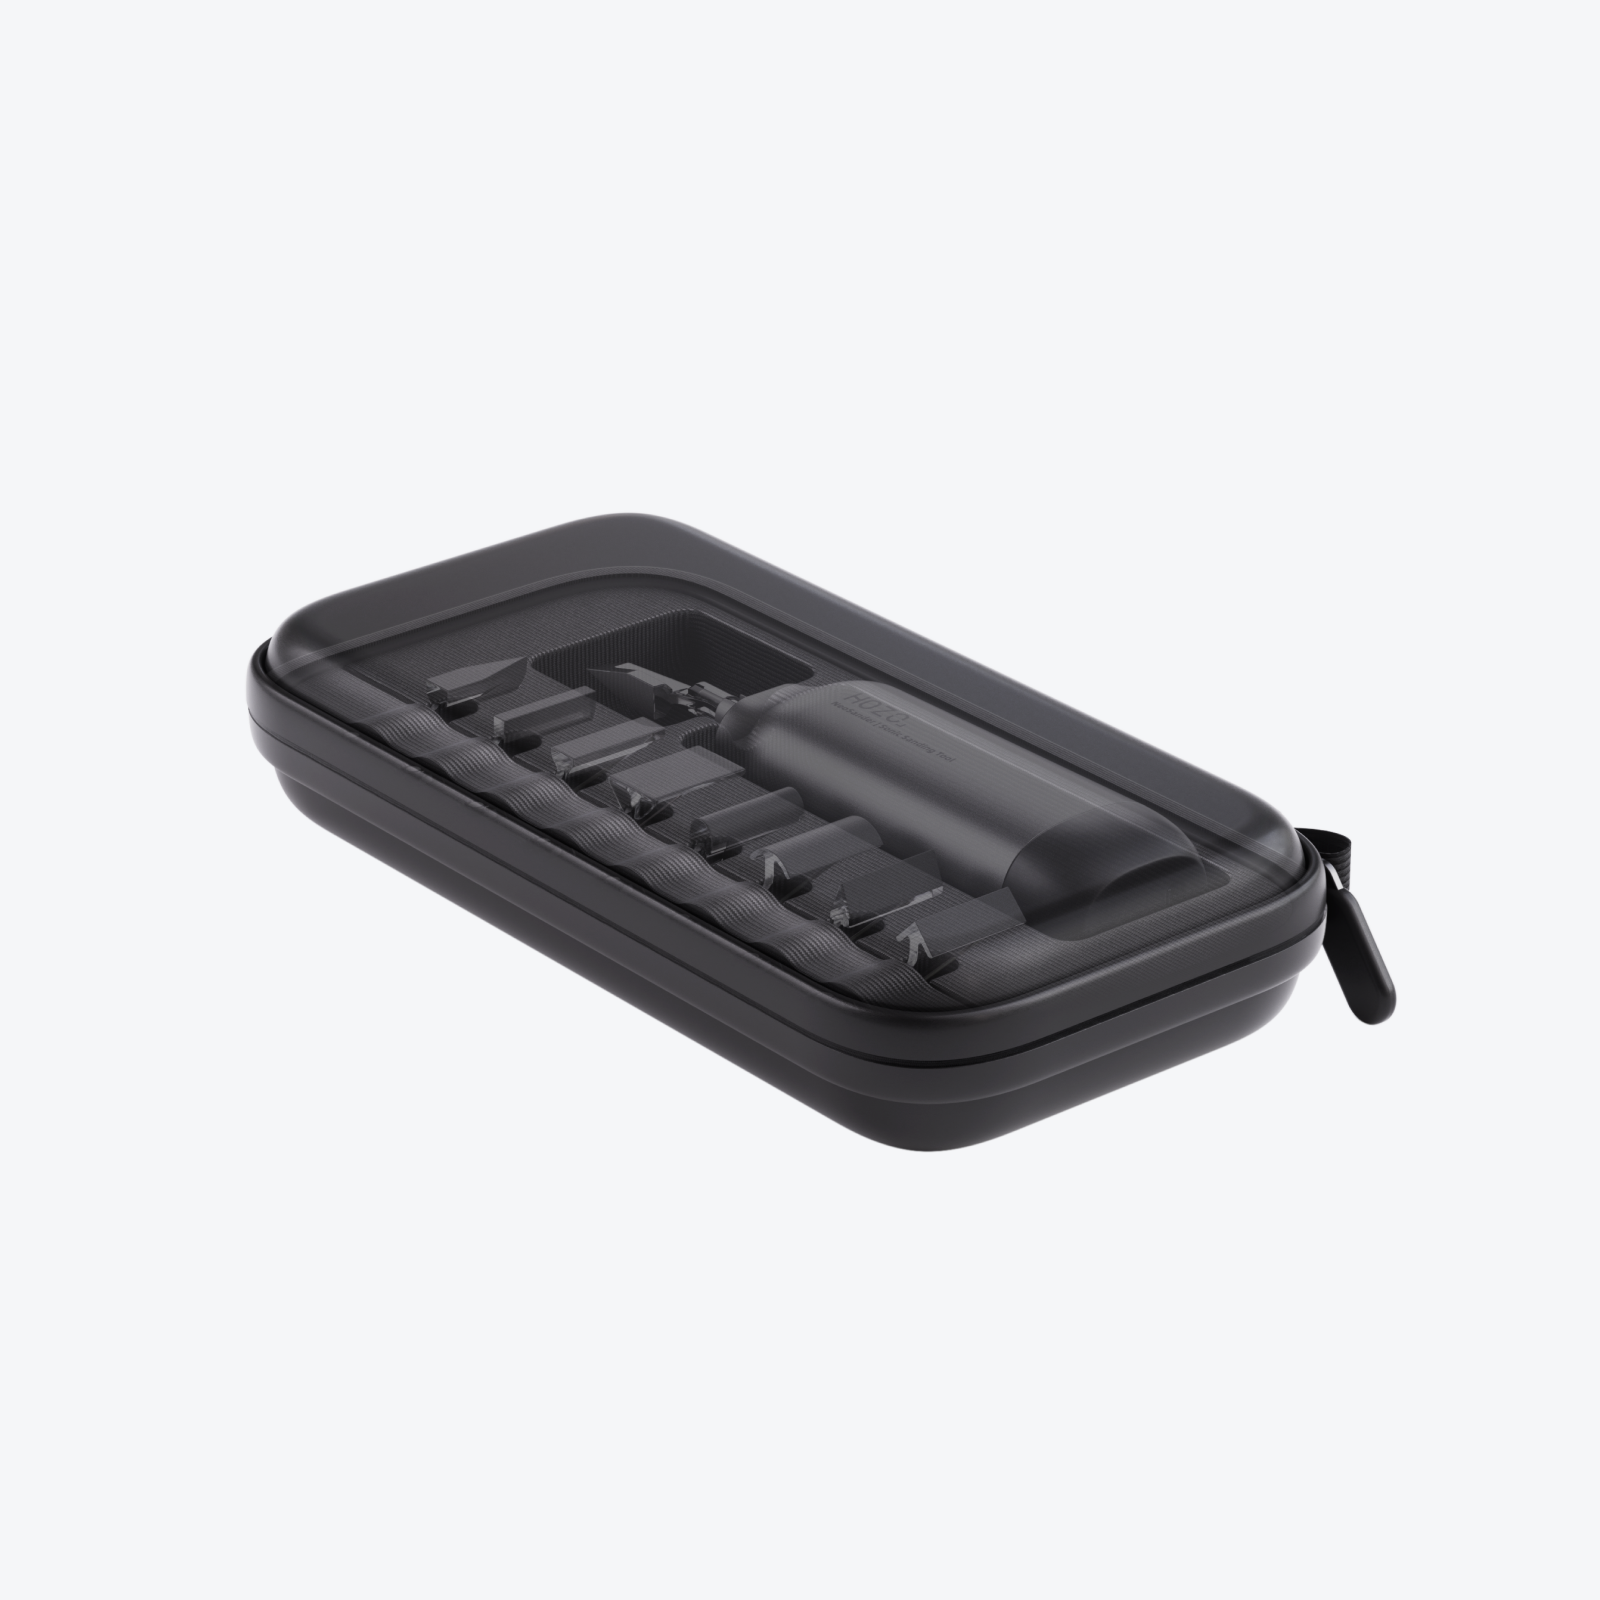
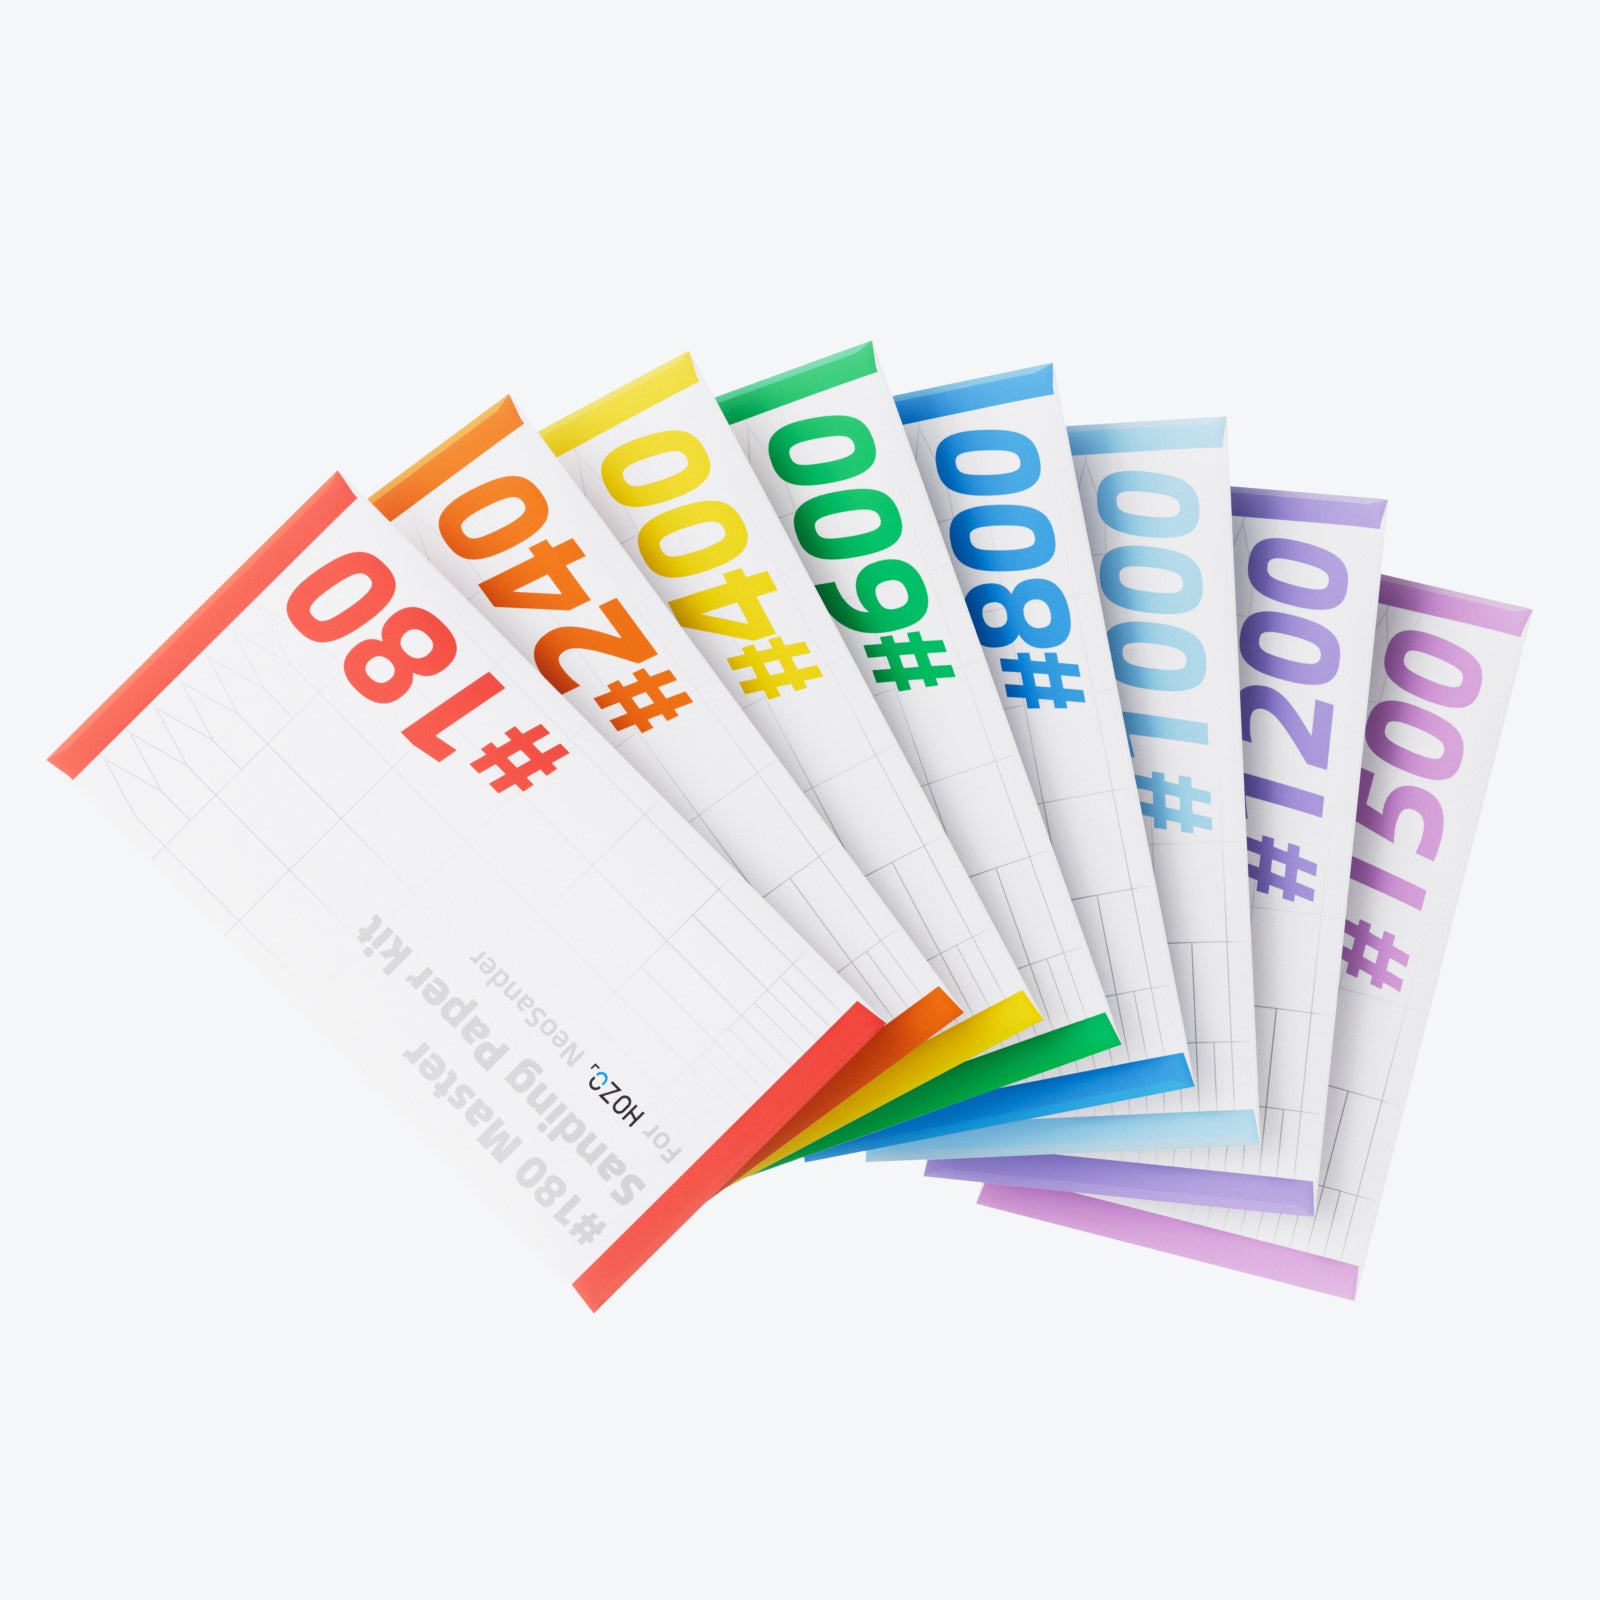
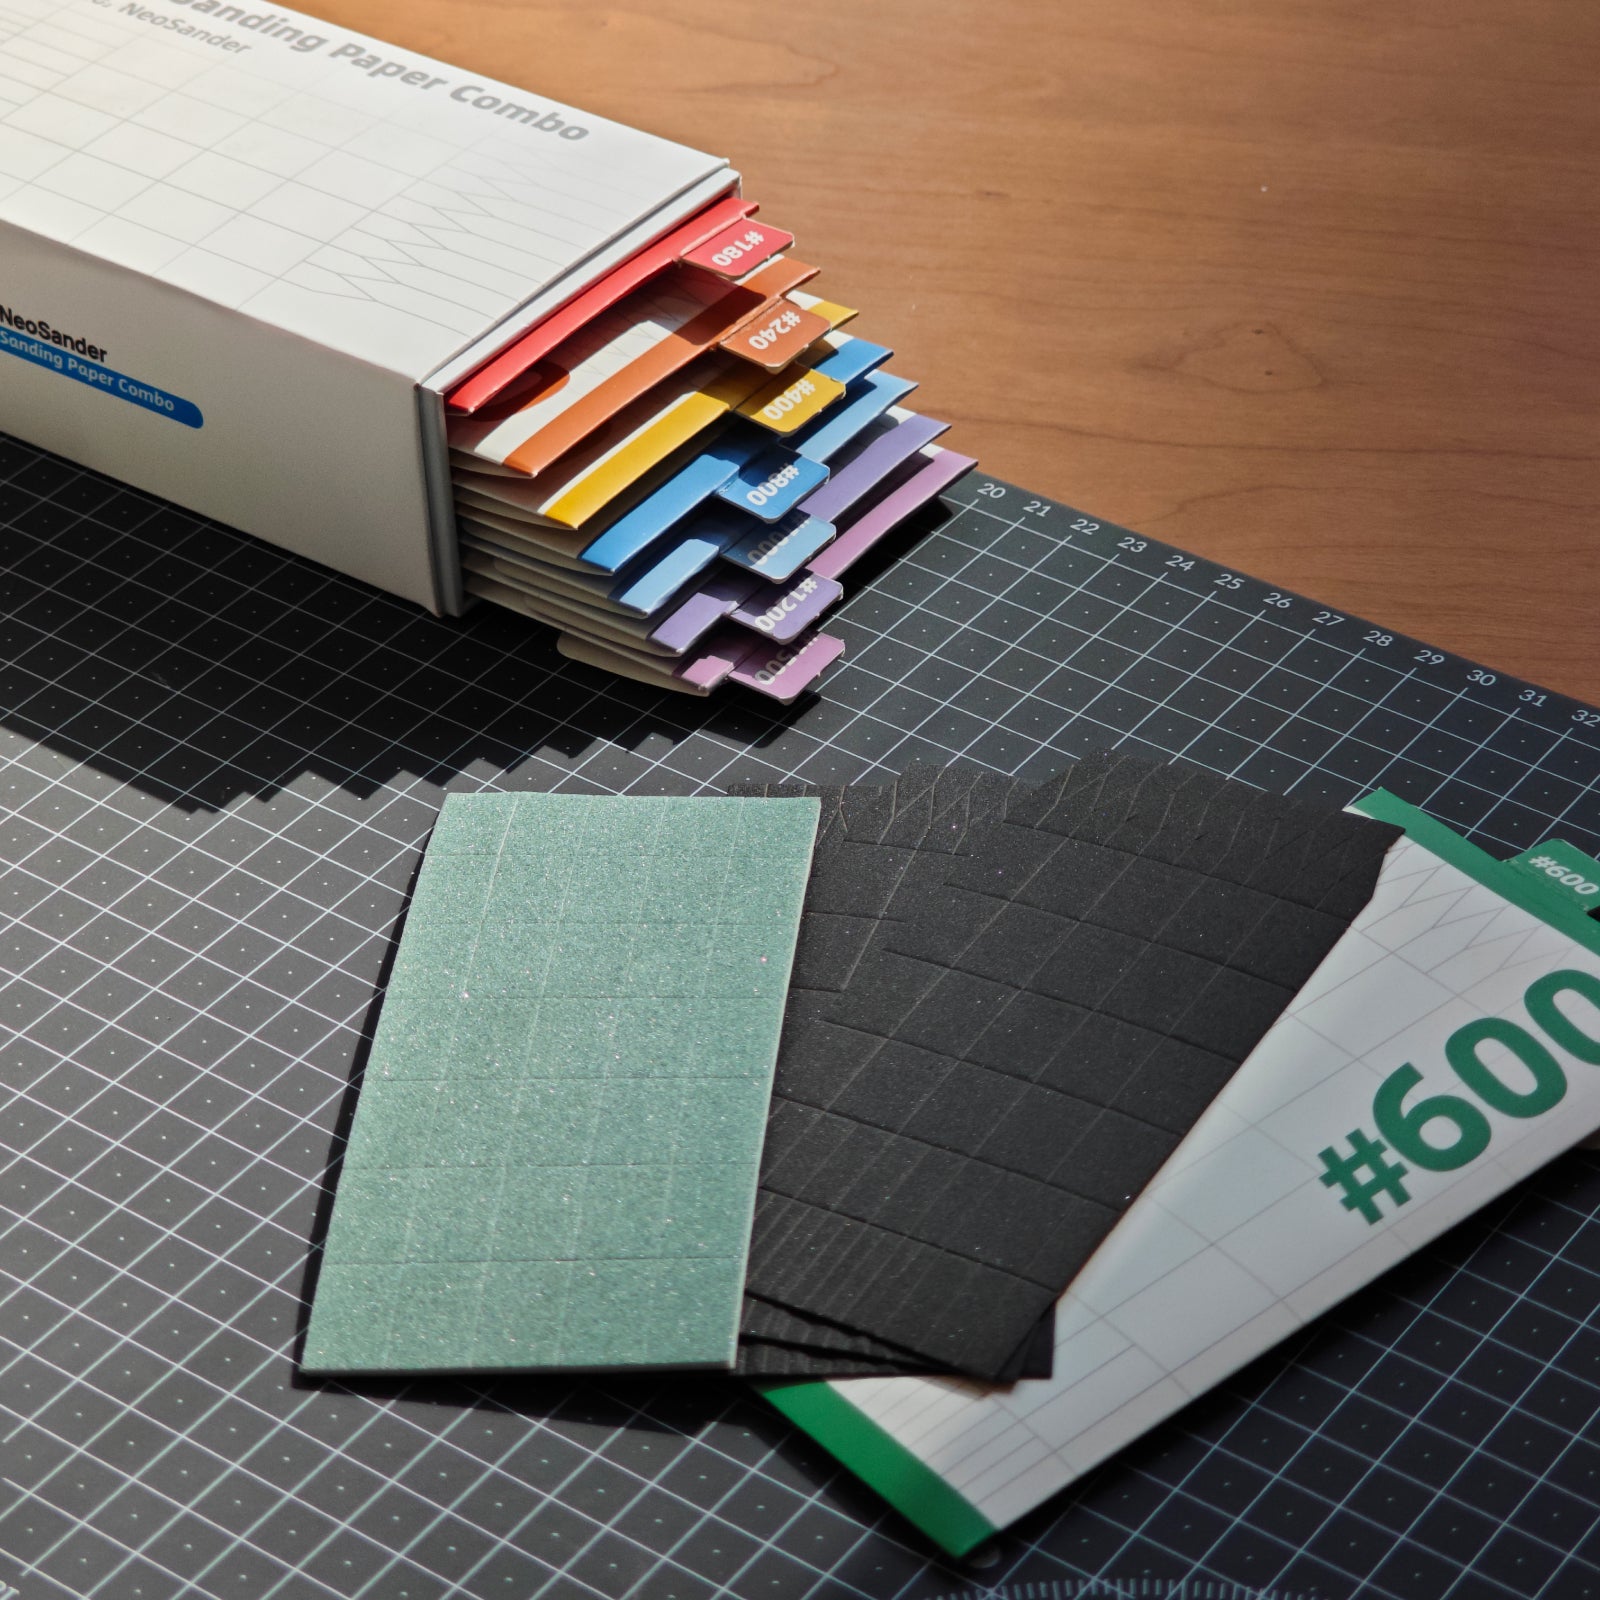
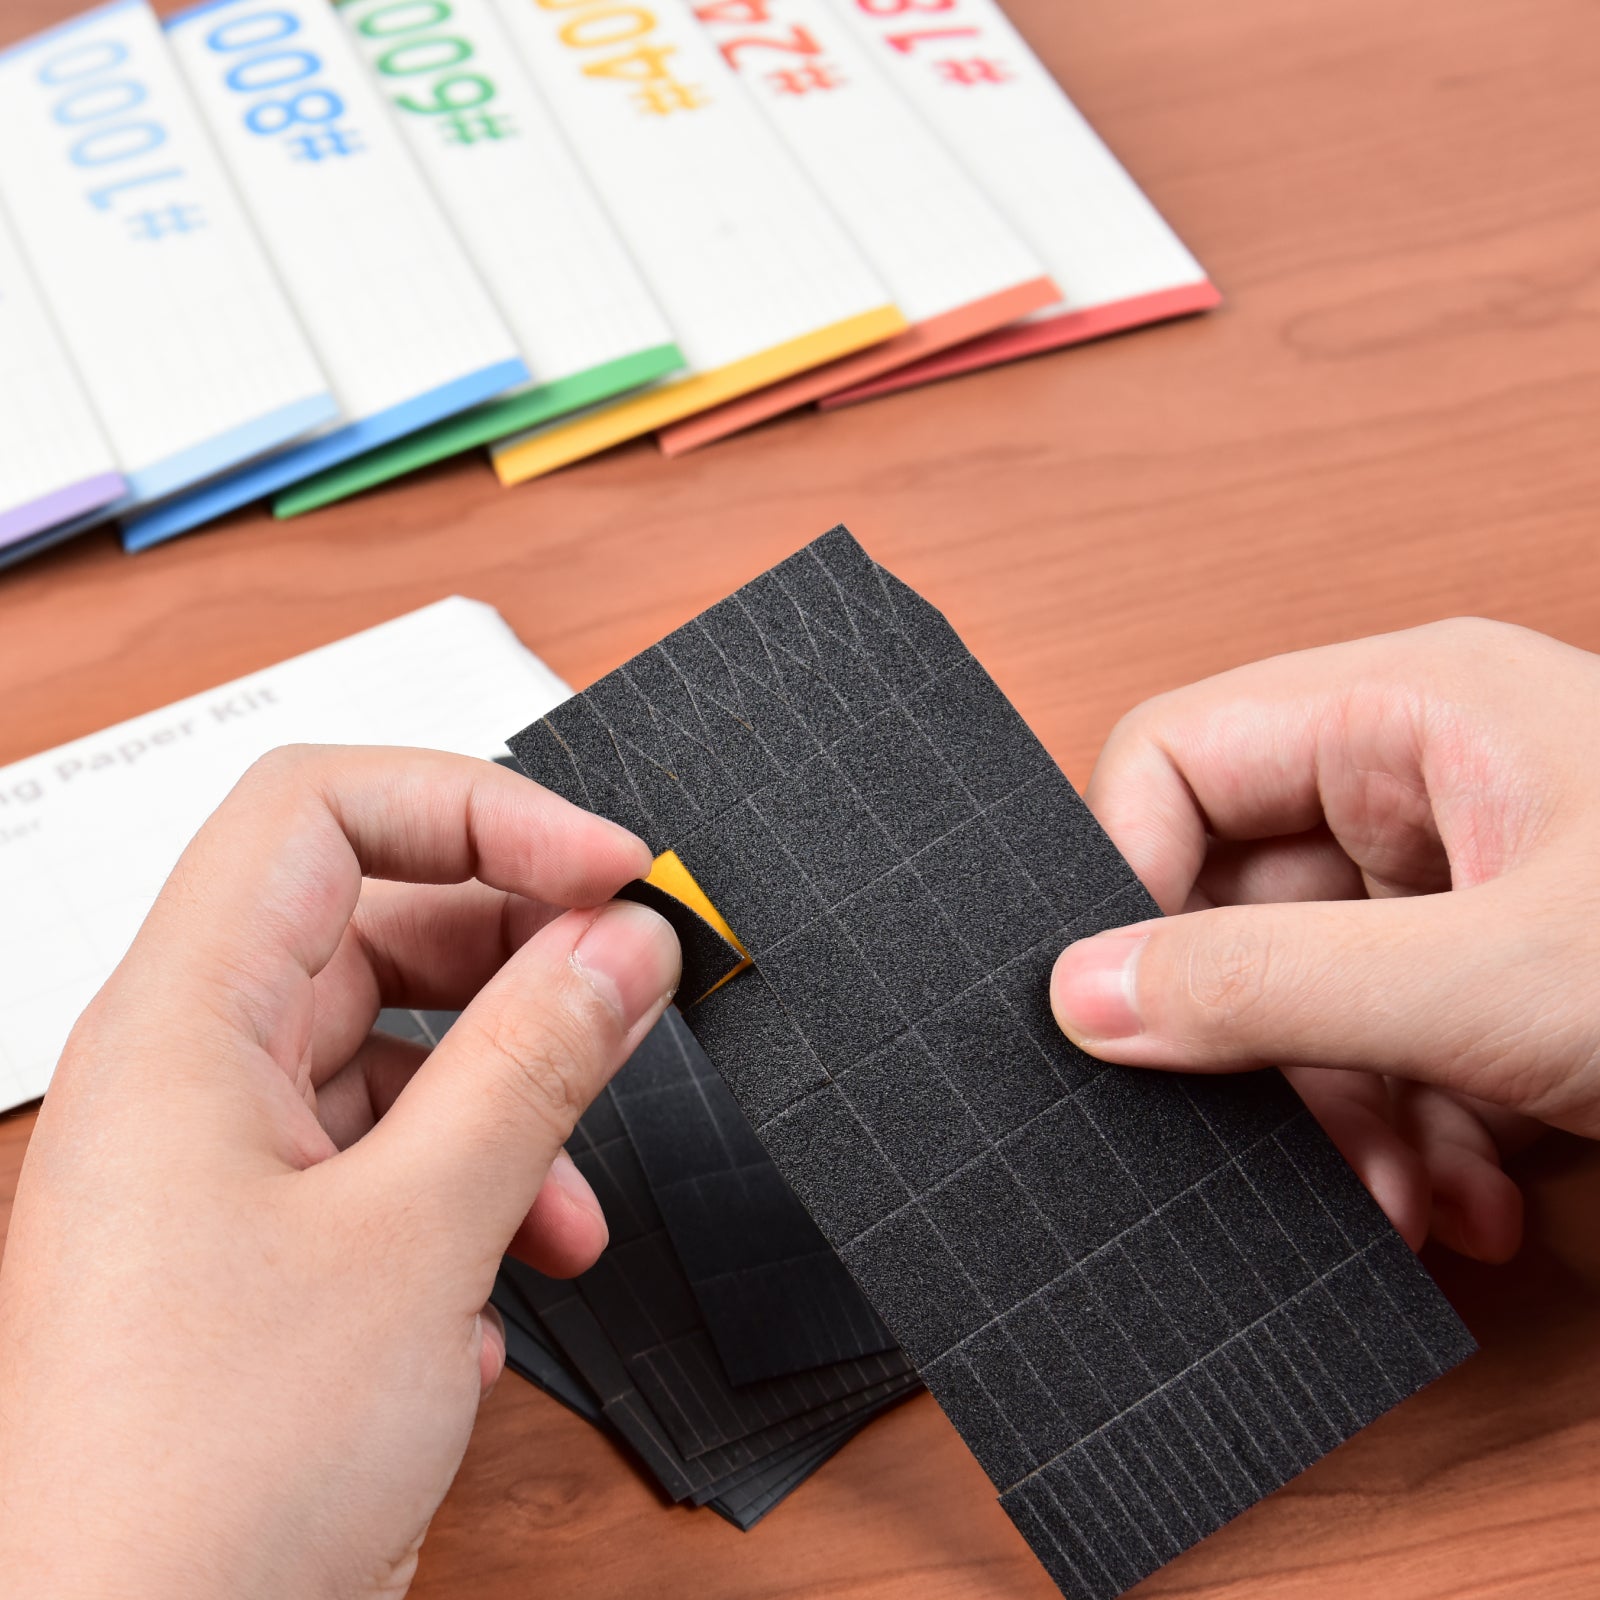
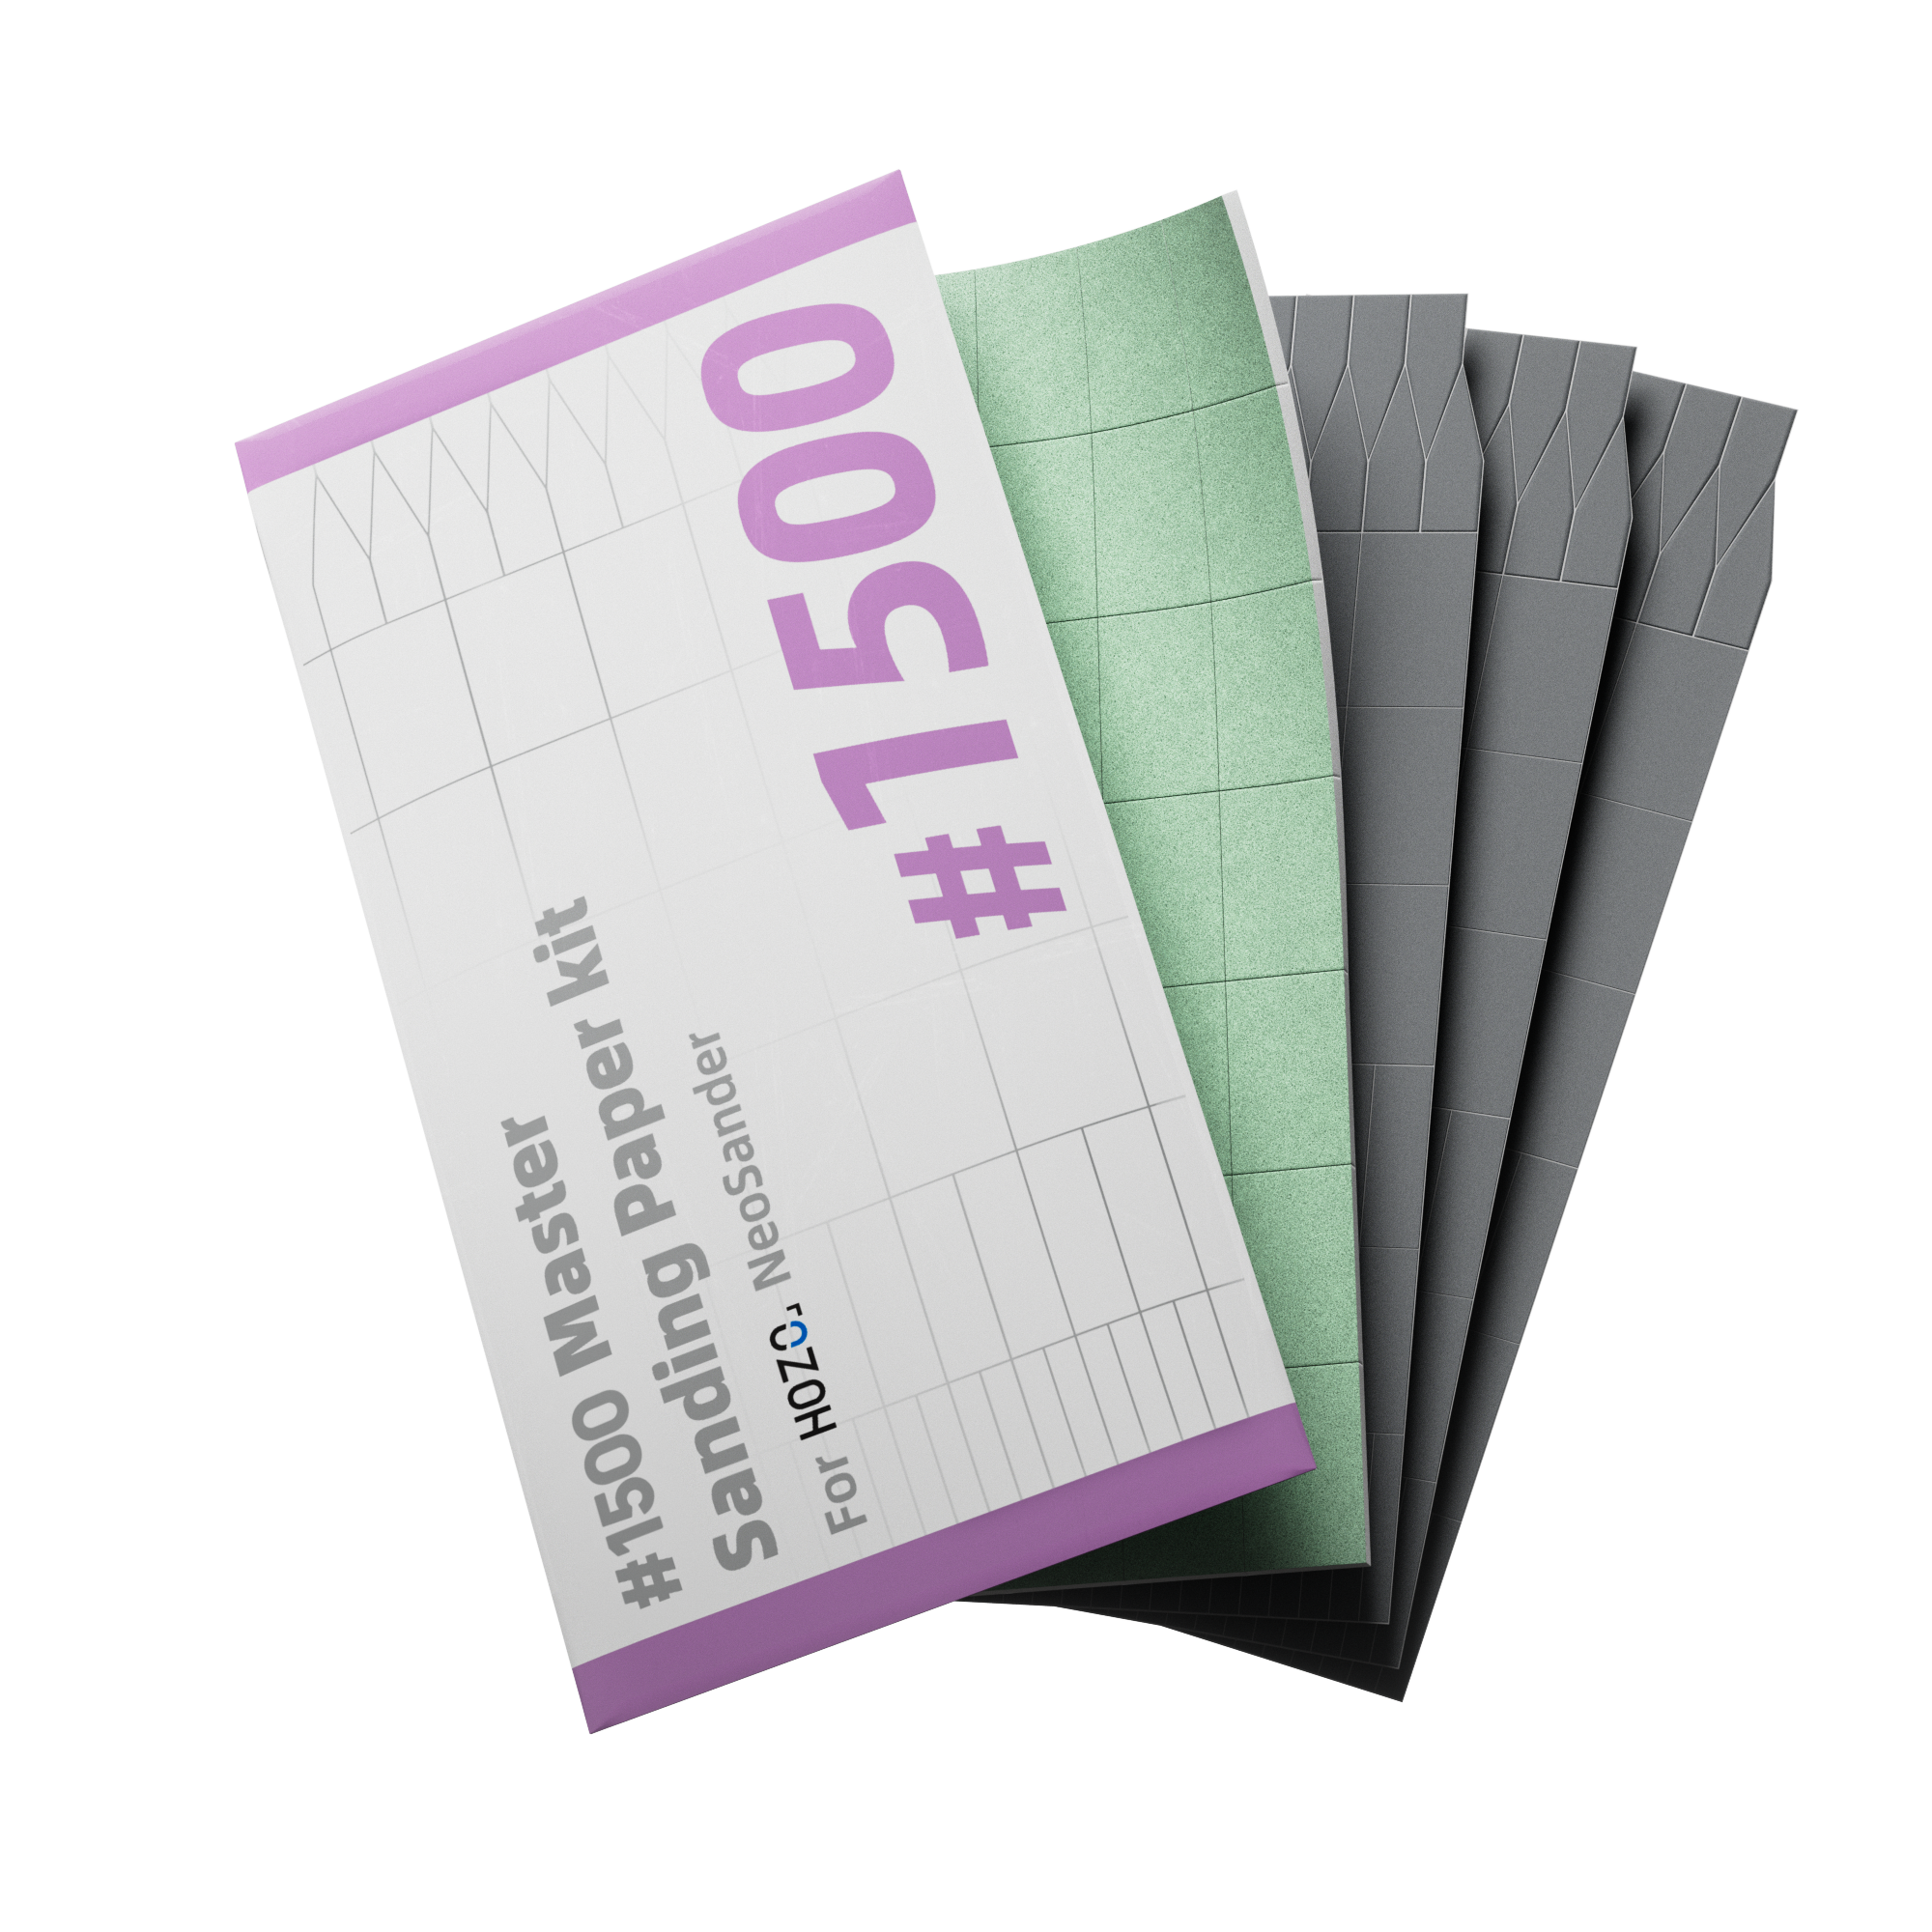
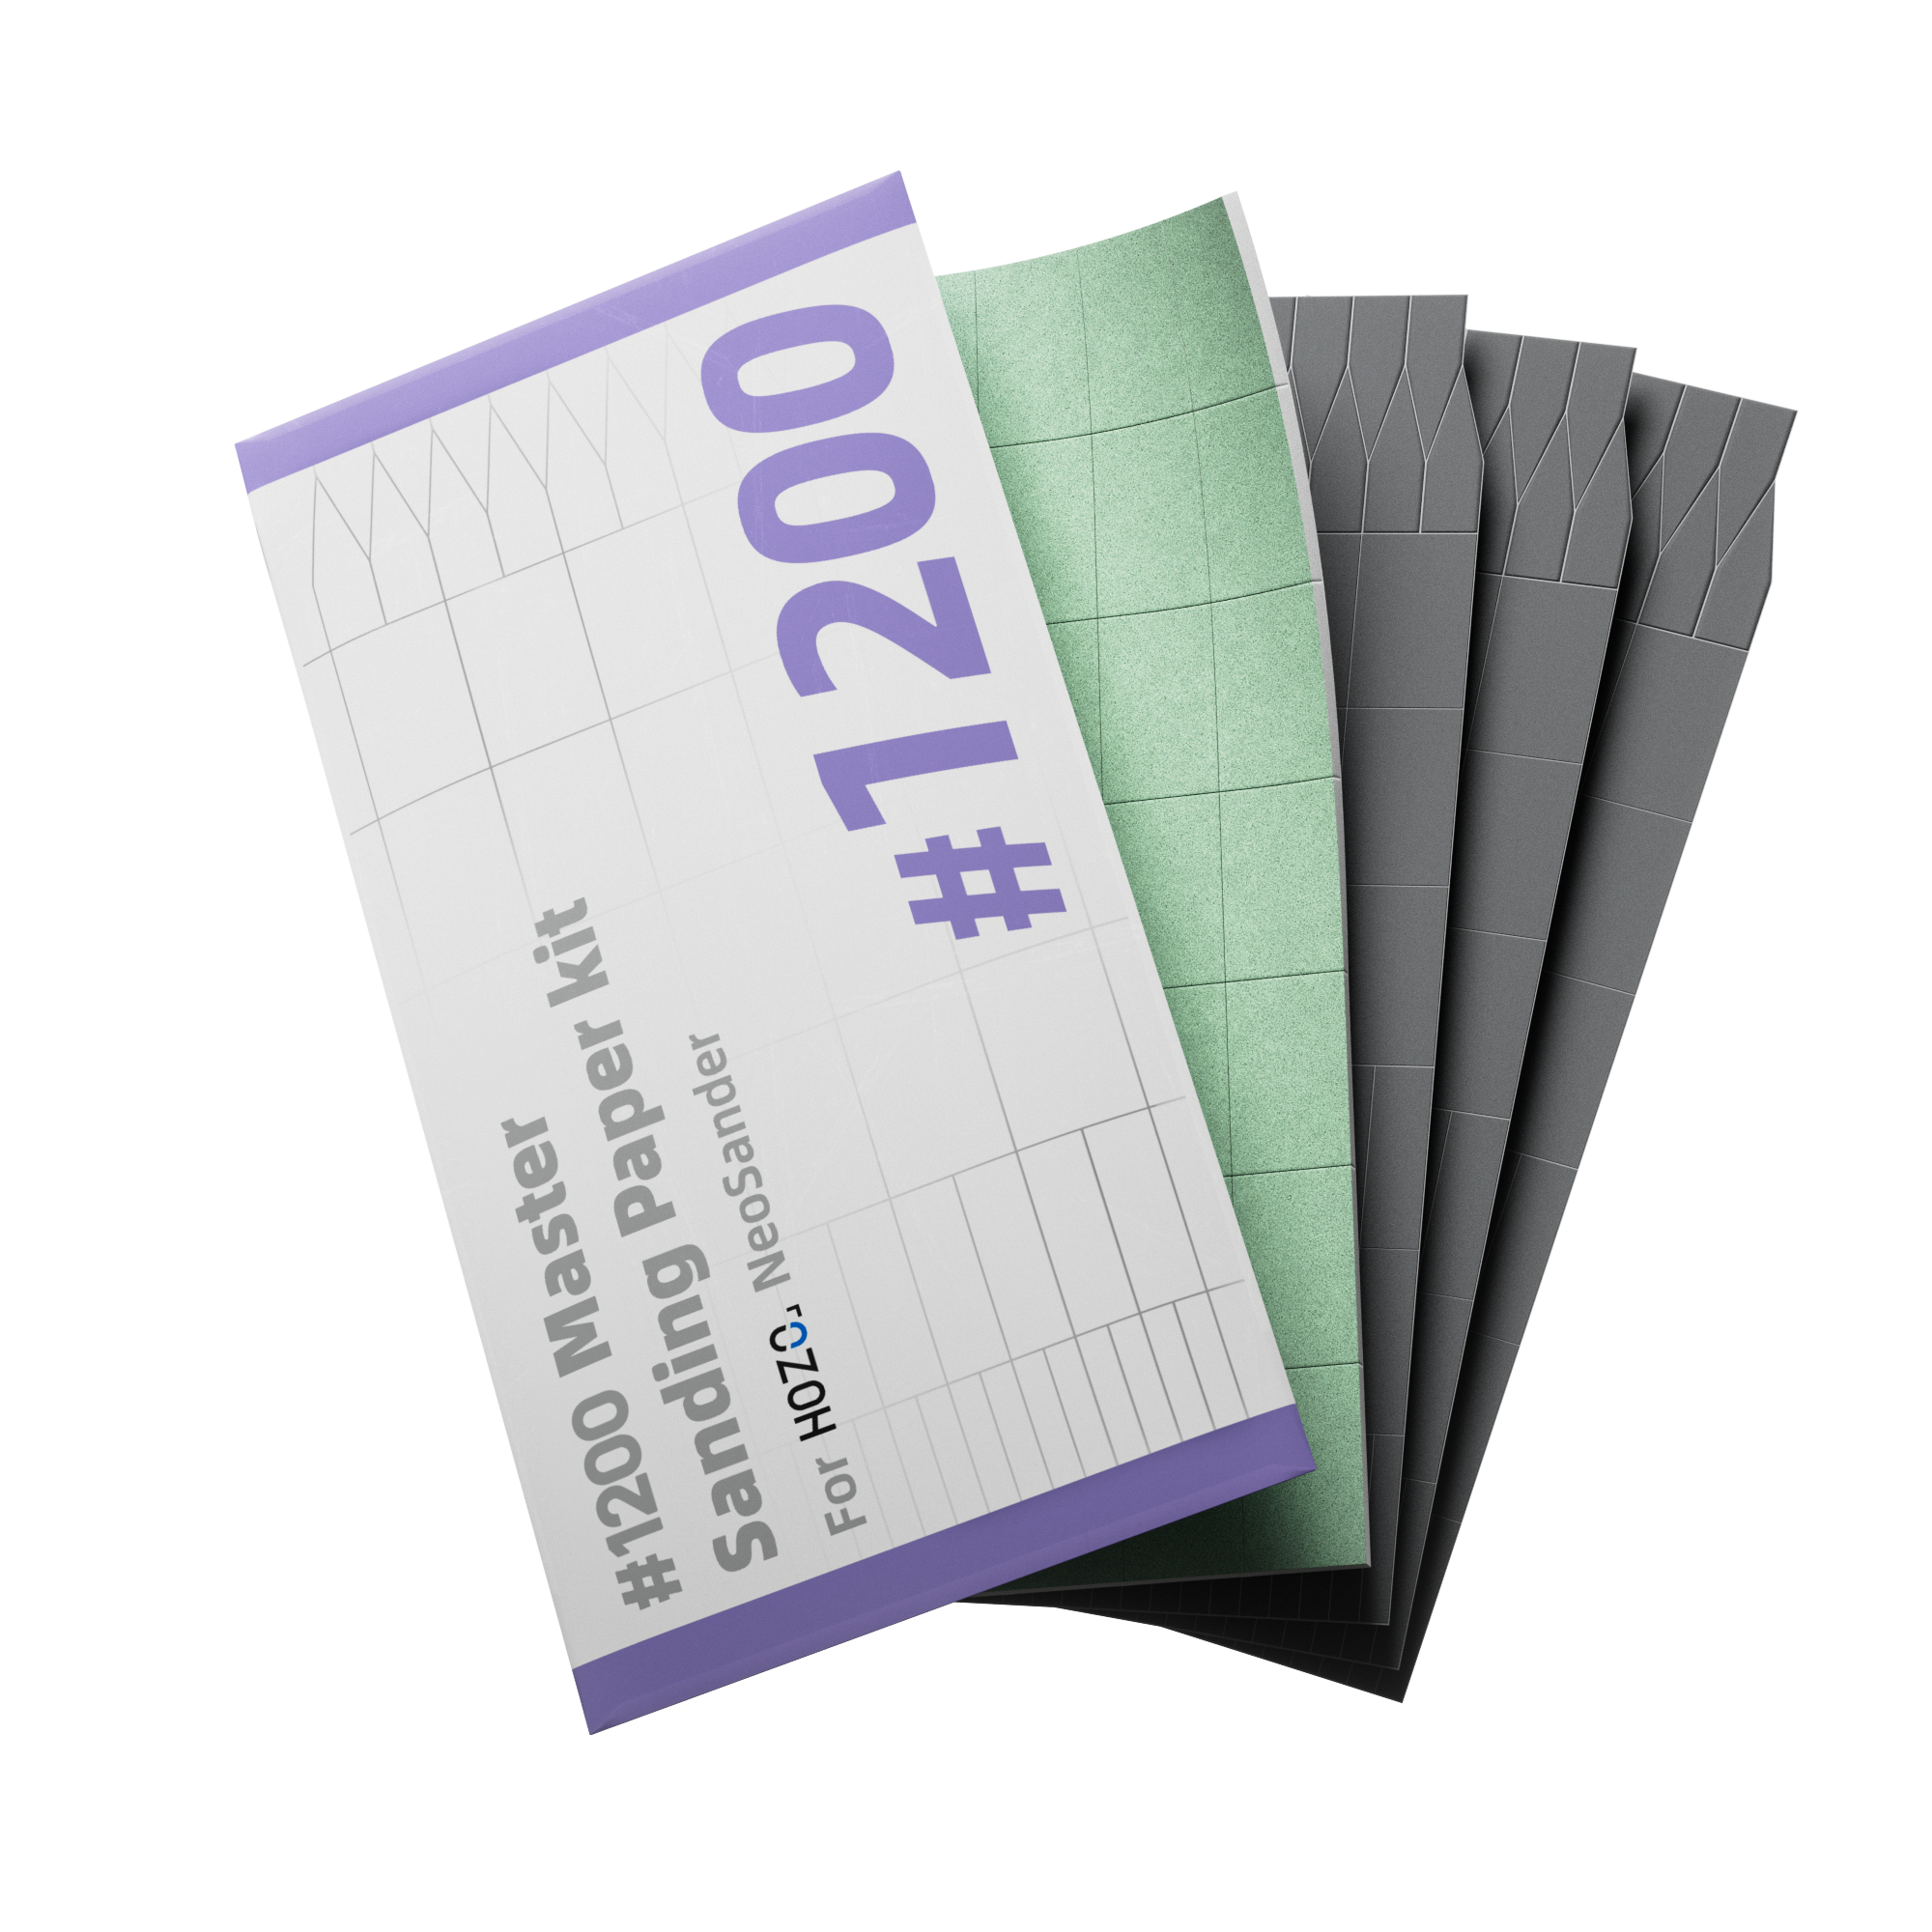
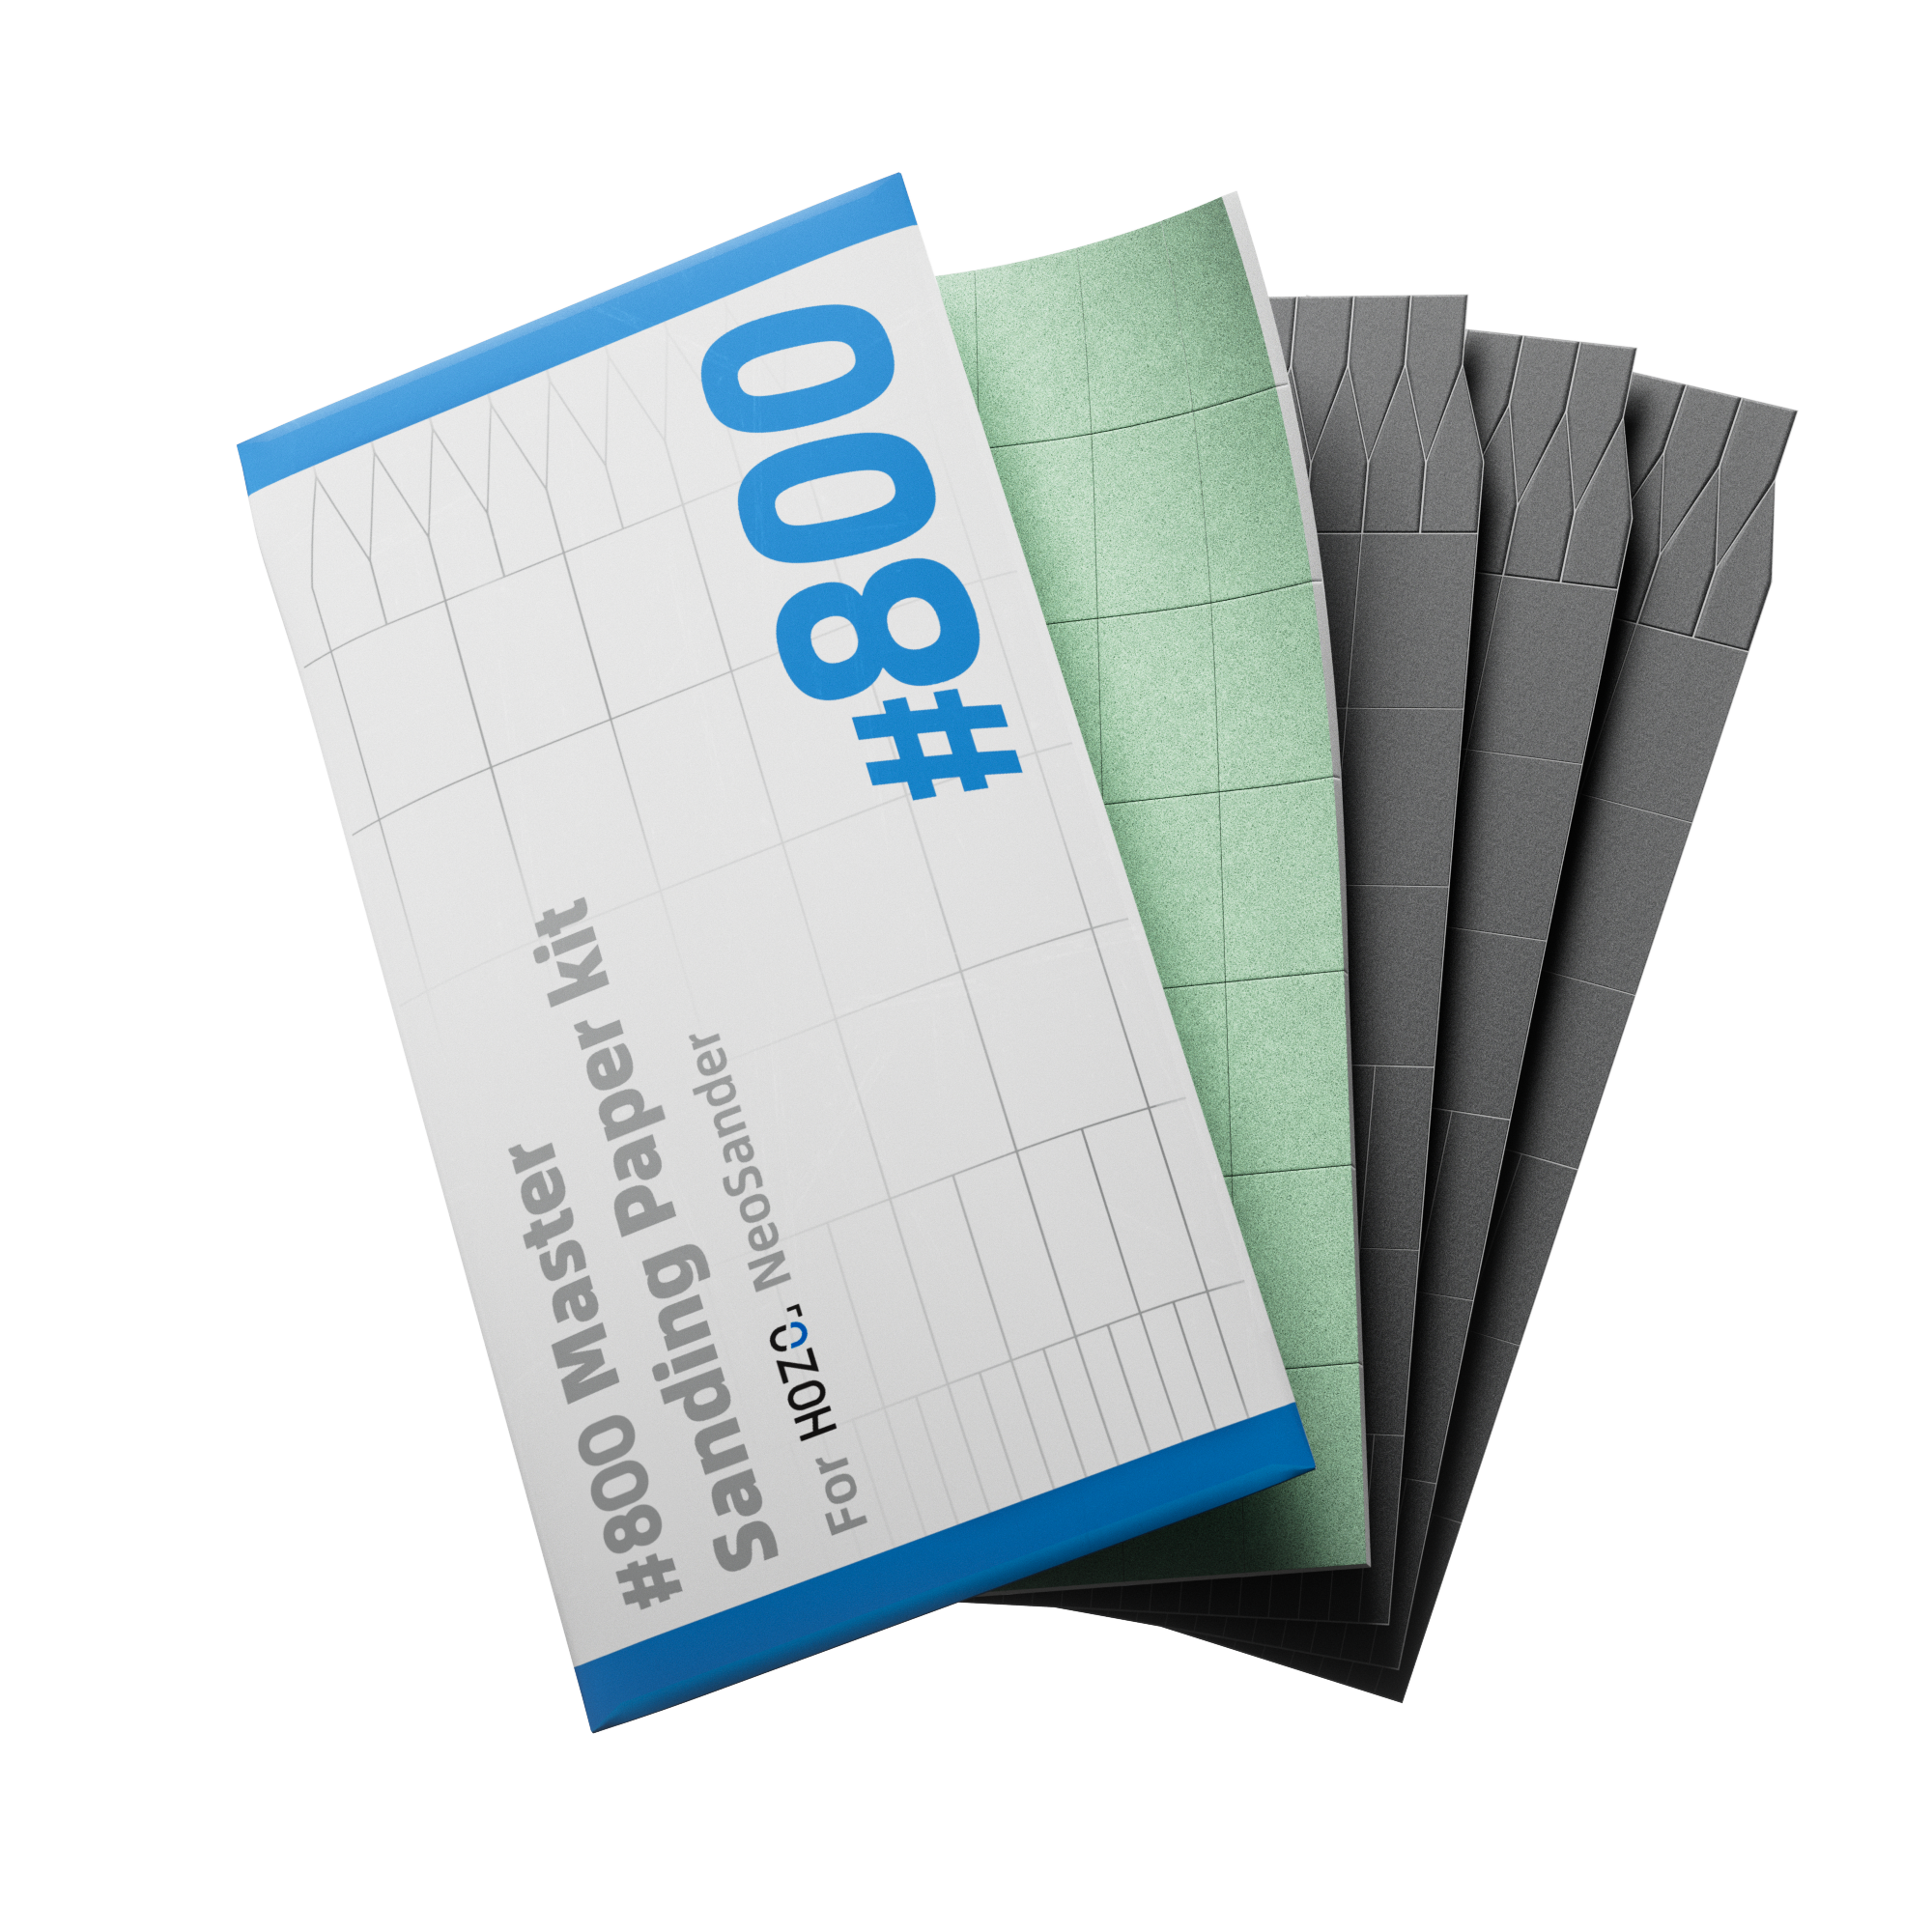
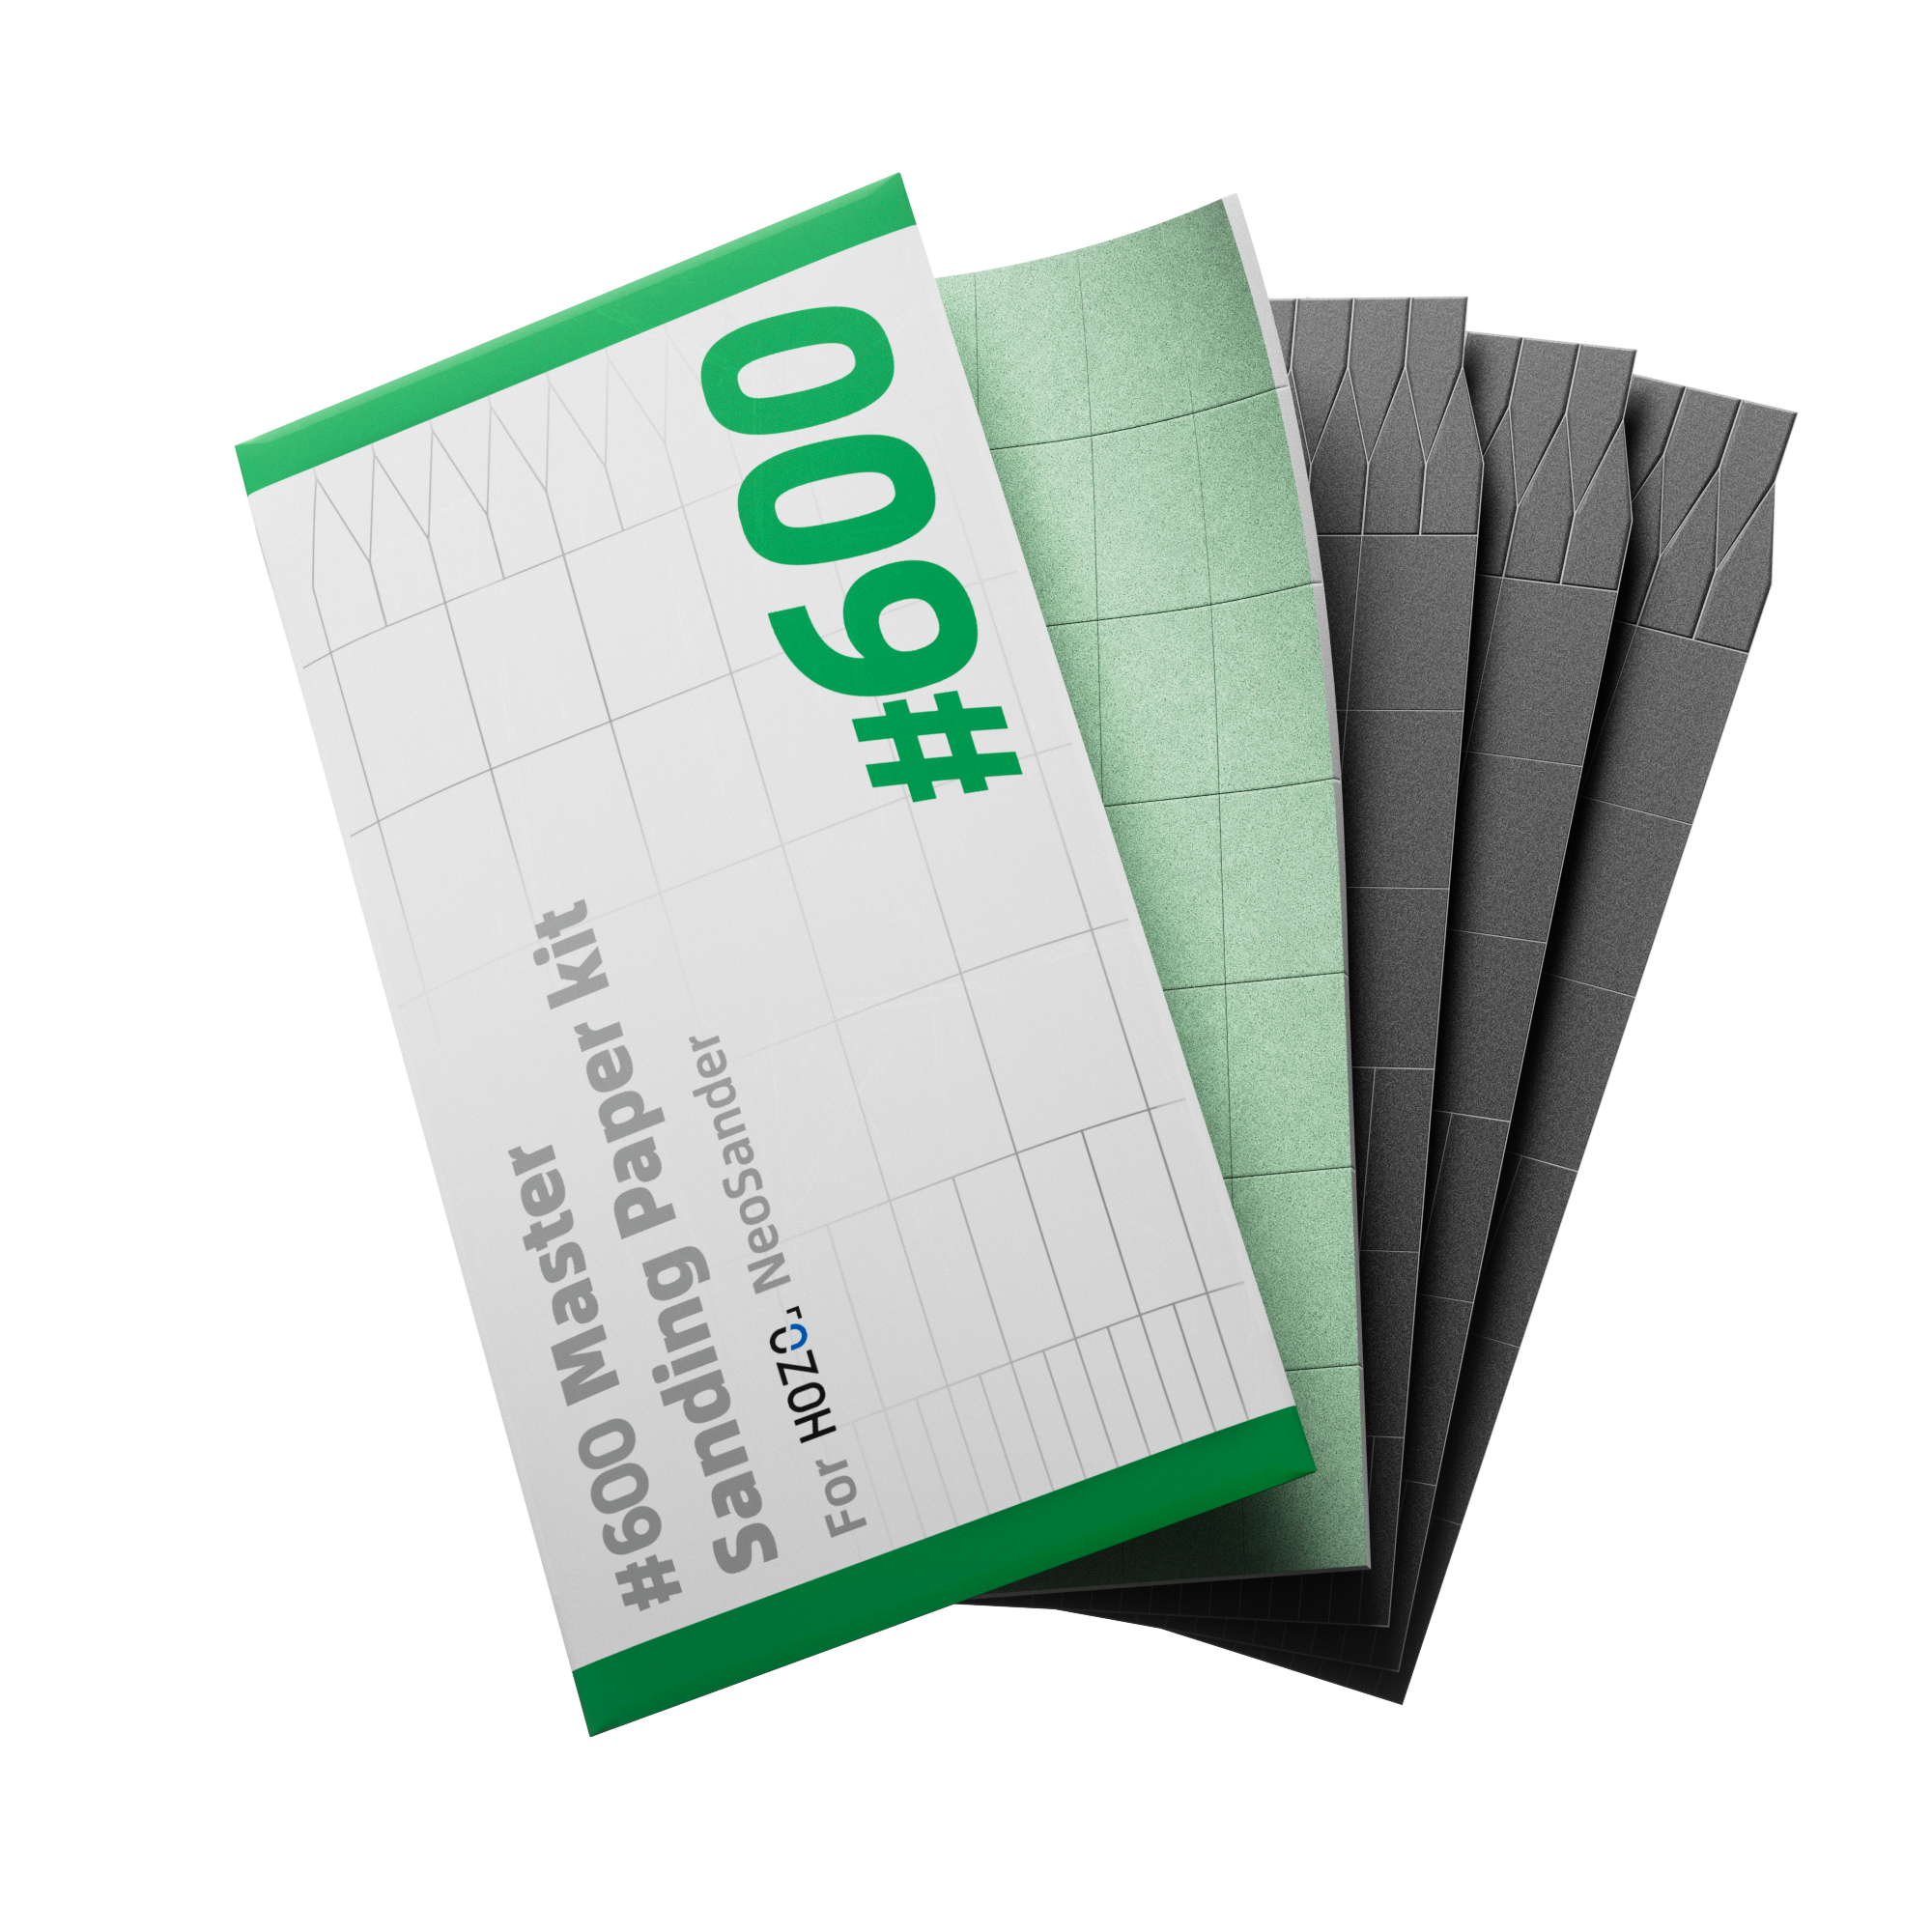
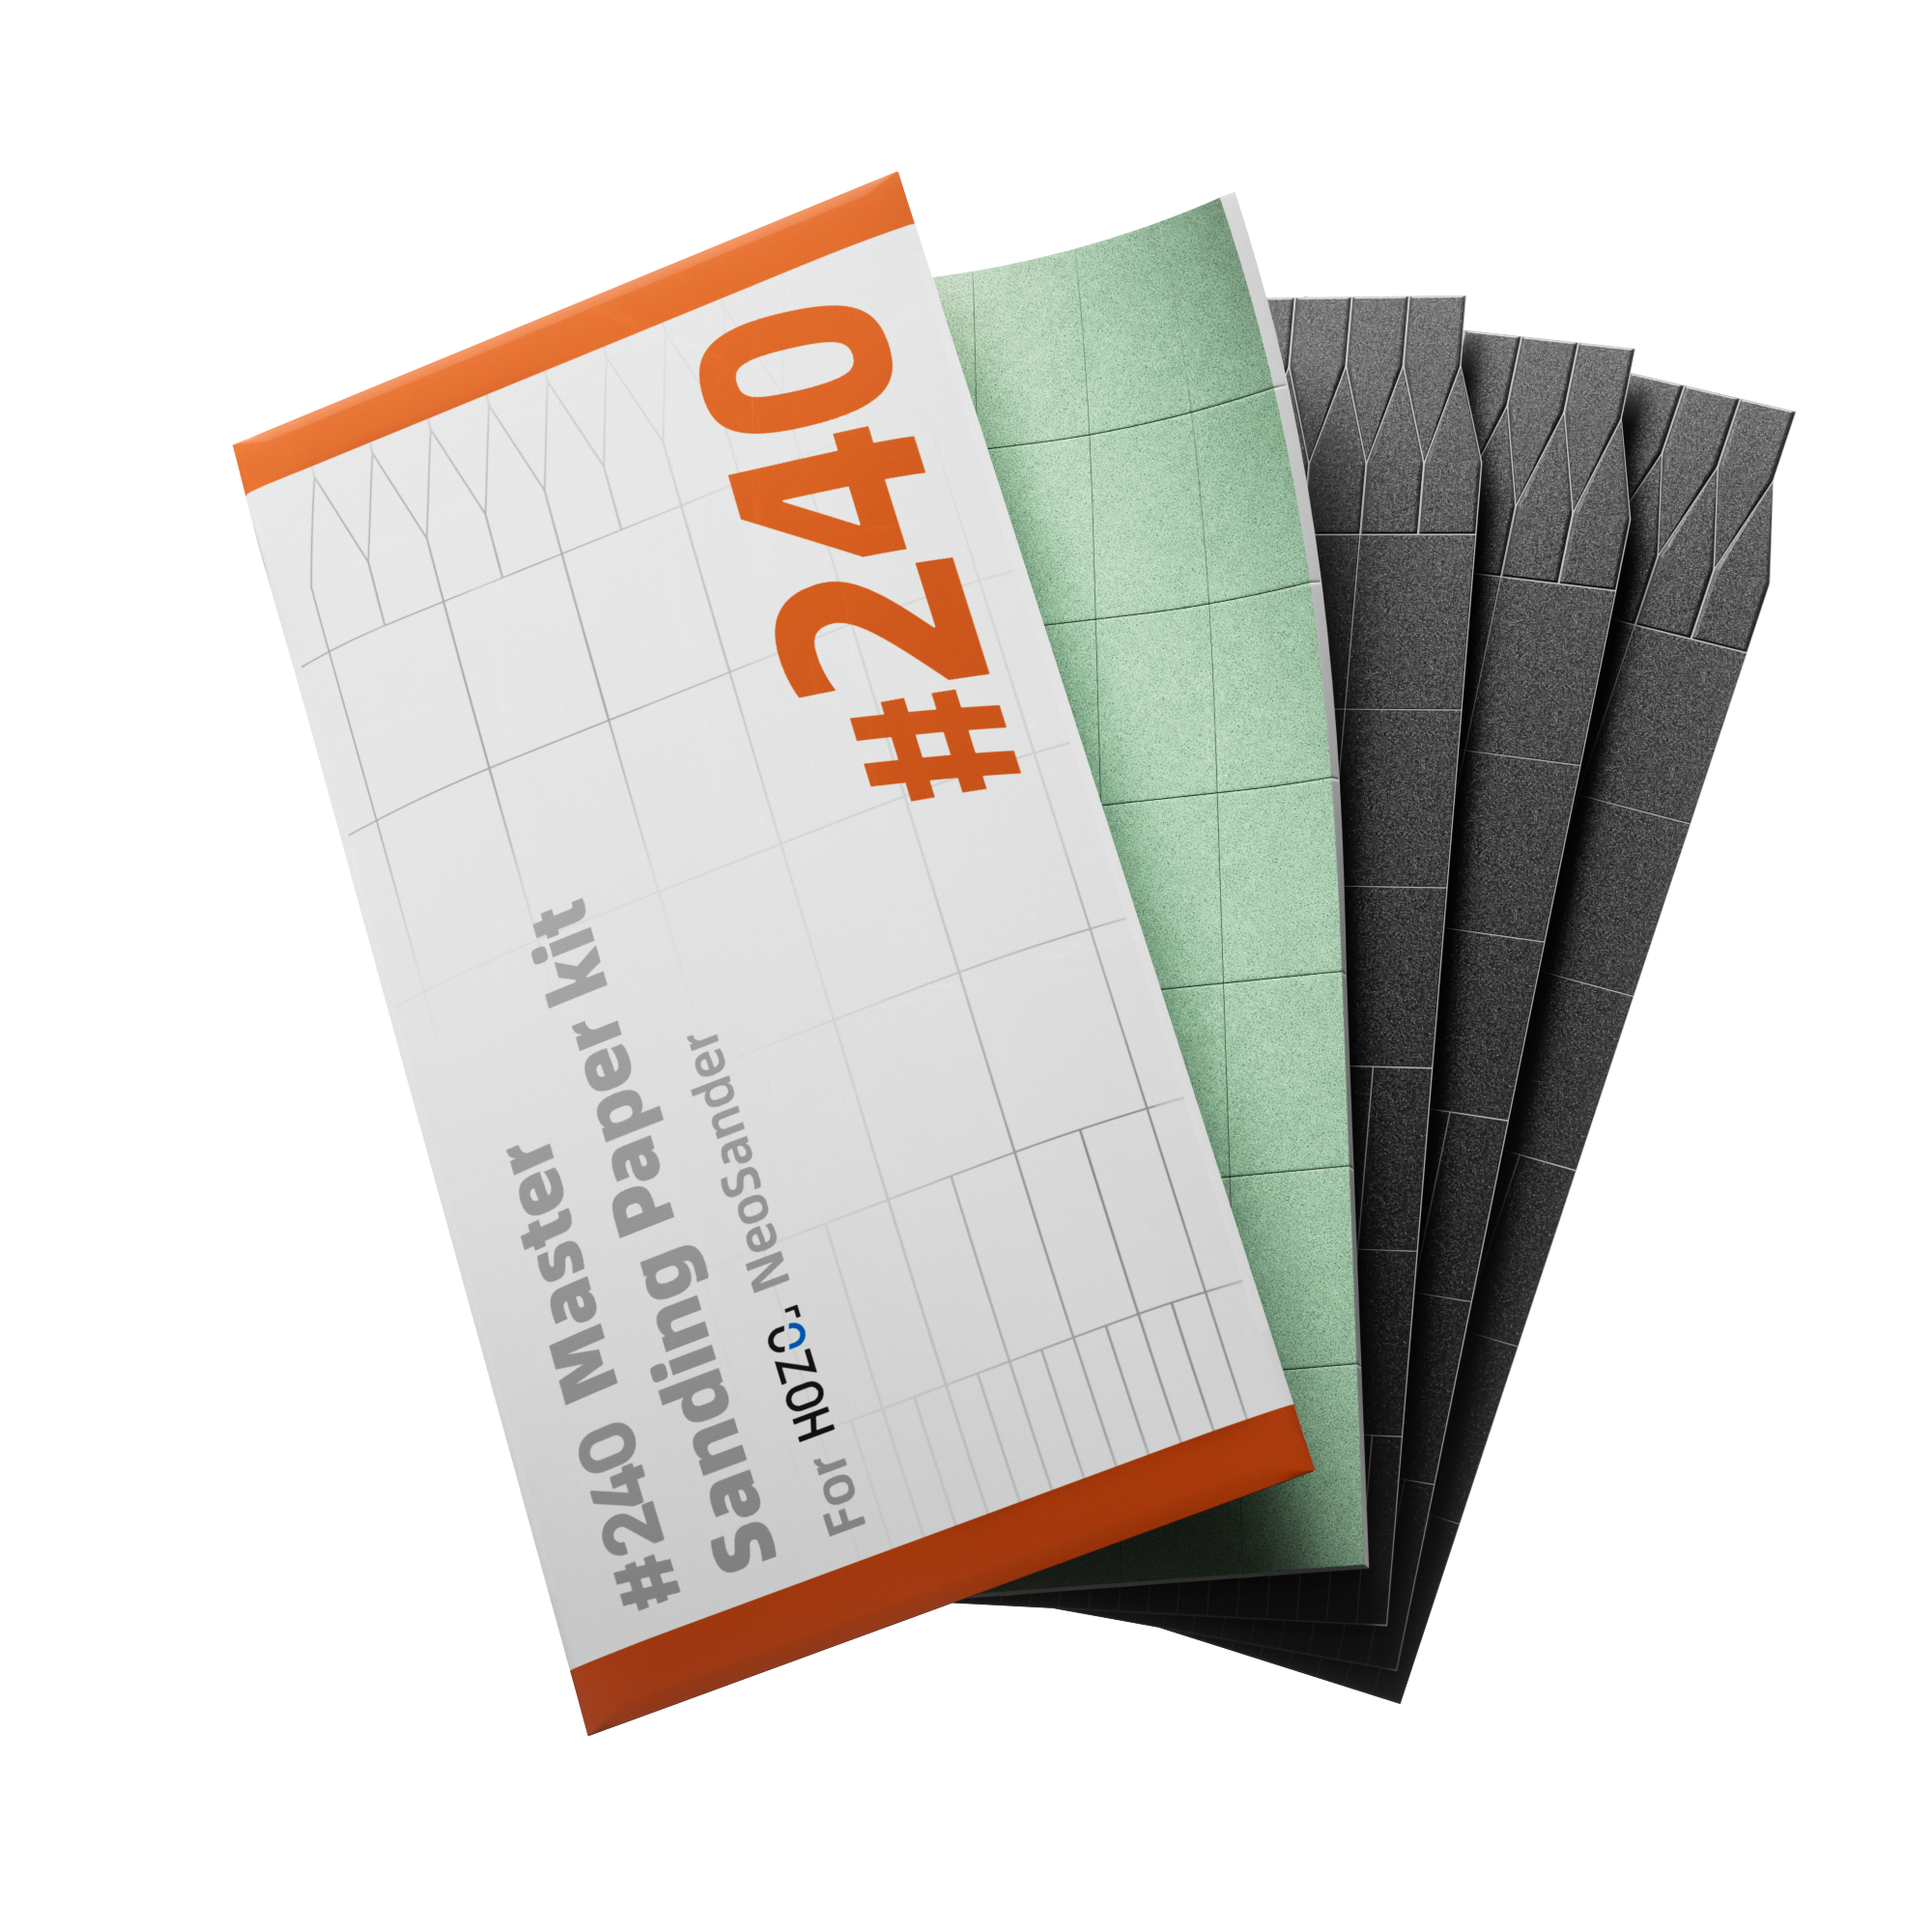
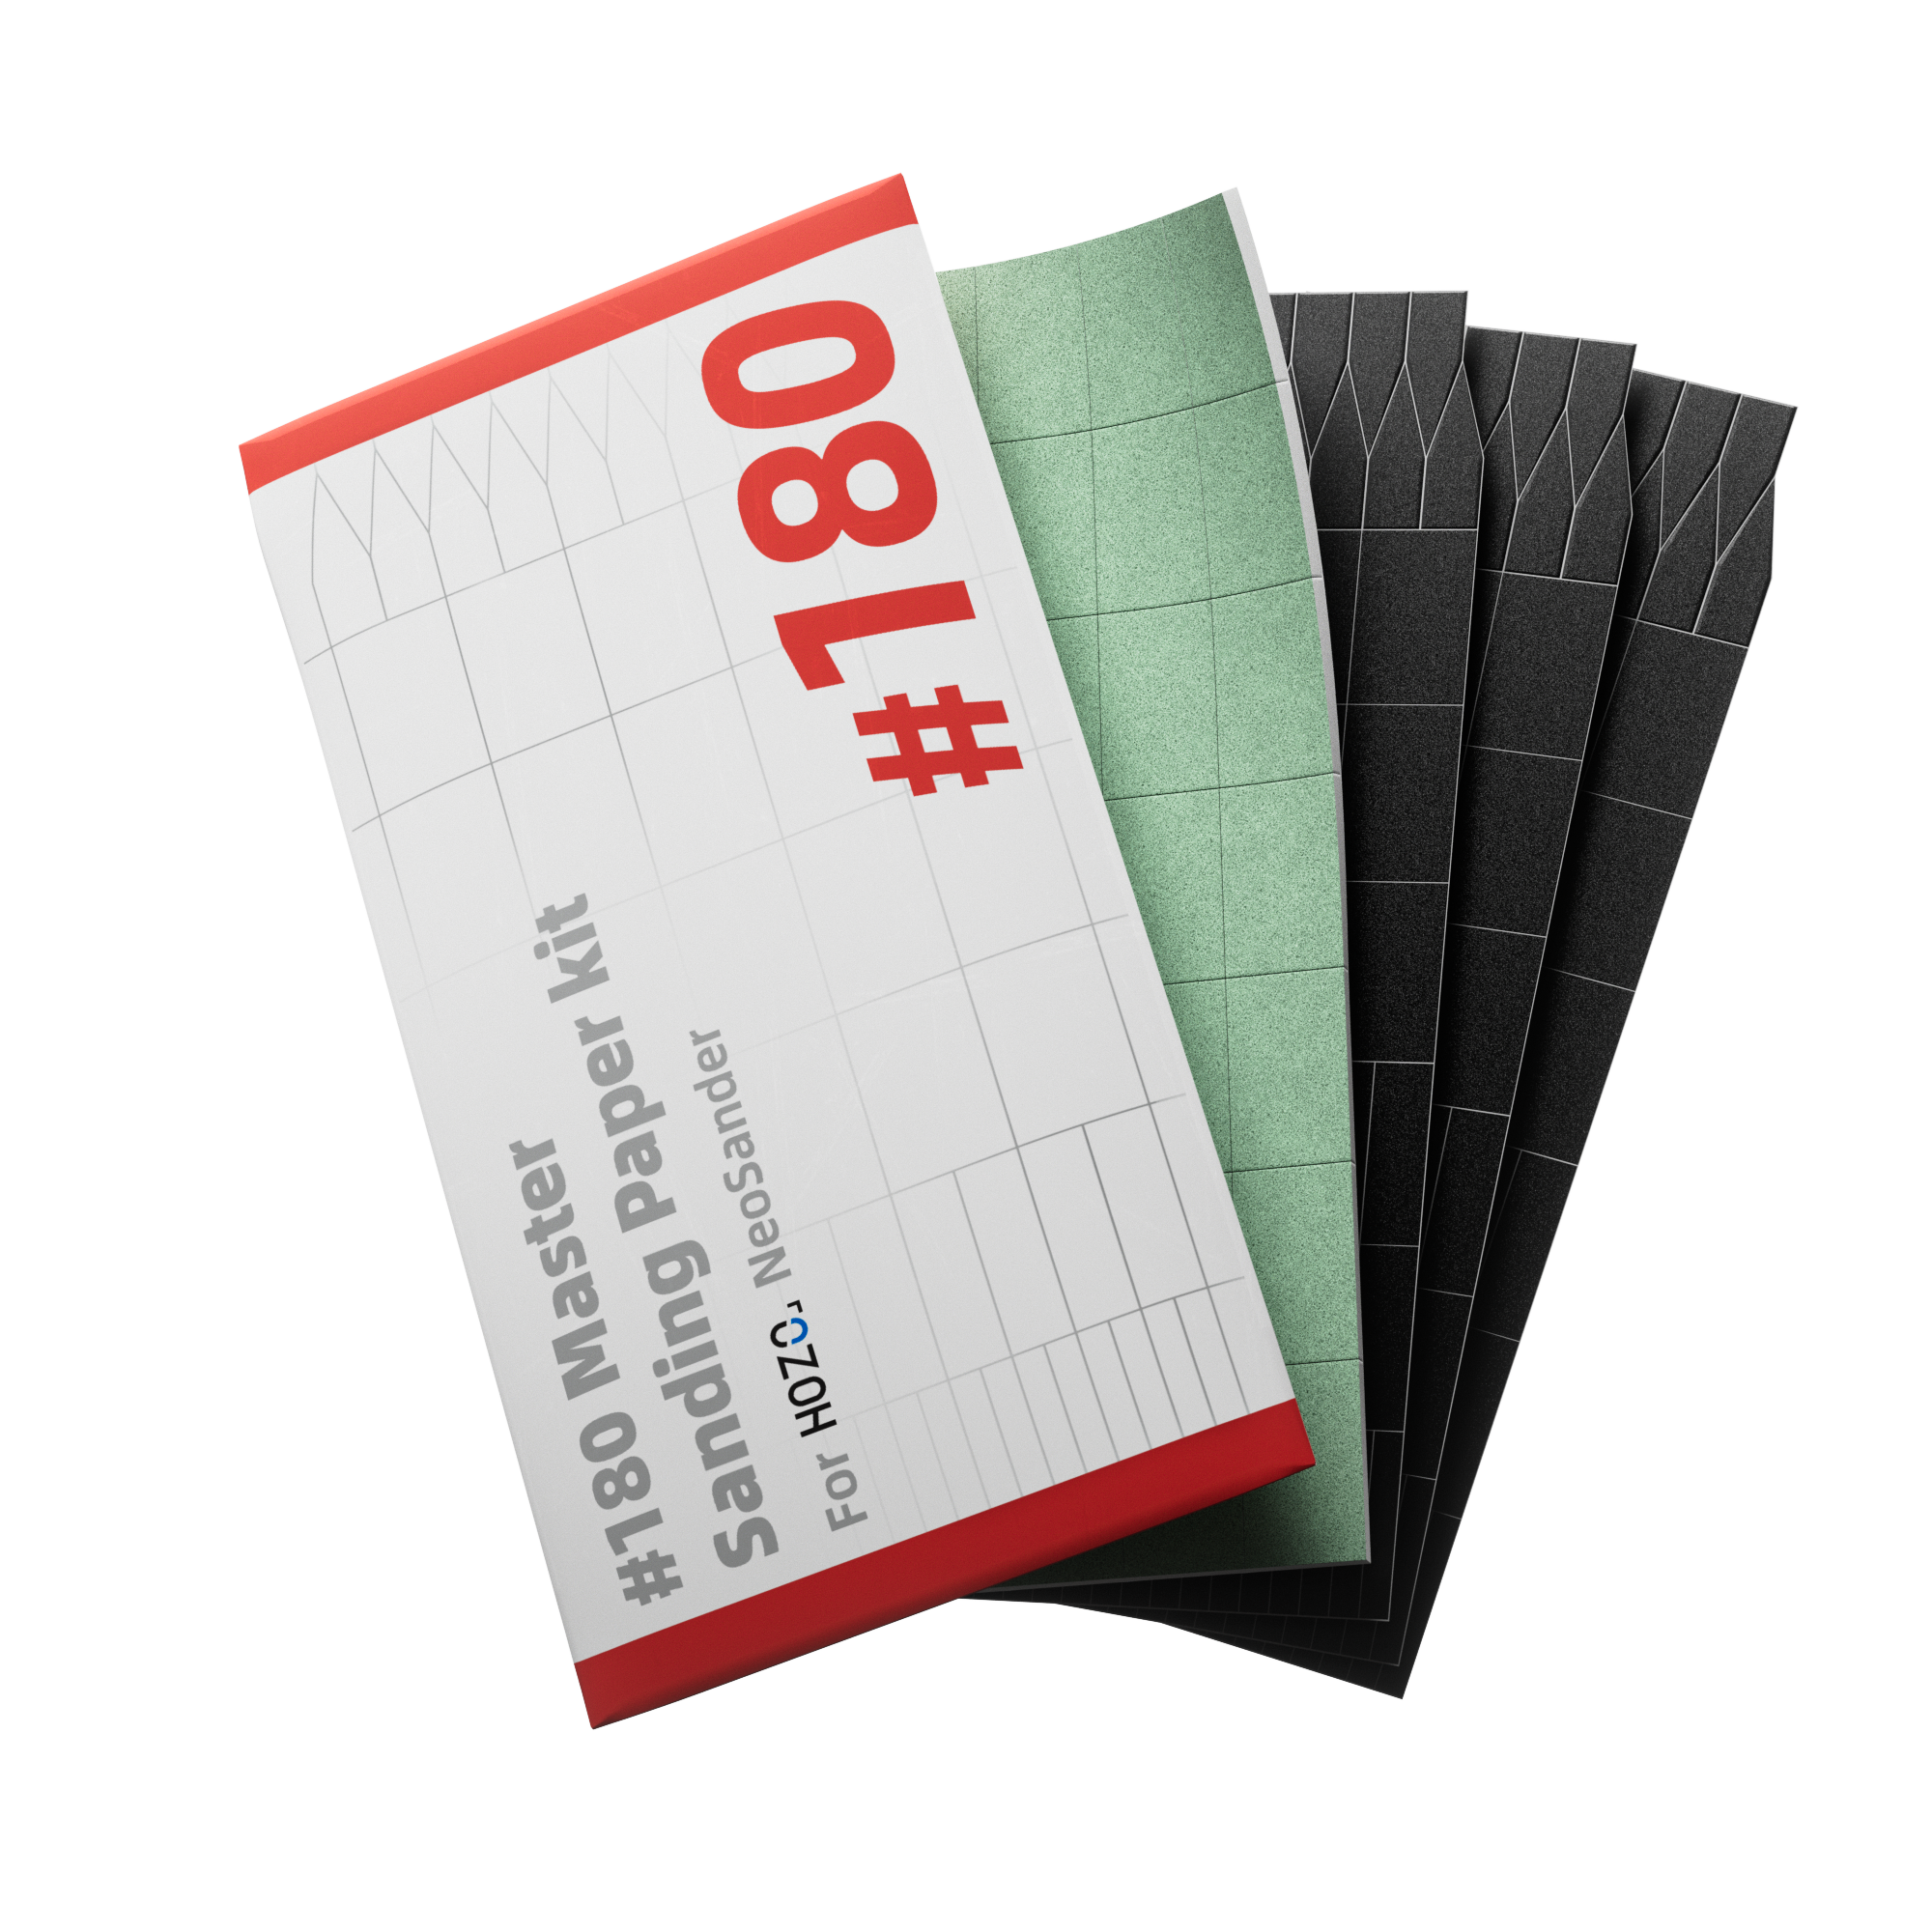
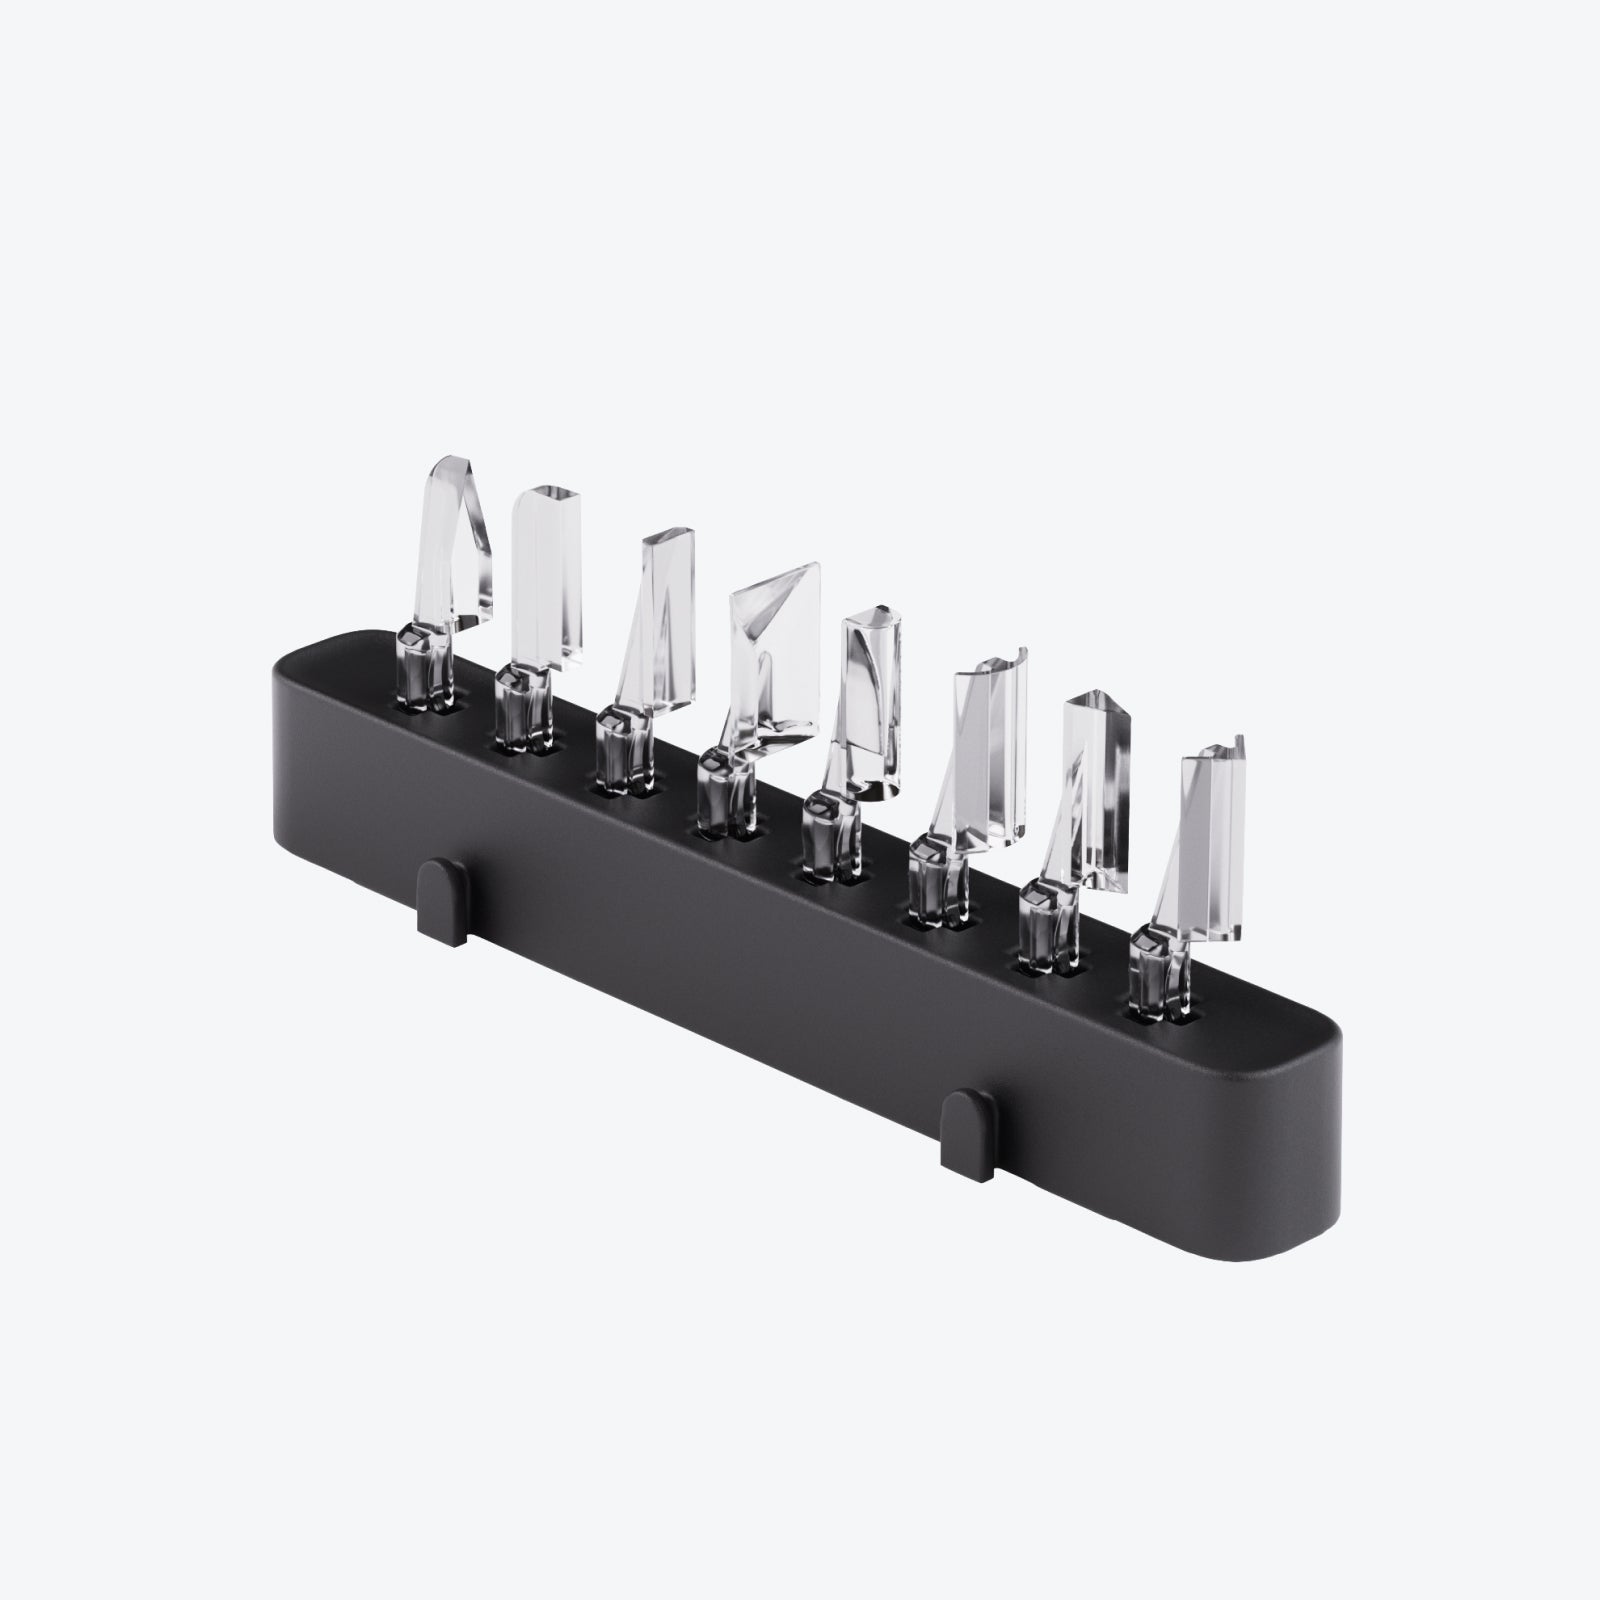
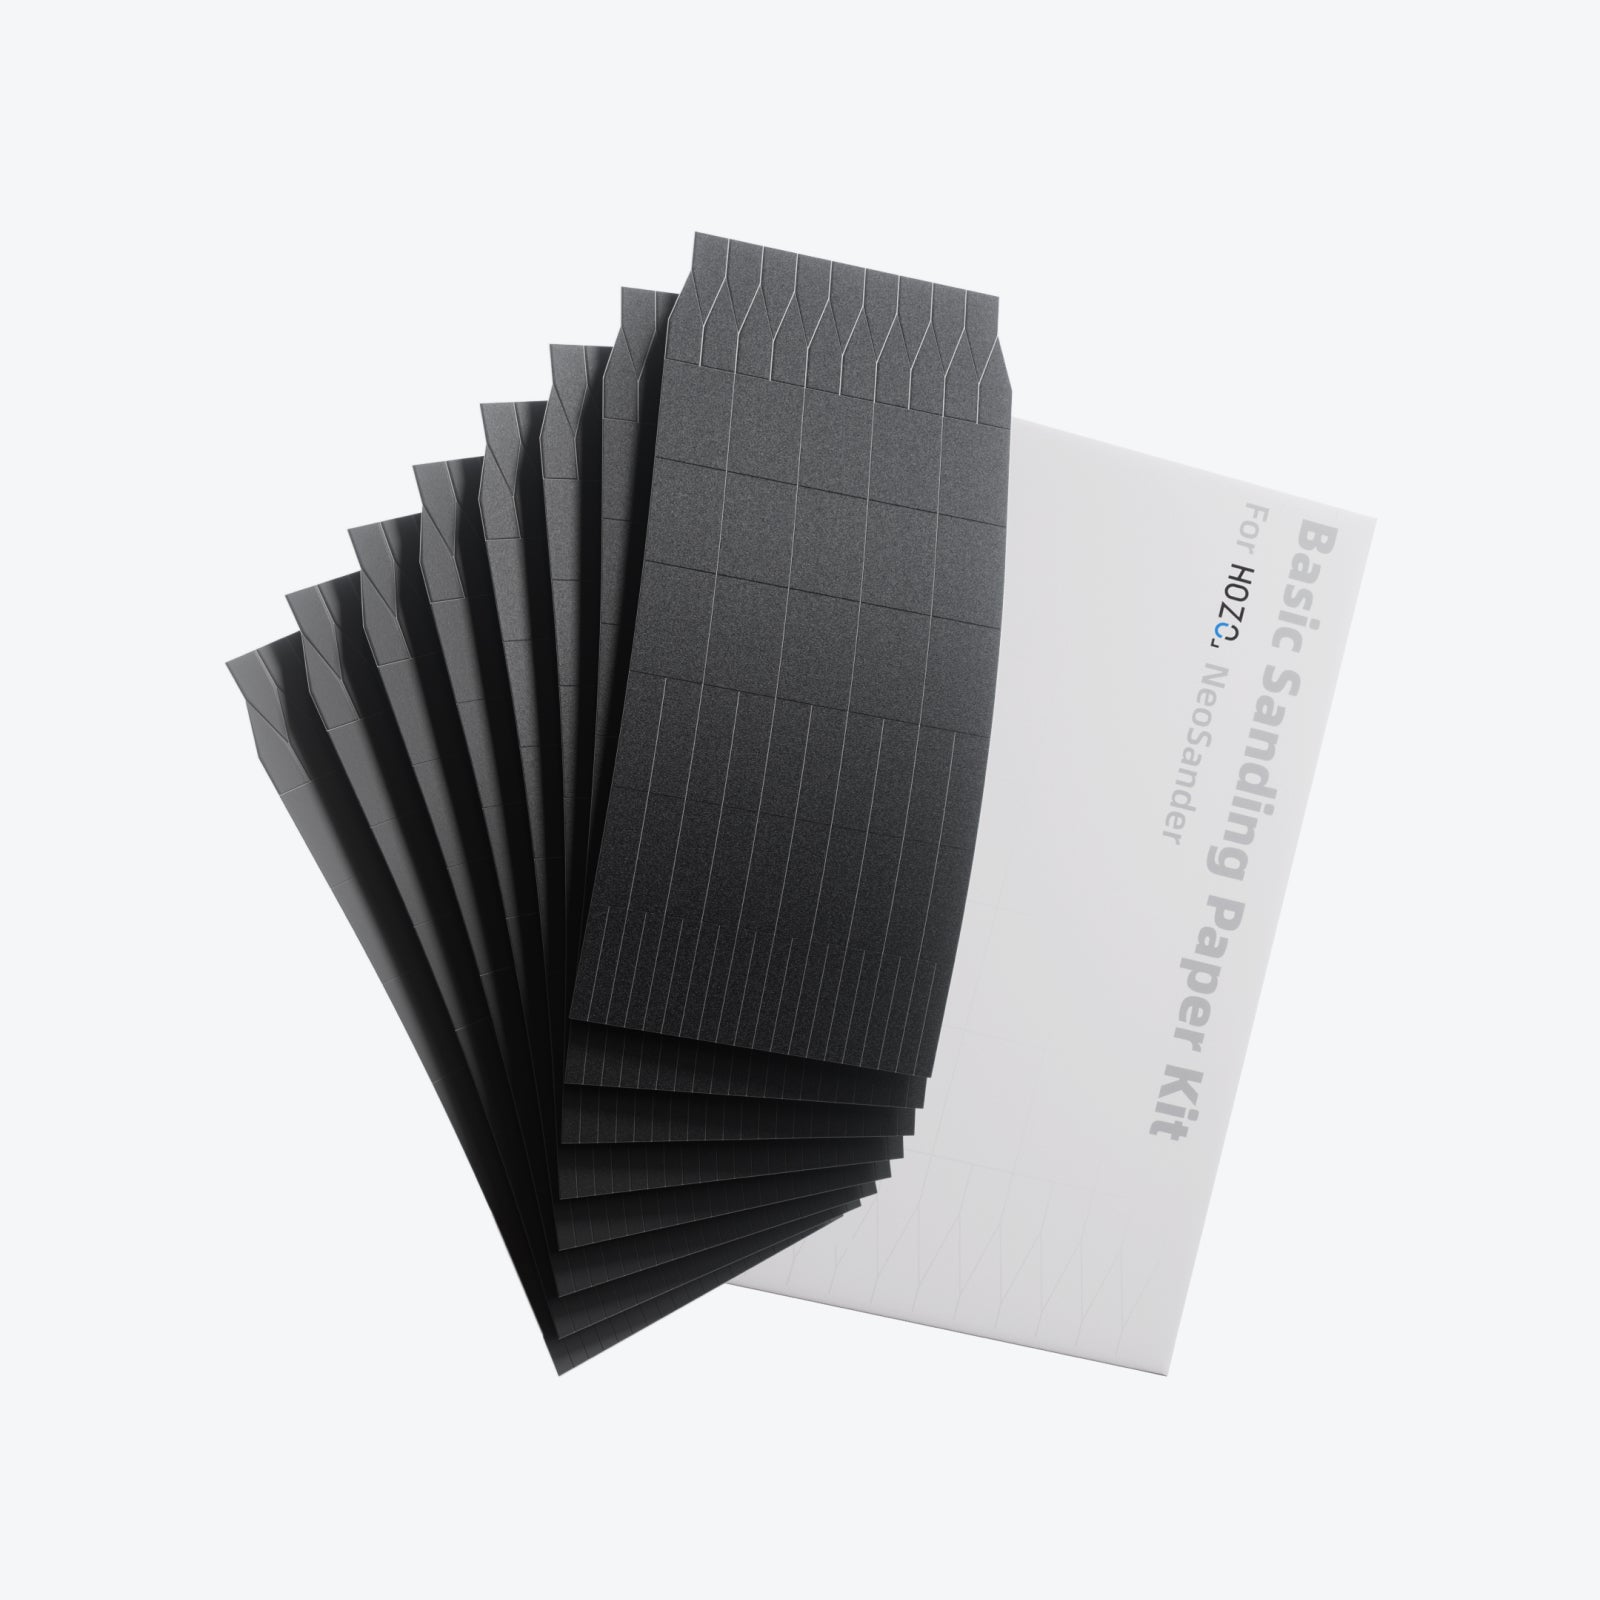
- Start with the tool-only setup: NeoSander-Detail Sander includes the cordless detail sander, eight interchangeable sanding heads, an organizer, and an eight-grit sandpaper starter kit from #180 to #1500.
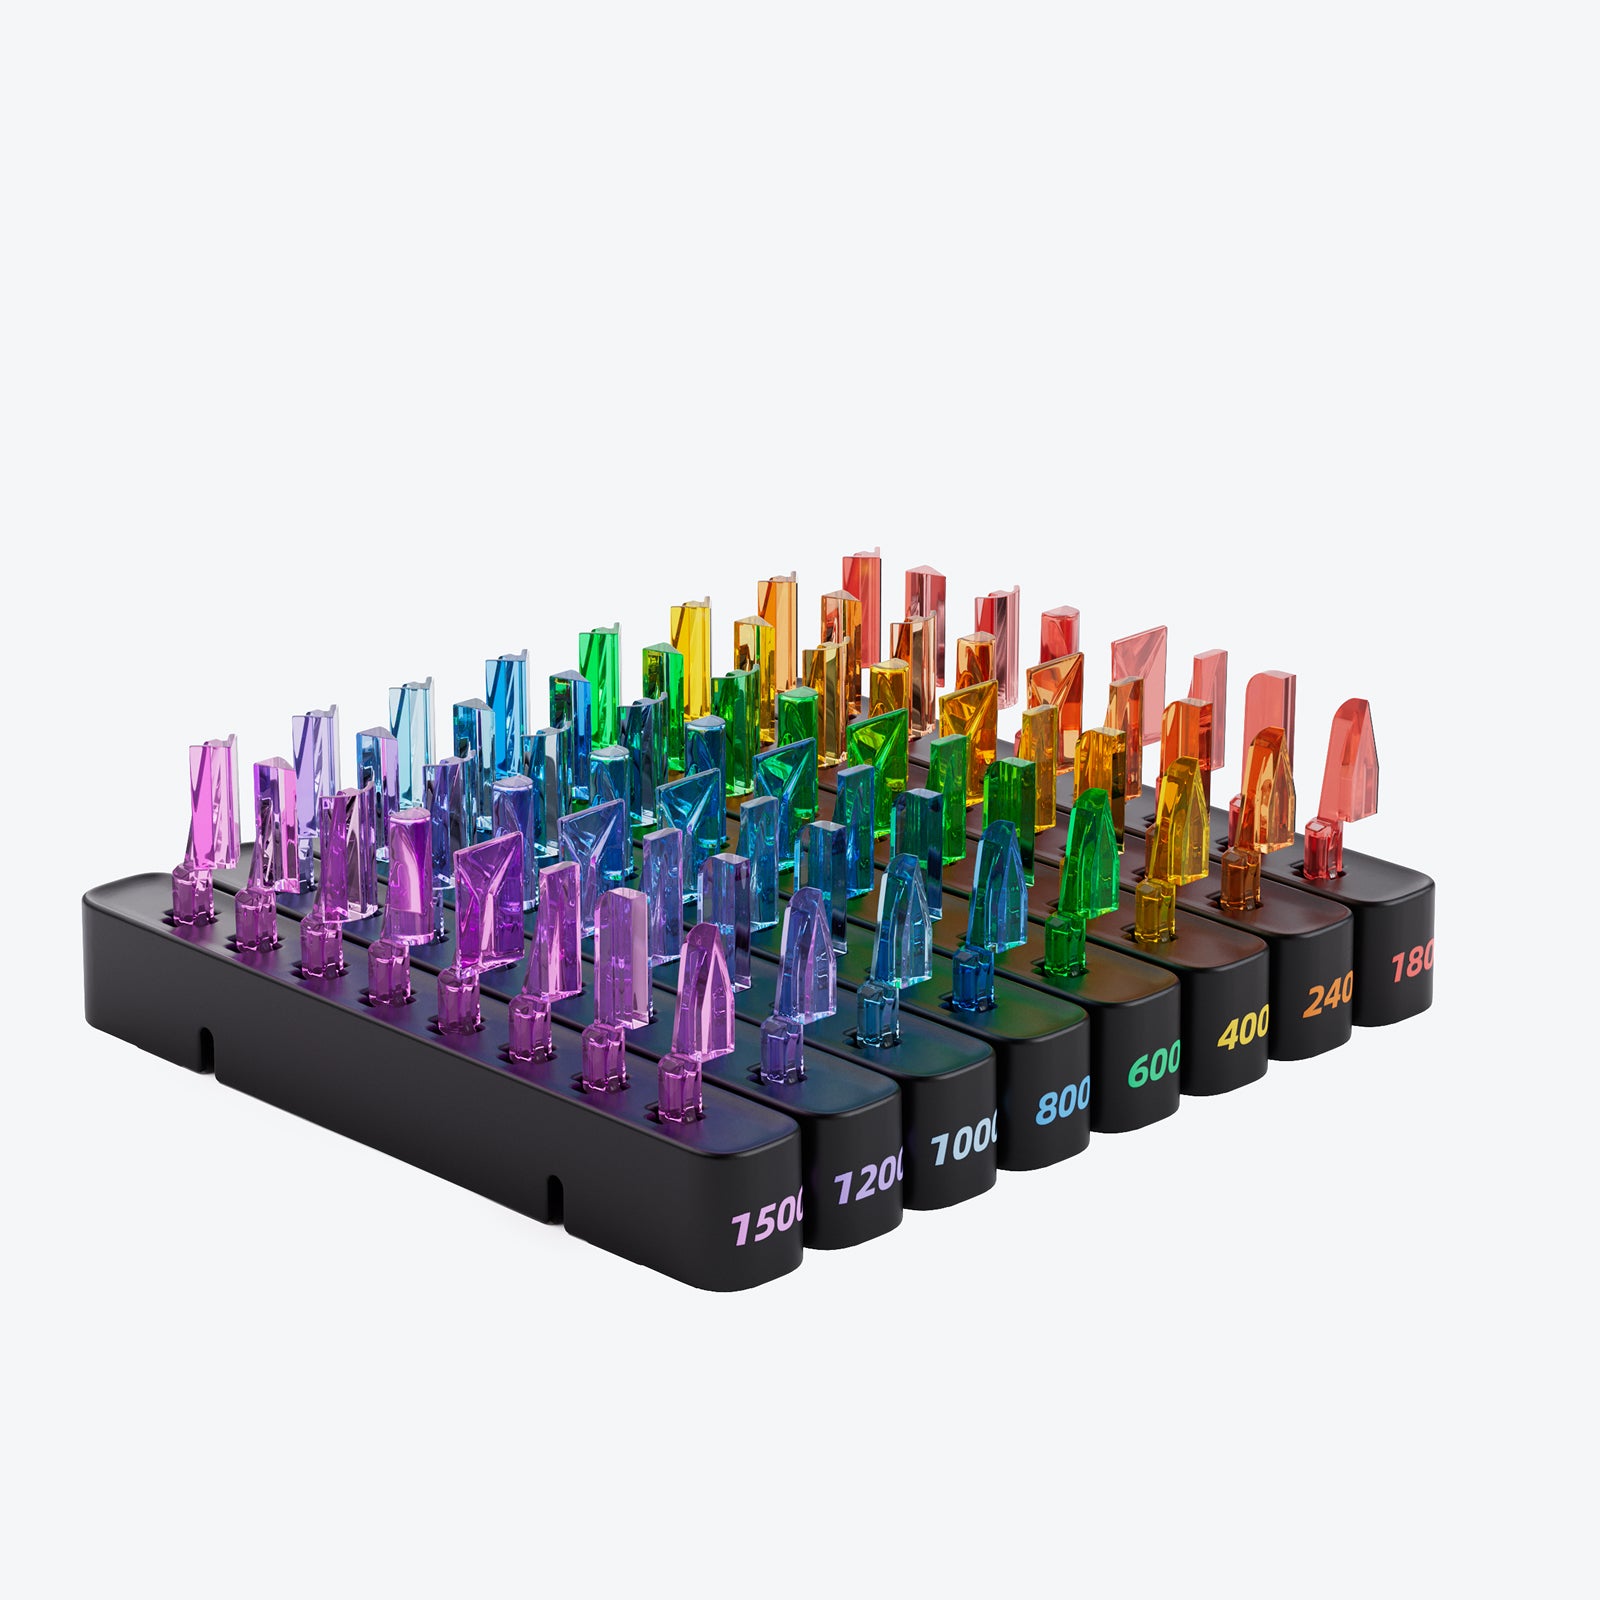
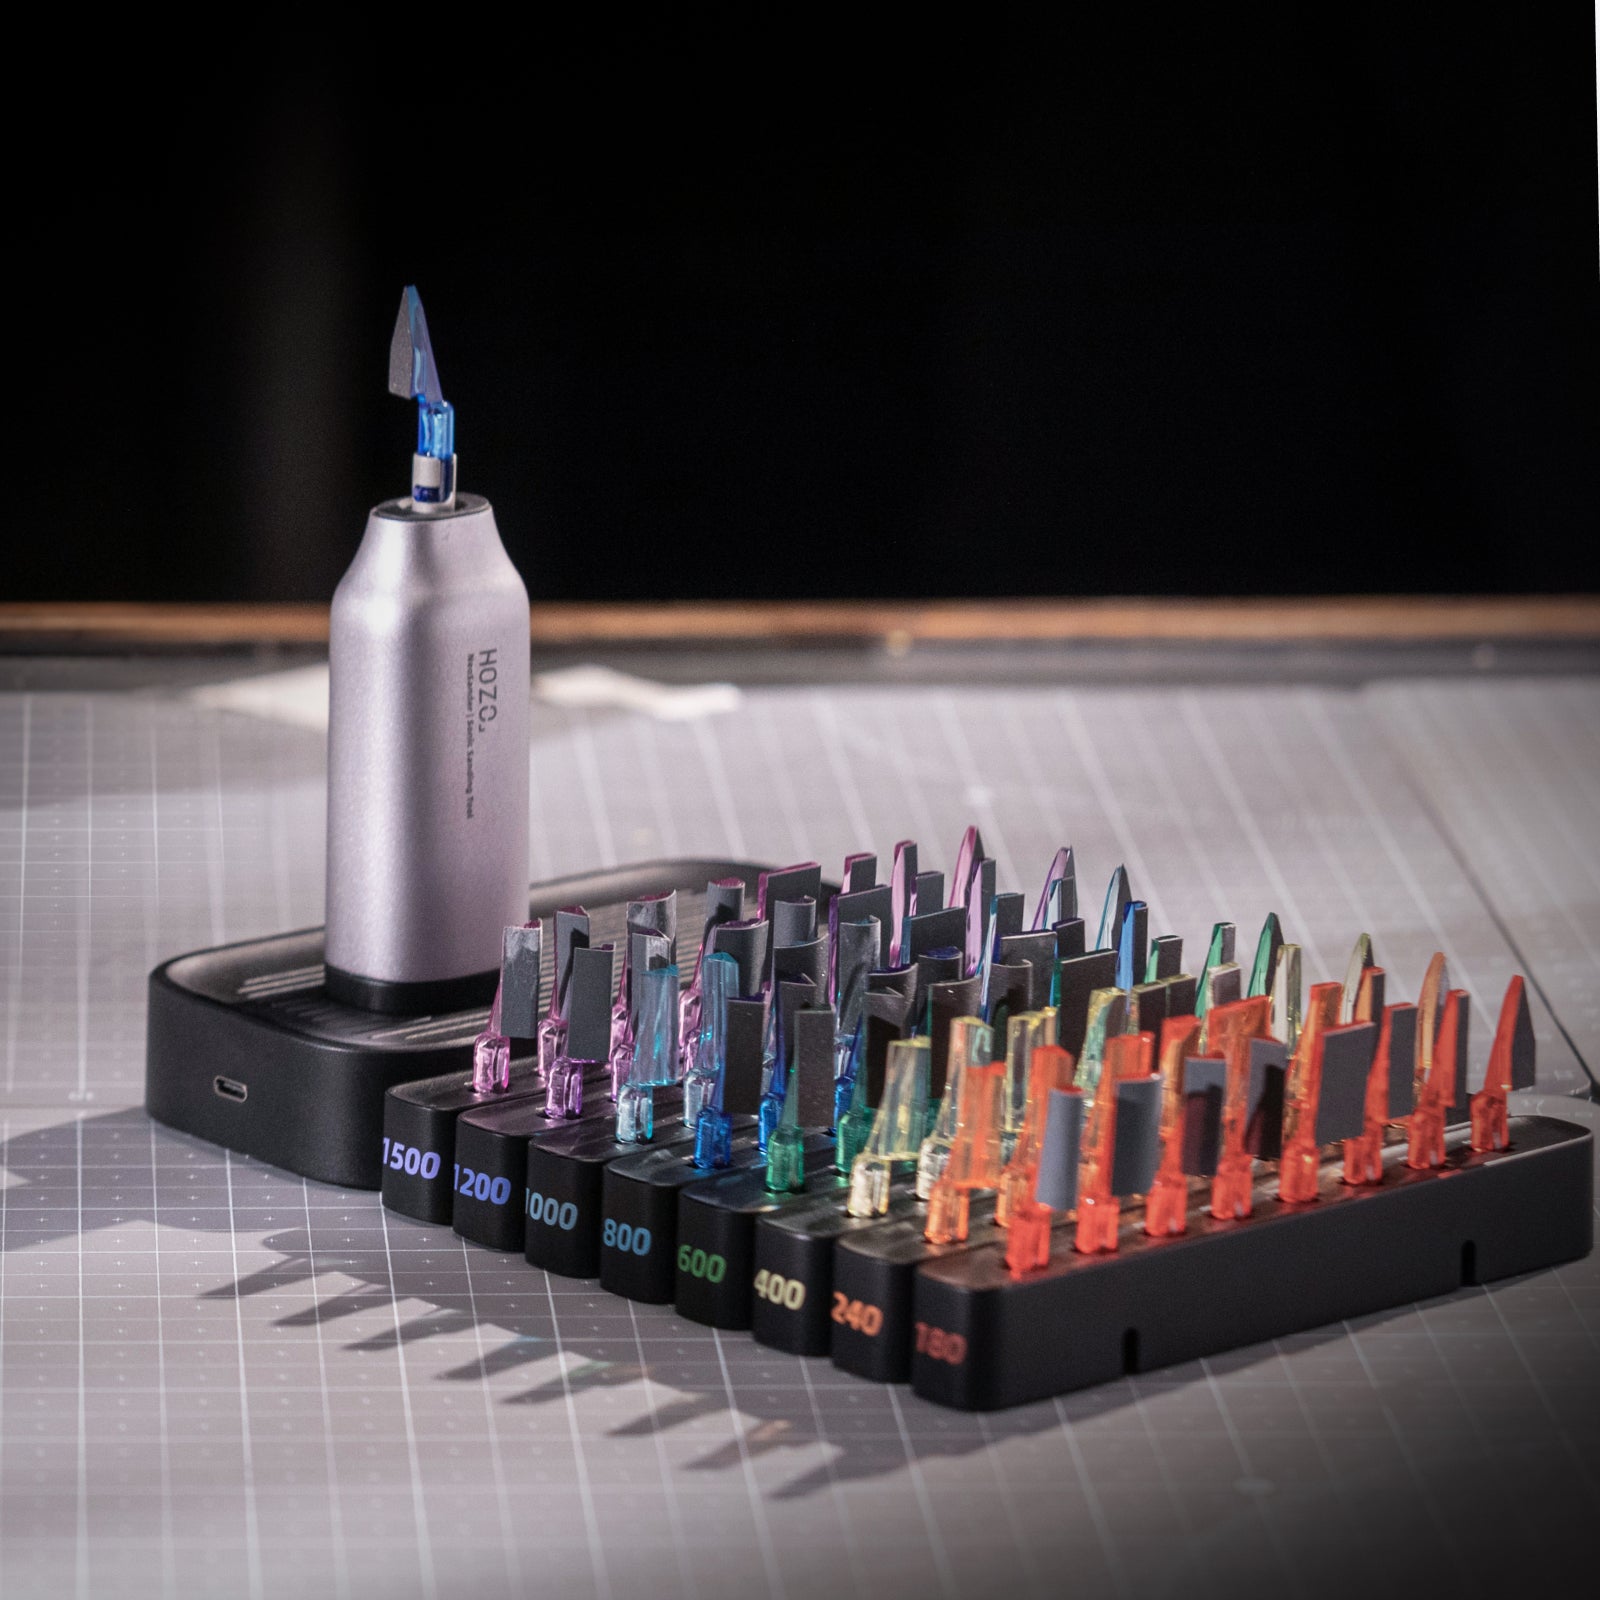
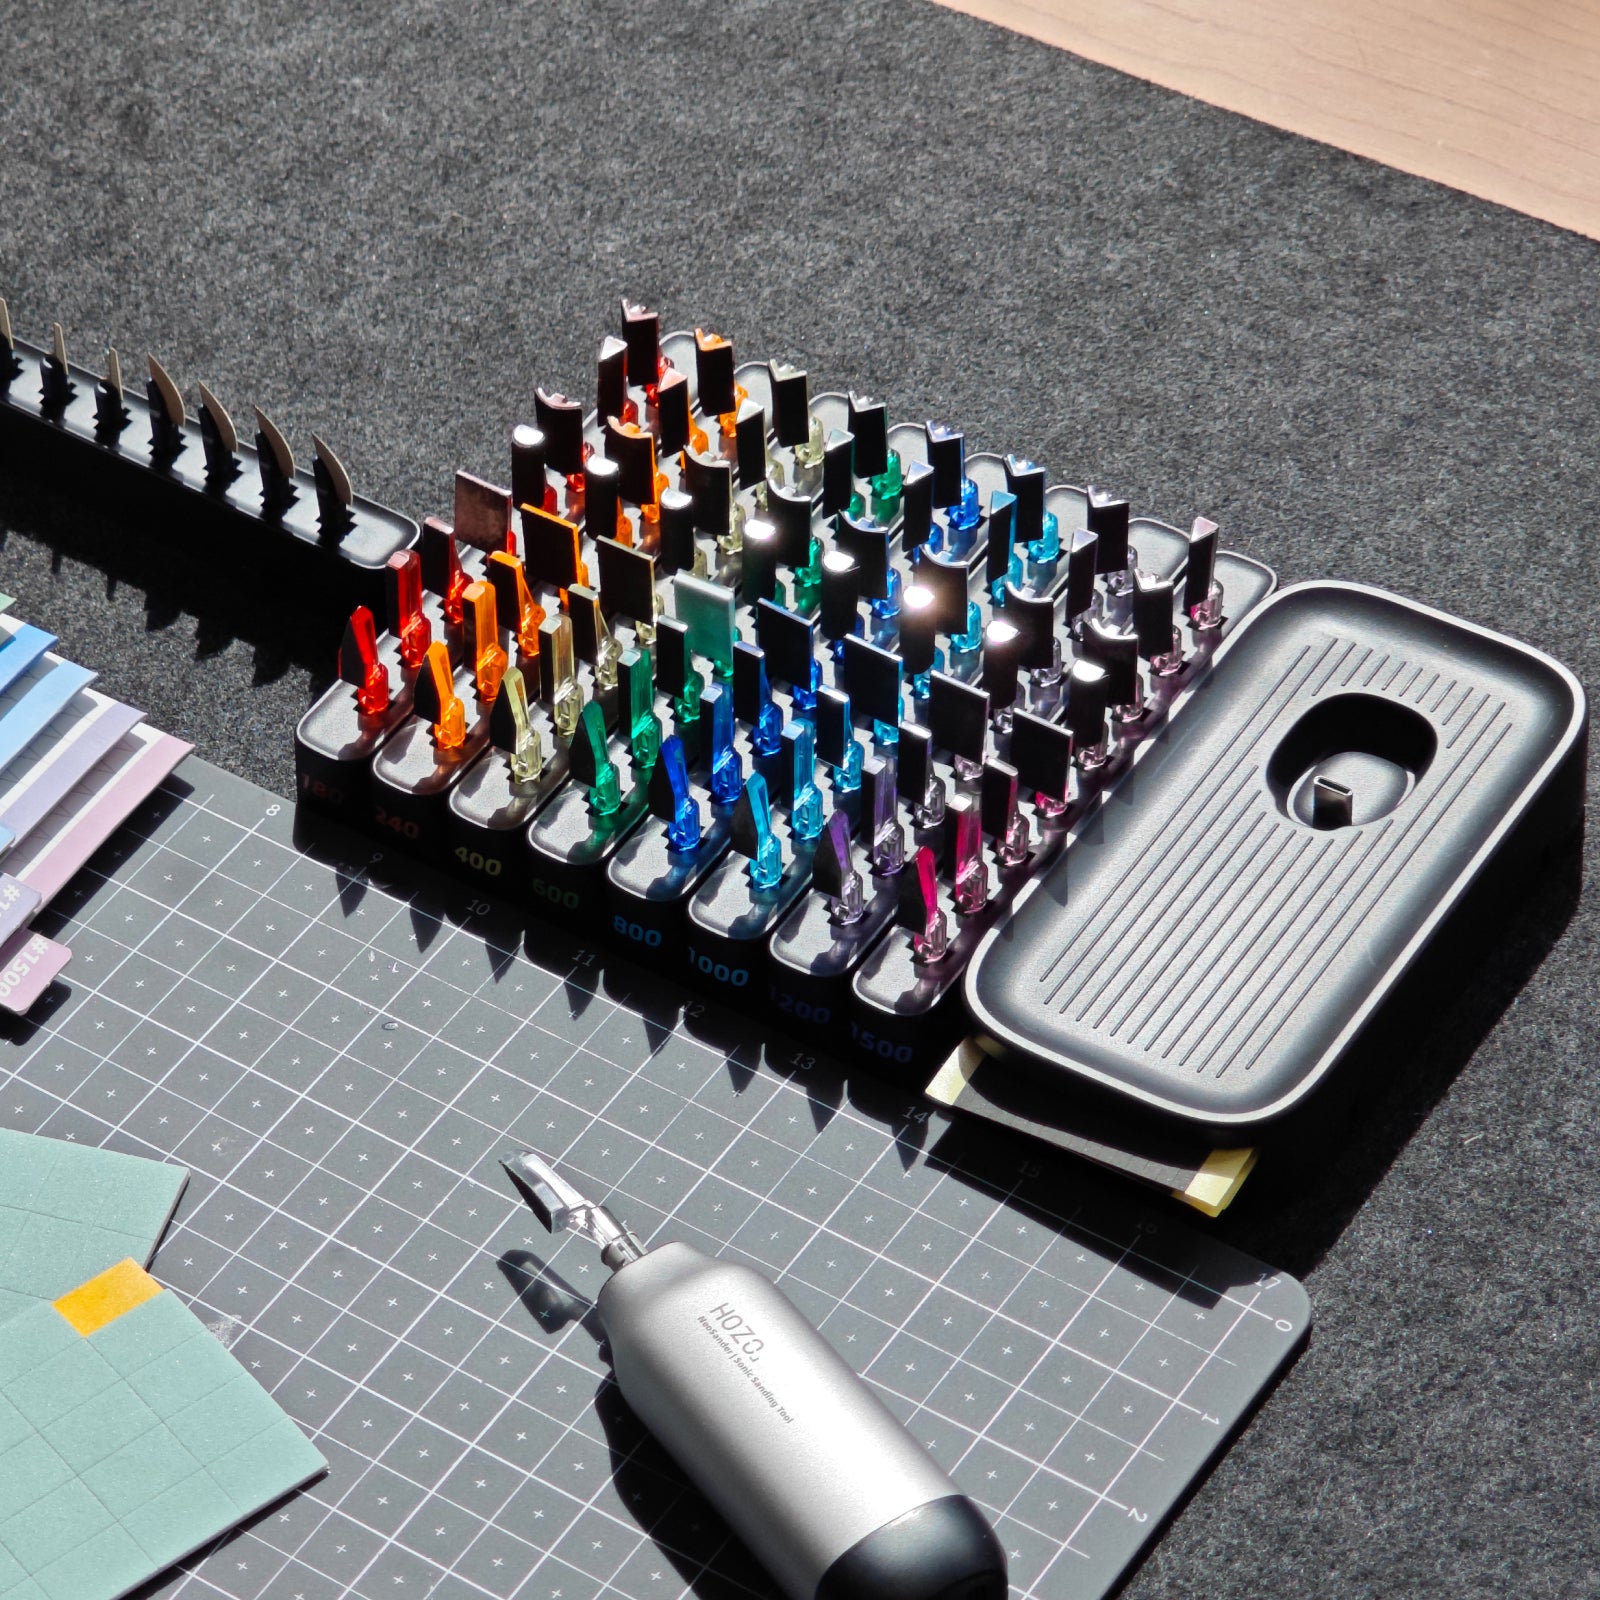
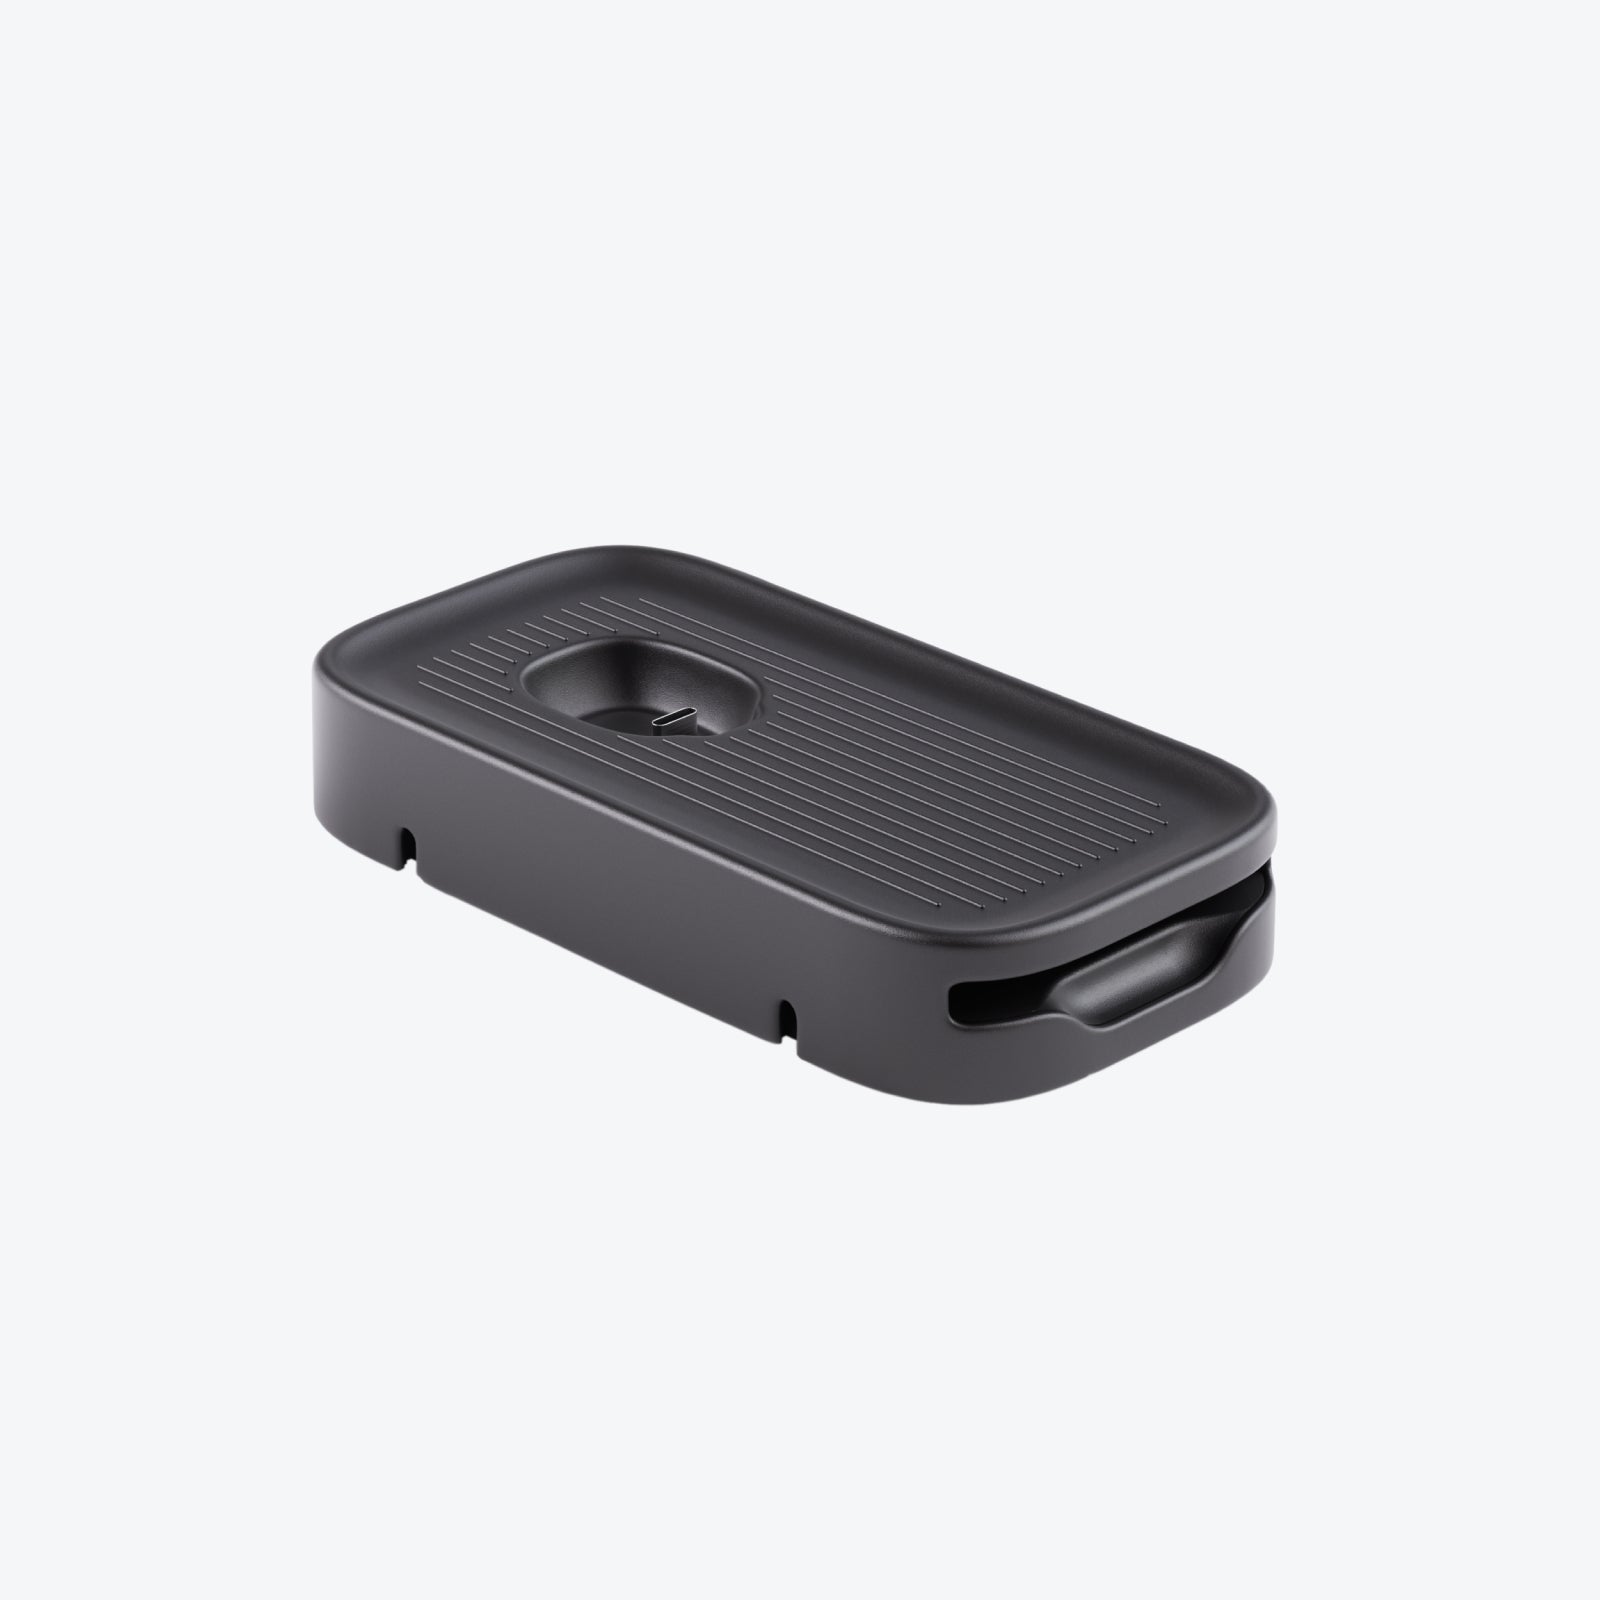
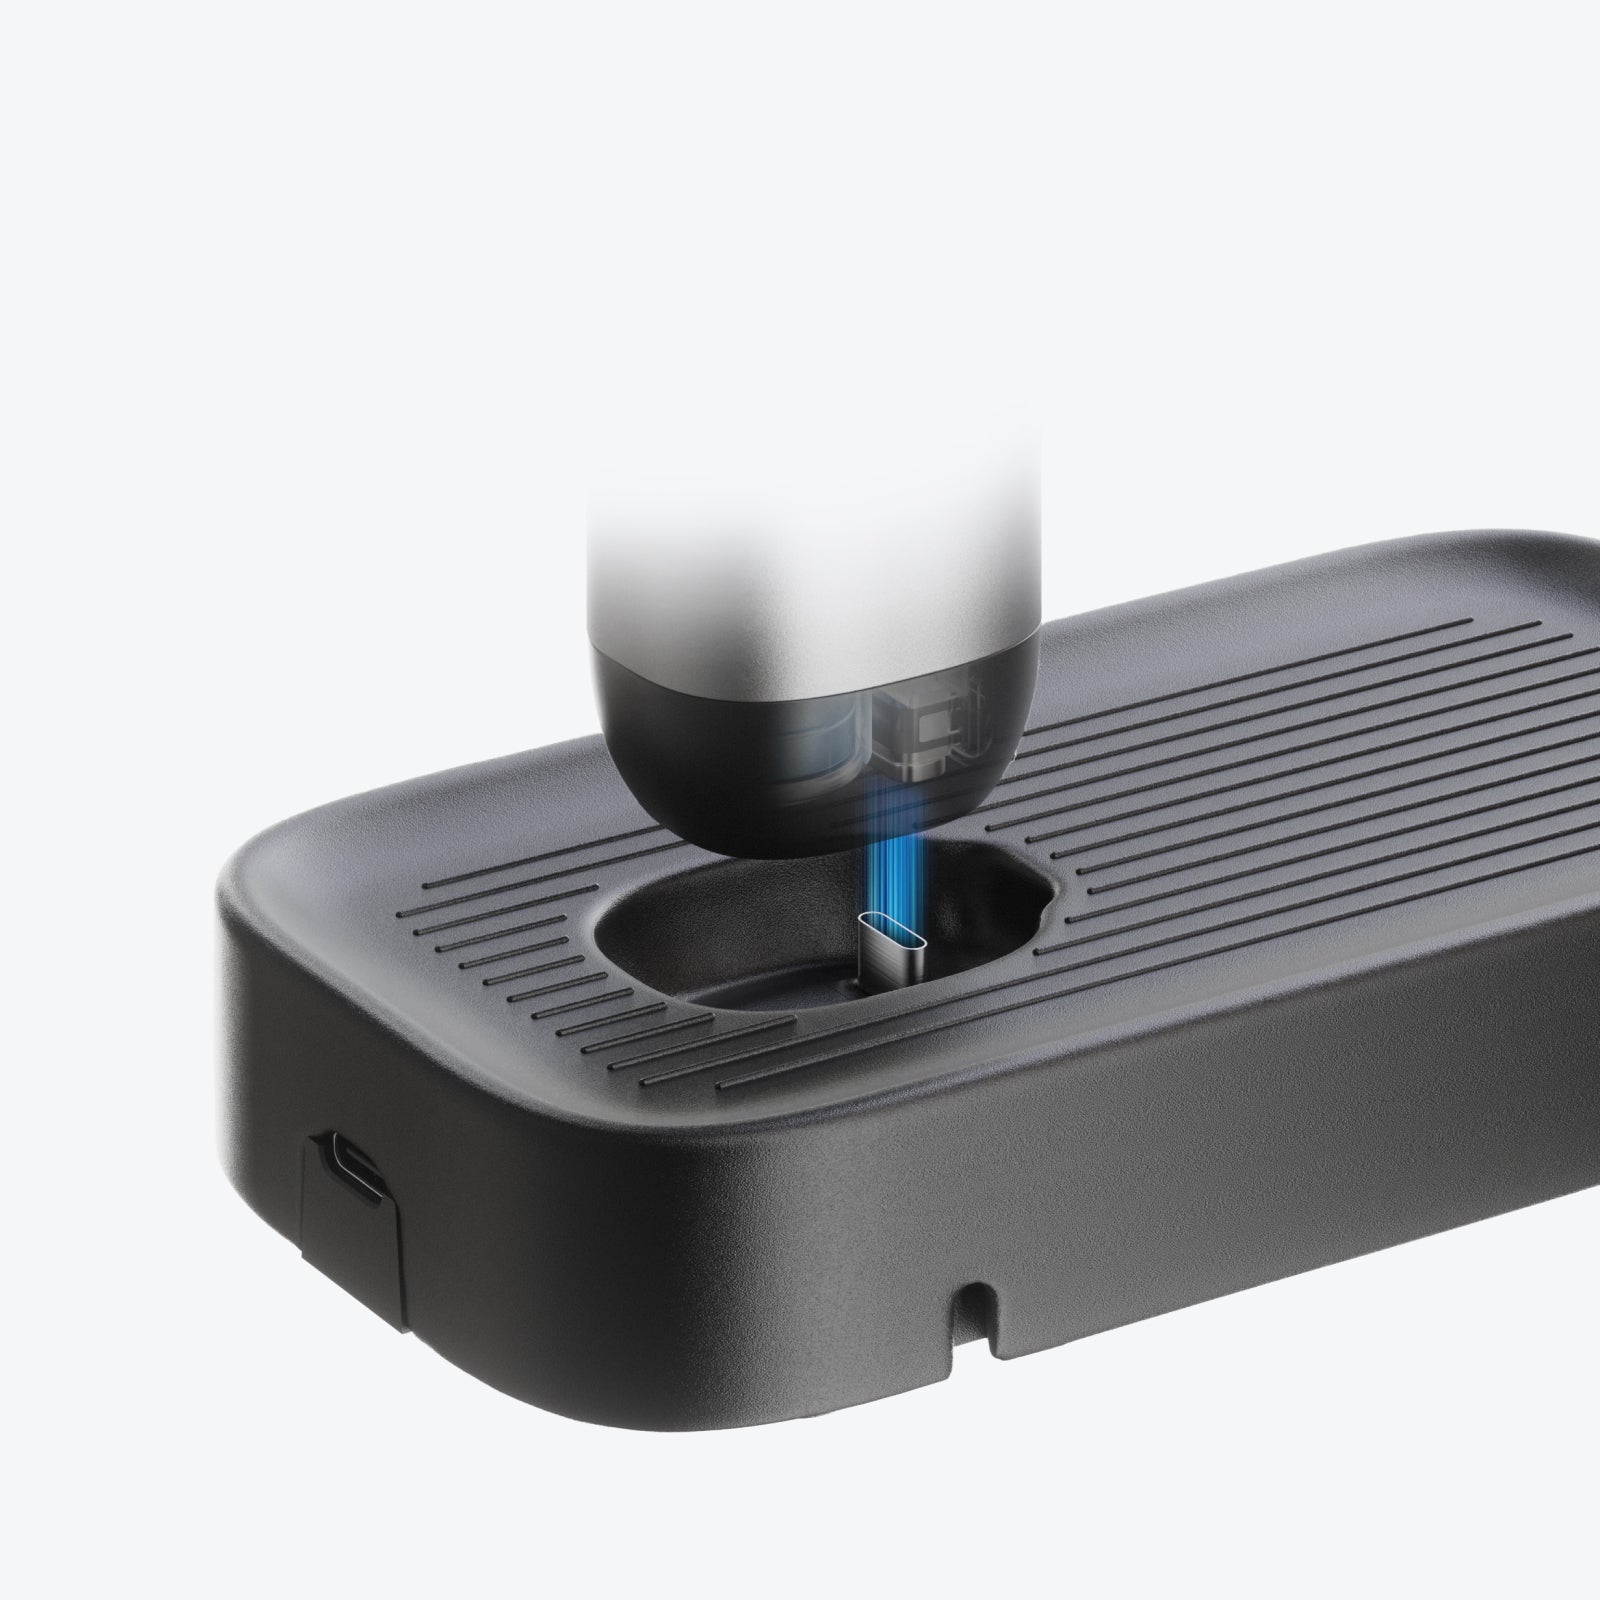
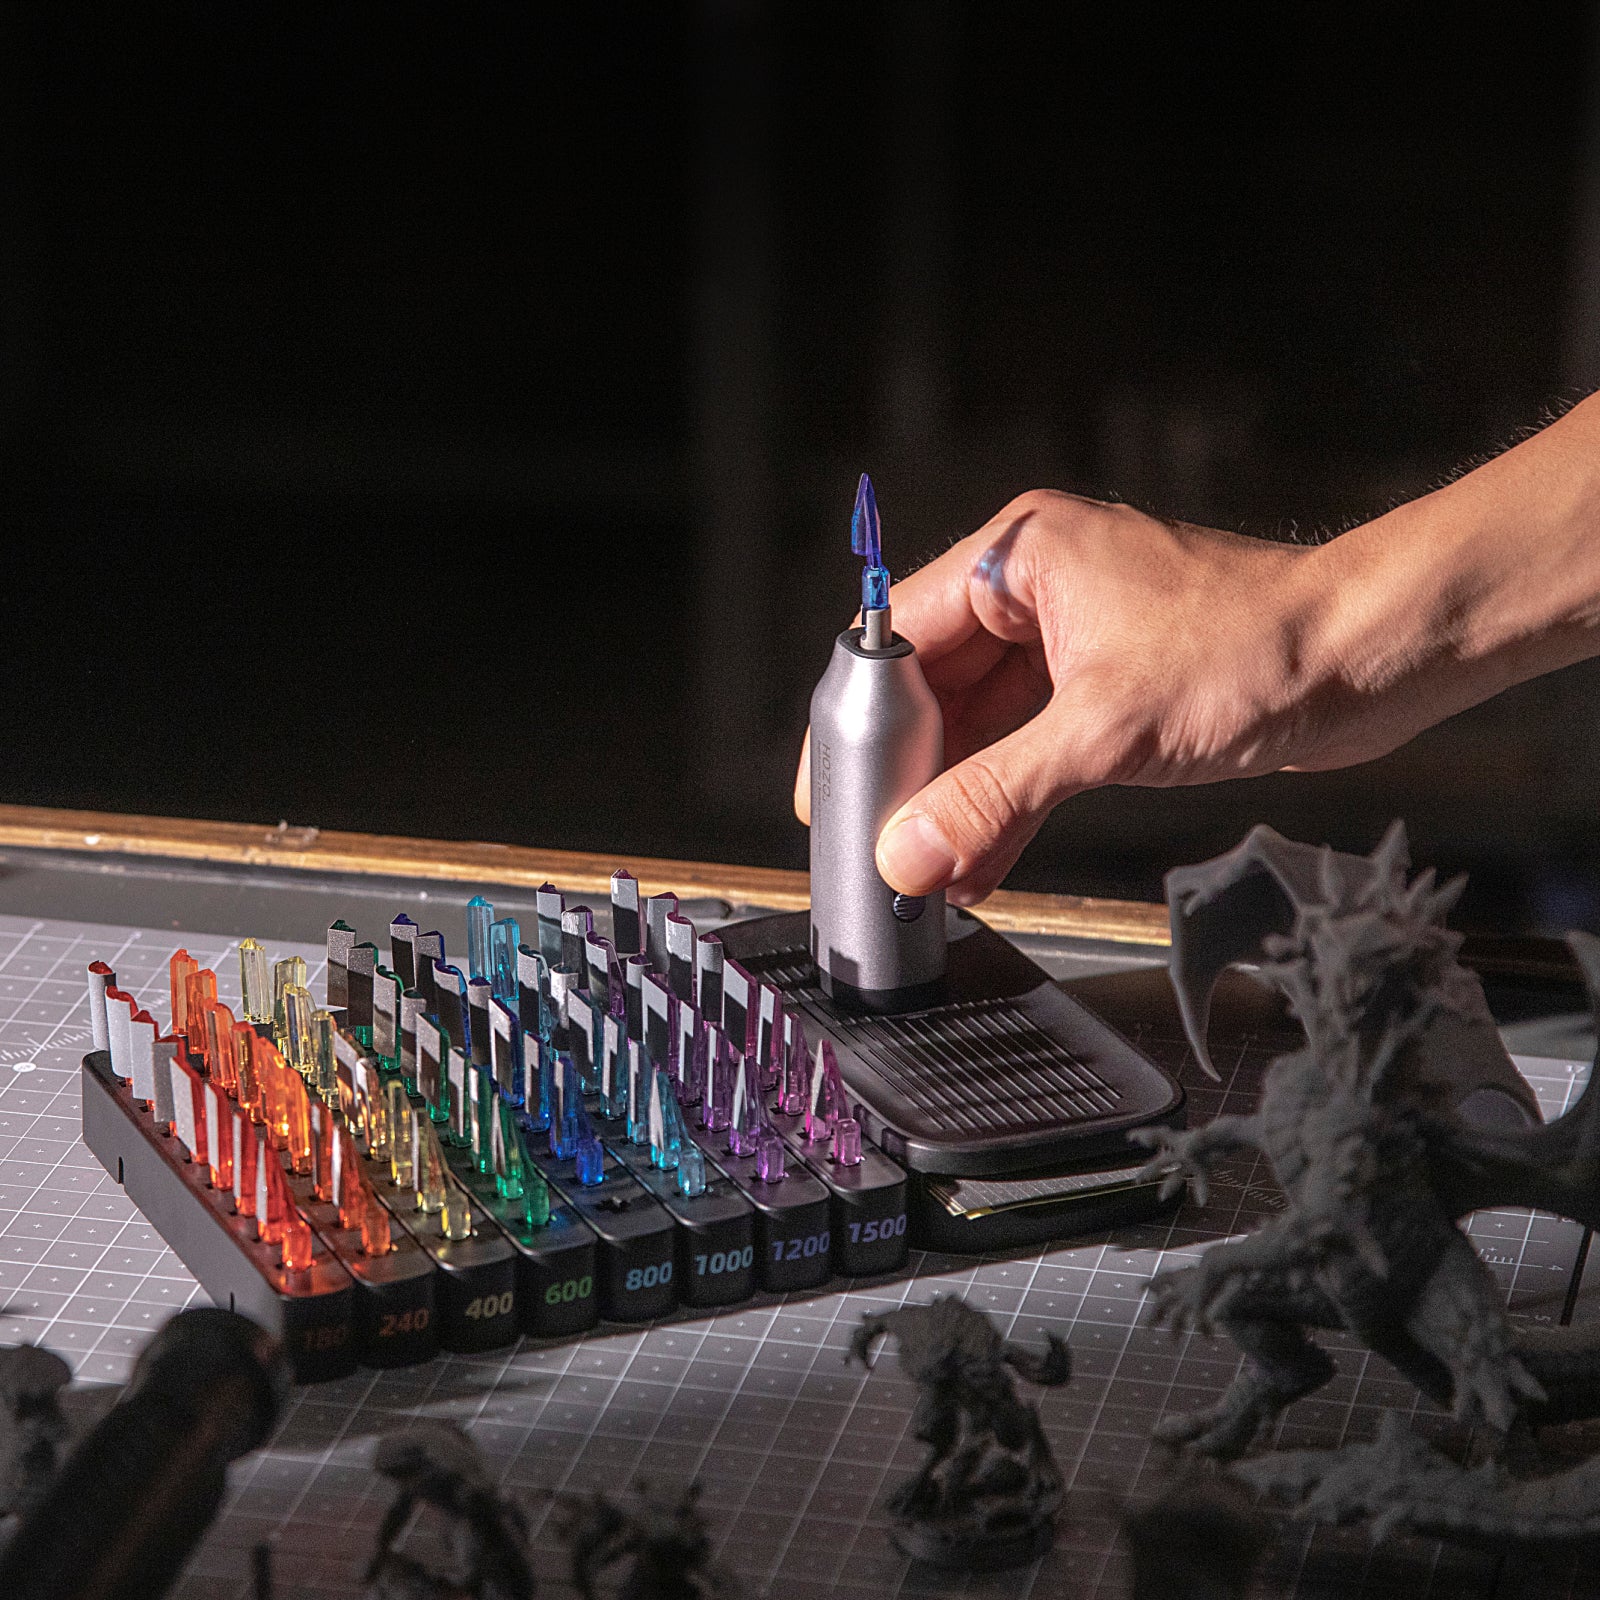
- Choose the expanded workflow: NeoSander Premium Combo adds a 64-piece color-coded sanding head collection, organizer, charging dock with sandpaper storage, and a broader setup for frequent finishing work.
The key difference is how much variety you want ready at the bench. The Detail Sander gives you the core tool and a practical starting range. The Premium Combo suits makers who move between head shapes and grits often, or who want the sanding heads organized for longer projects.
Where A Powered Detail Sander Helps
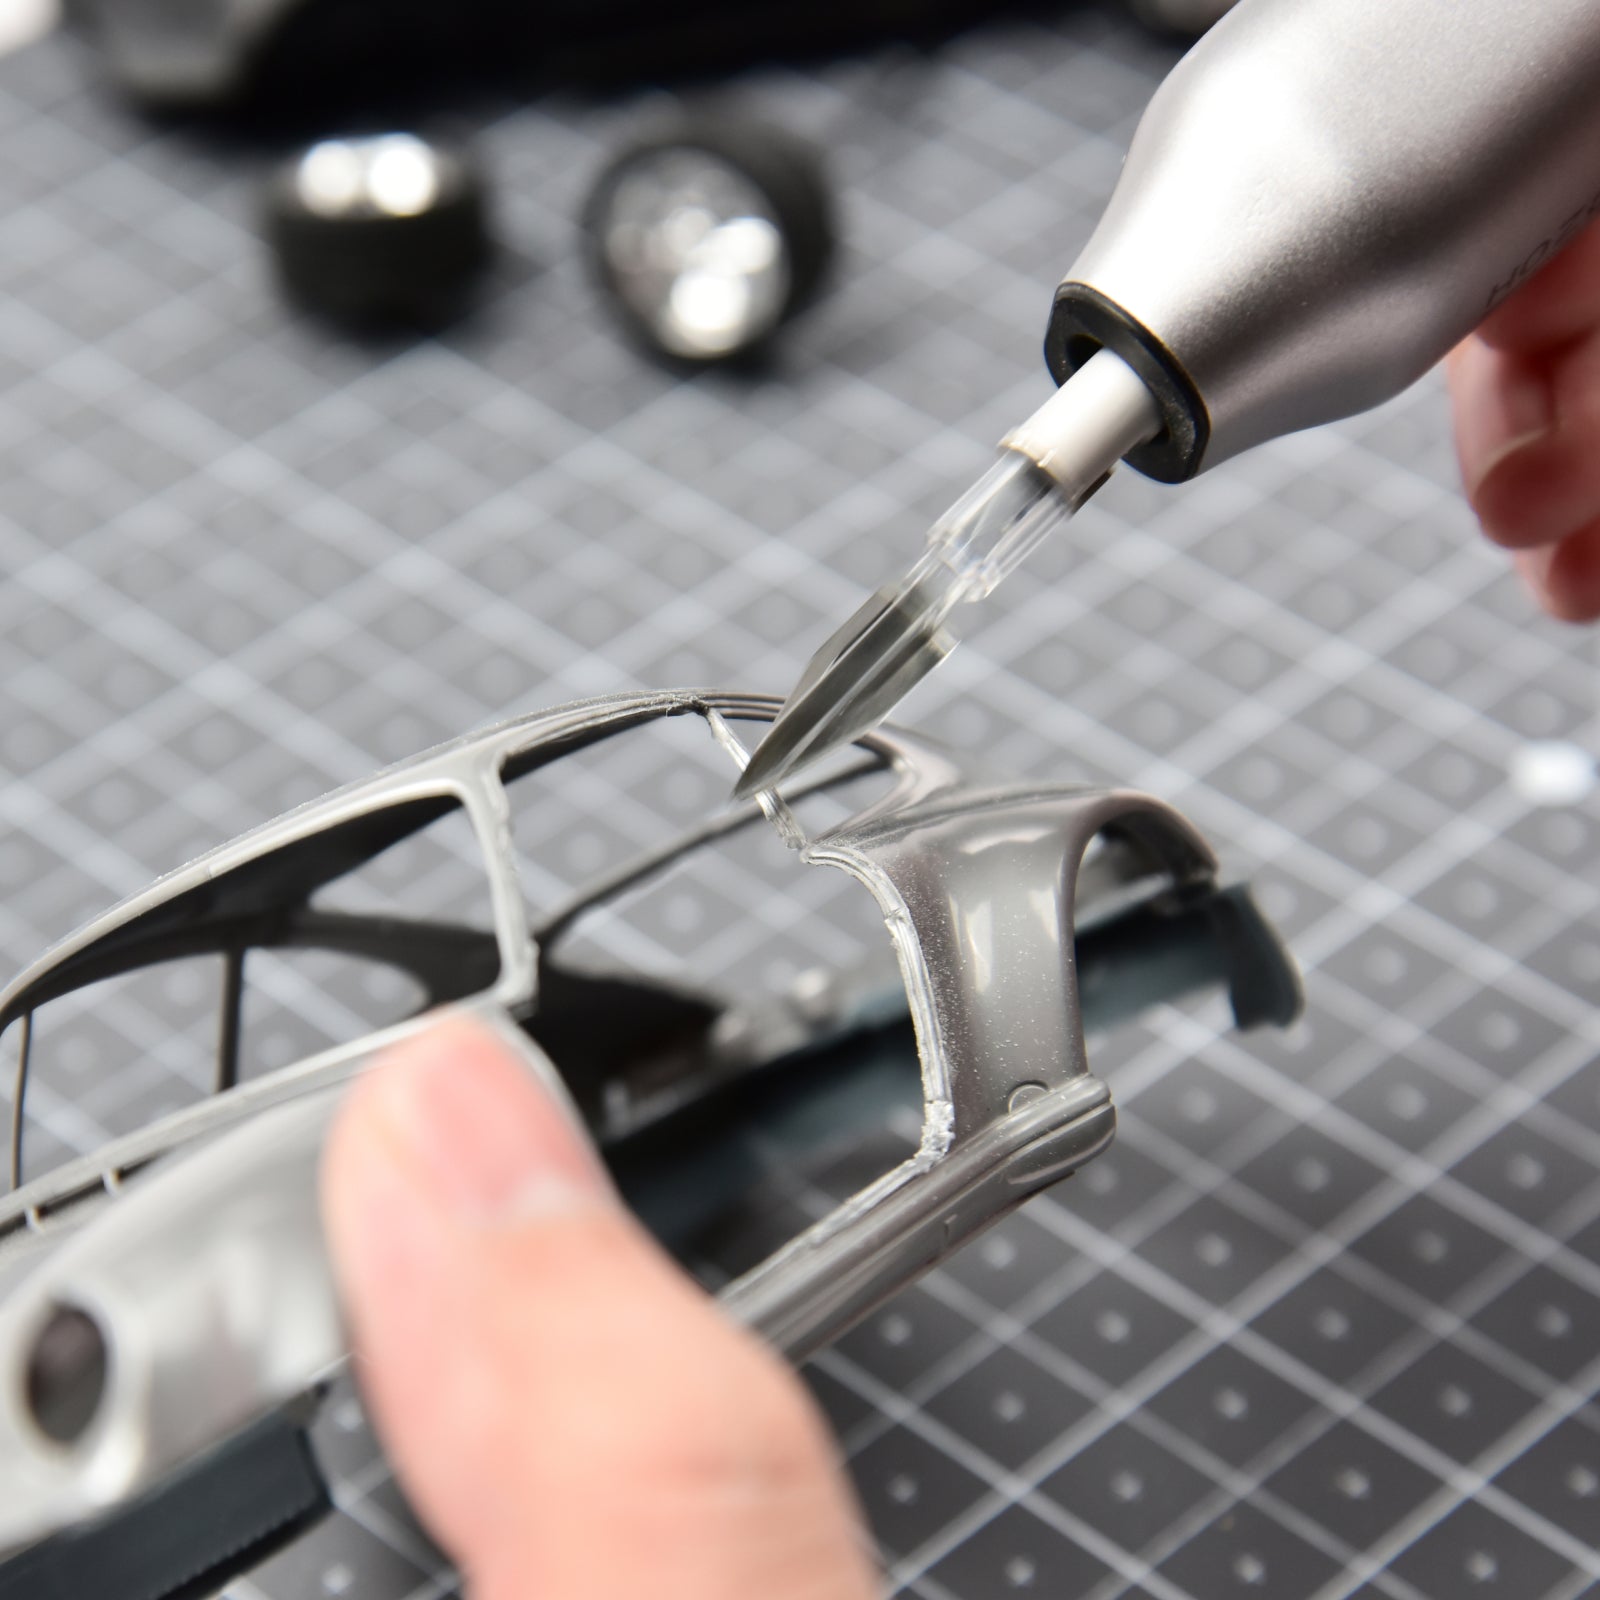
Makers commonly run into the same finishing problems: hand sanding takes time, hard-to-reach areas are awkward, and powered tools can remove too much material if they are difficult to control. Model builders are especially careful around raised details and curved parts when removing one nub. A practical workflow is to cut or scrape away most of the excess first, then use a narrow file, sanding stick, or sponge for the surrounding finish.
That distinction matters when choosing a detail sander. NeoSander is not intended to replace every hand tool in a modeler's box. It makes more sense for repeated surface cleanup, layer lines, support marks, seams, or areas that would be tiring to finish by hand. For a single tiny nub on a delicate ridge, a glass file or fine sanding stick may still give you more direct control. For repeated 3D print finishing or a batch of model parts, a compact reciprocating sander can handle repetitive passes while you keep hand tools for the final touch.
Why Use A Reciprocating Detail Sander?
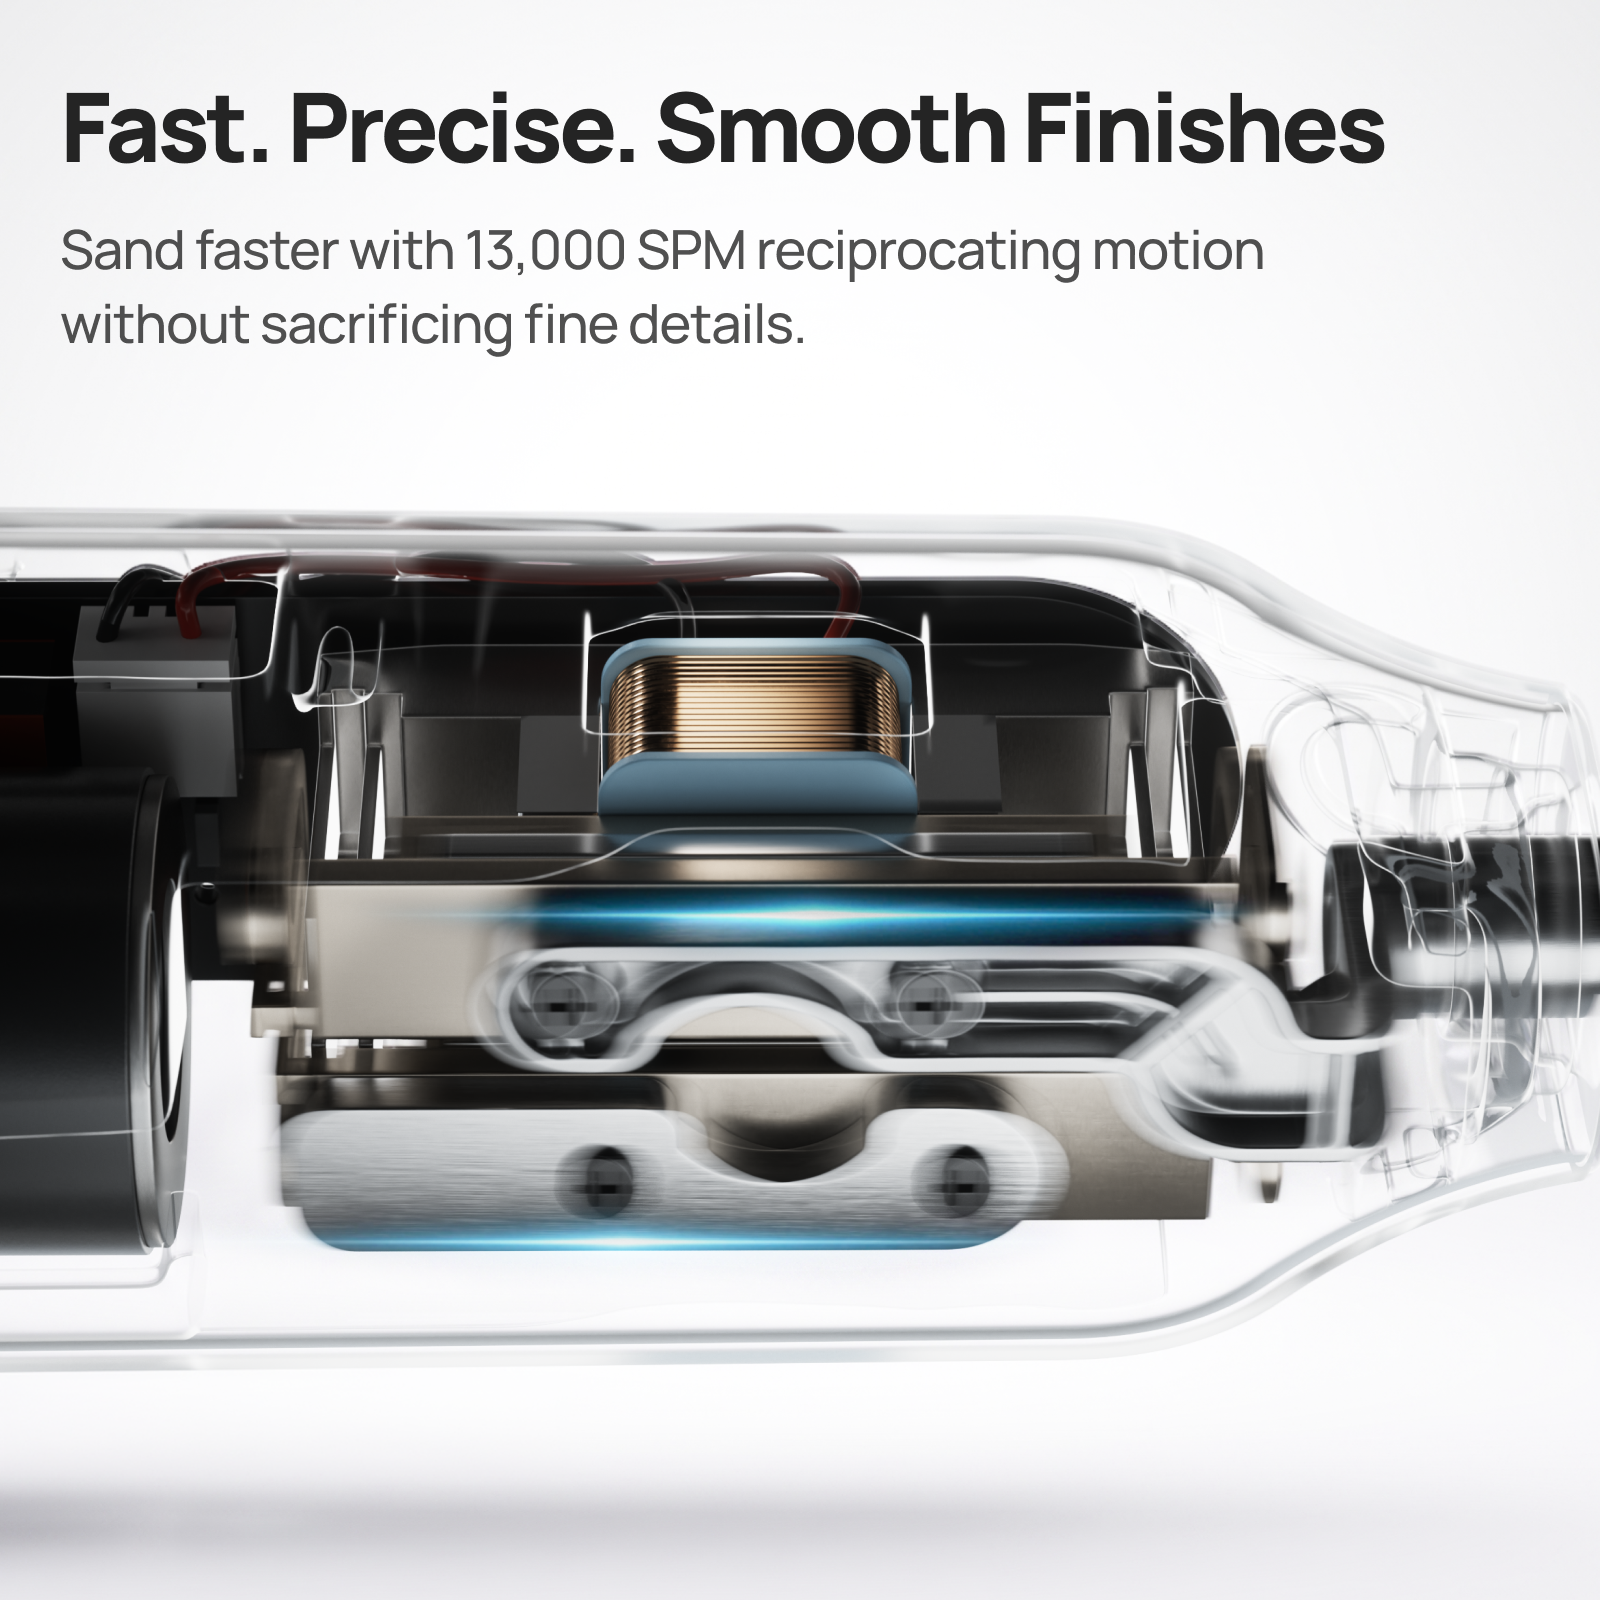
NeoSander uses a true back-and-forth linear motion rather than a spinning rotary action. Its adjustable 0.6–1.8 mm stroke and rated speed of 13,000 strokes per minute are designed for controlled work around edges, corners, curves, and small printed features. The tool body weighs 89 g without a sanding head, keeping it suited to a desktop workspace and detailed hand finishing.
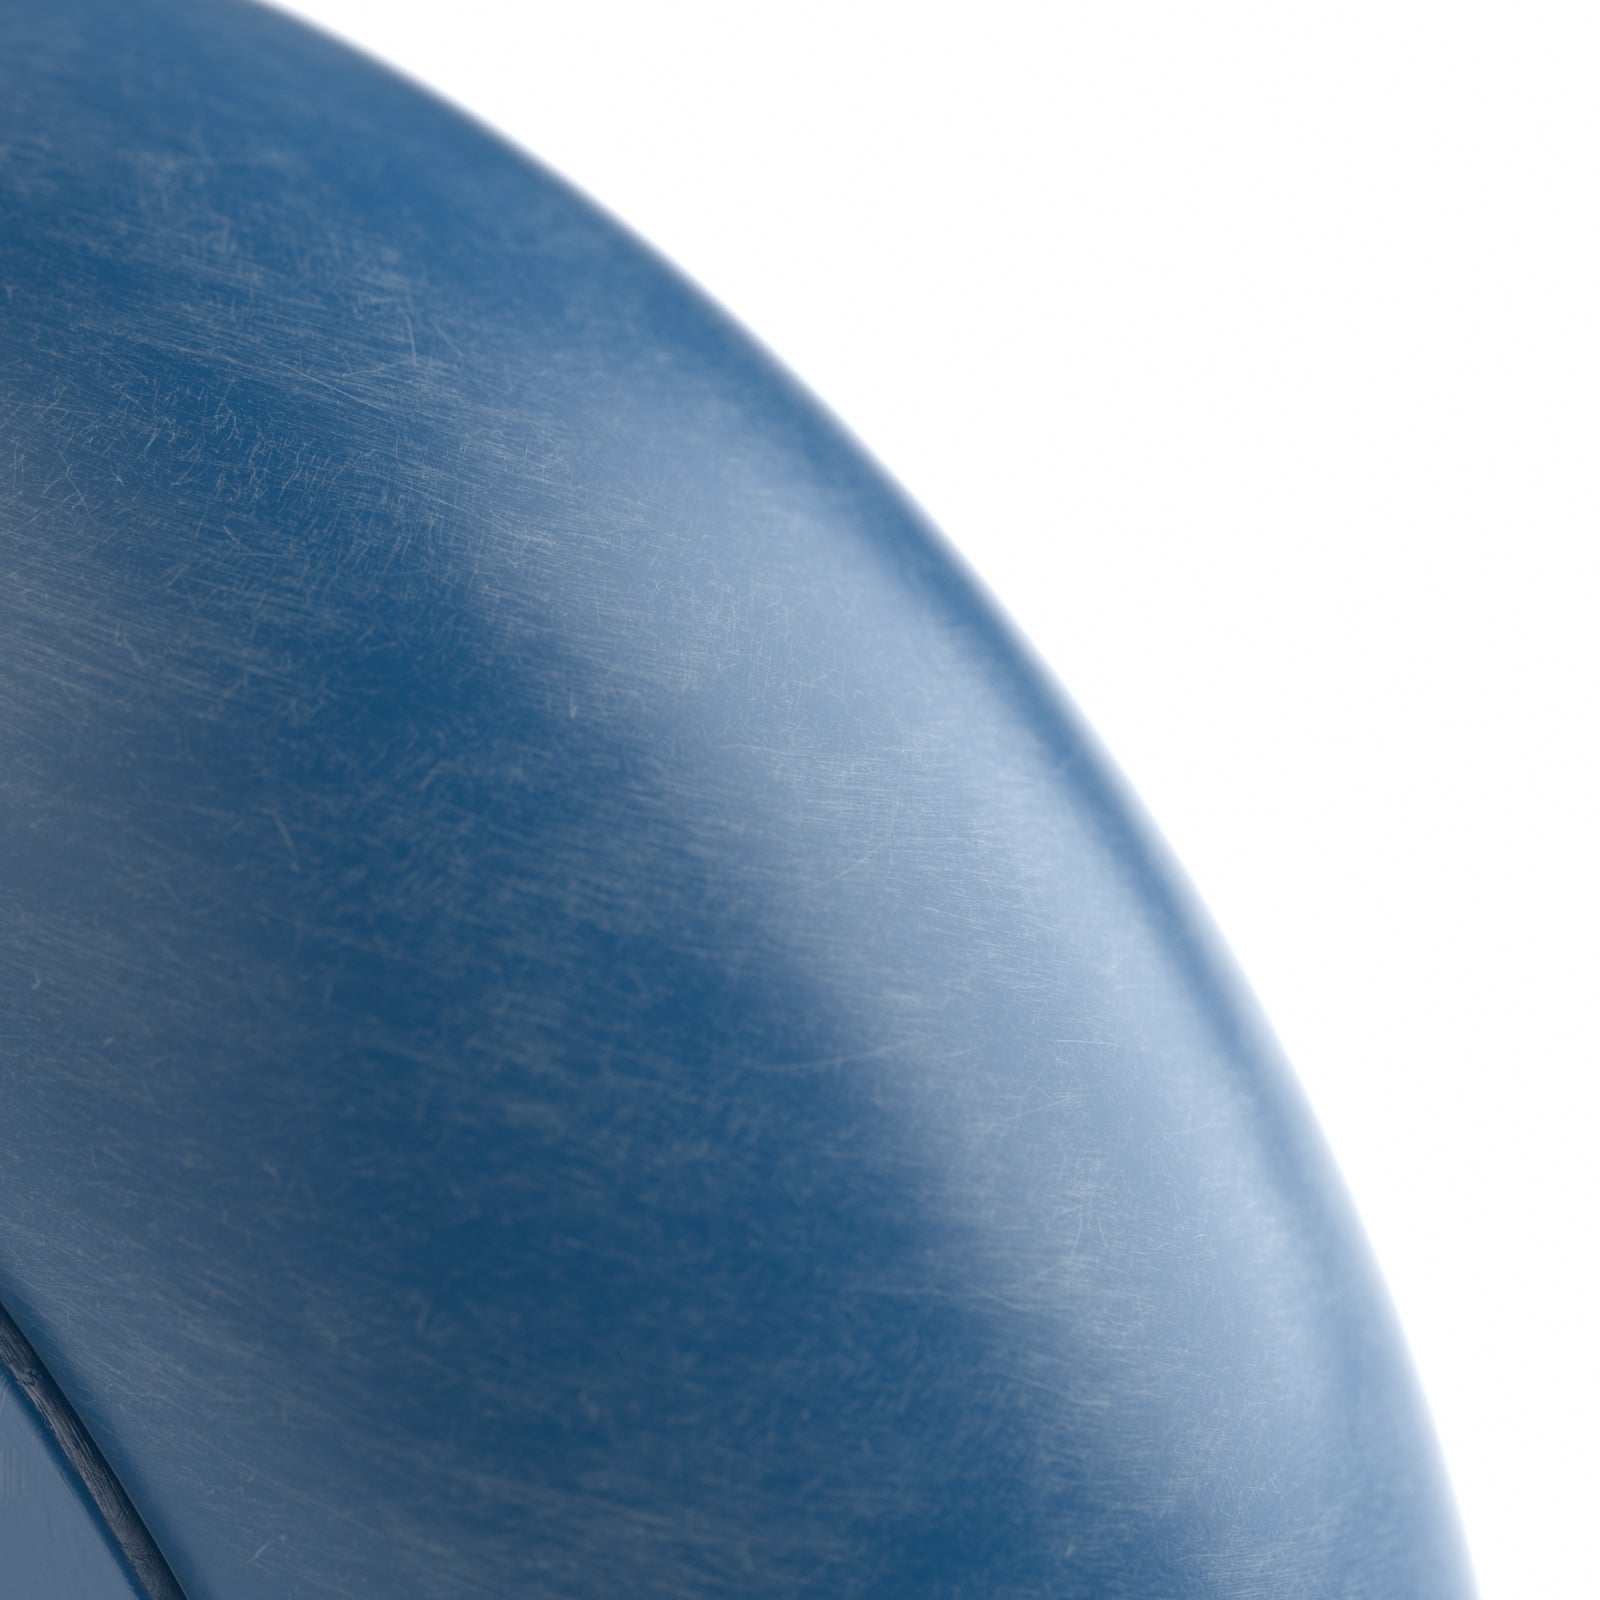
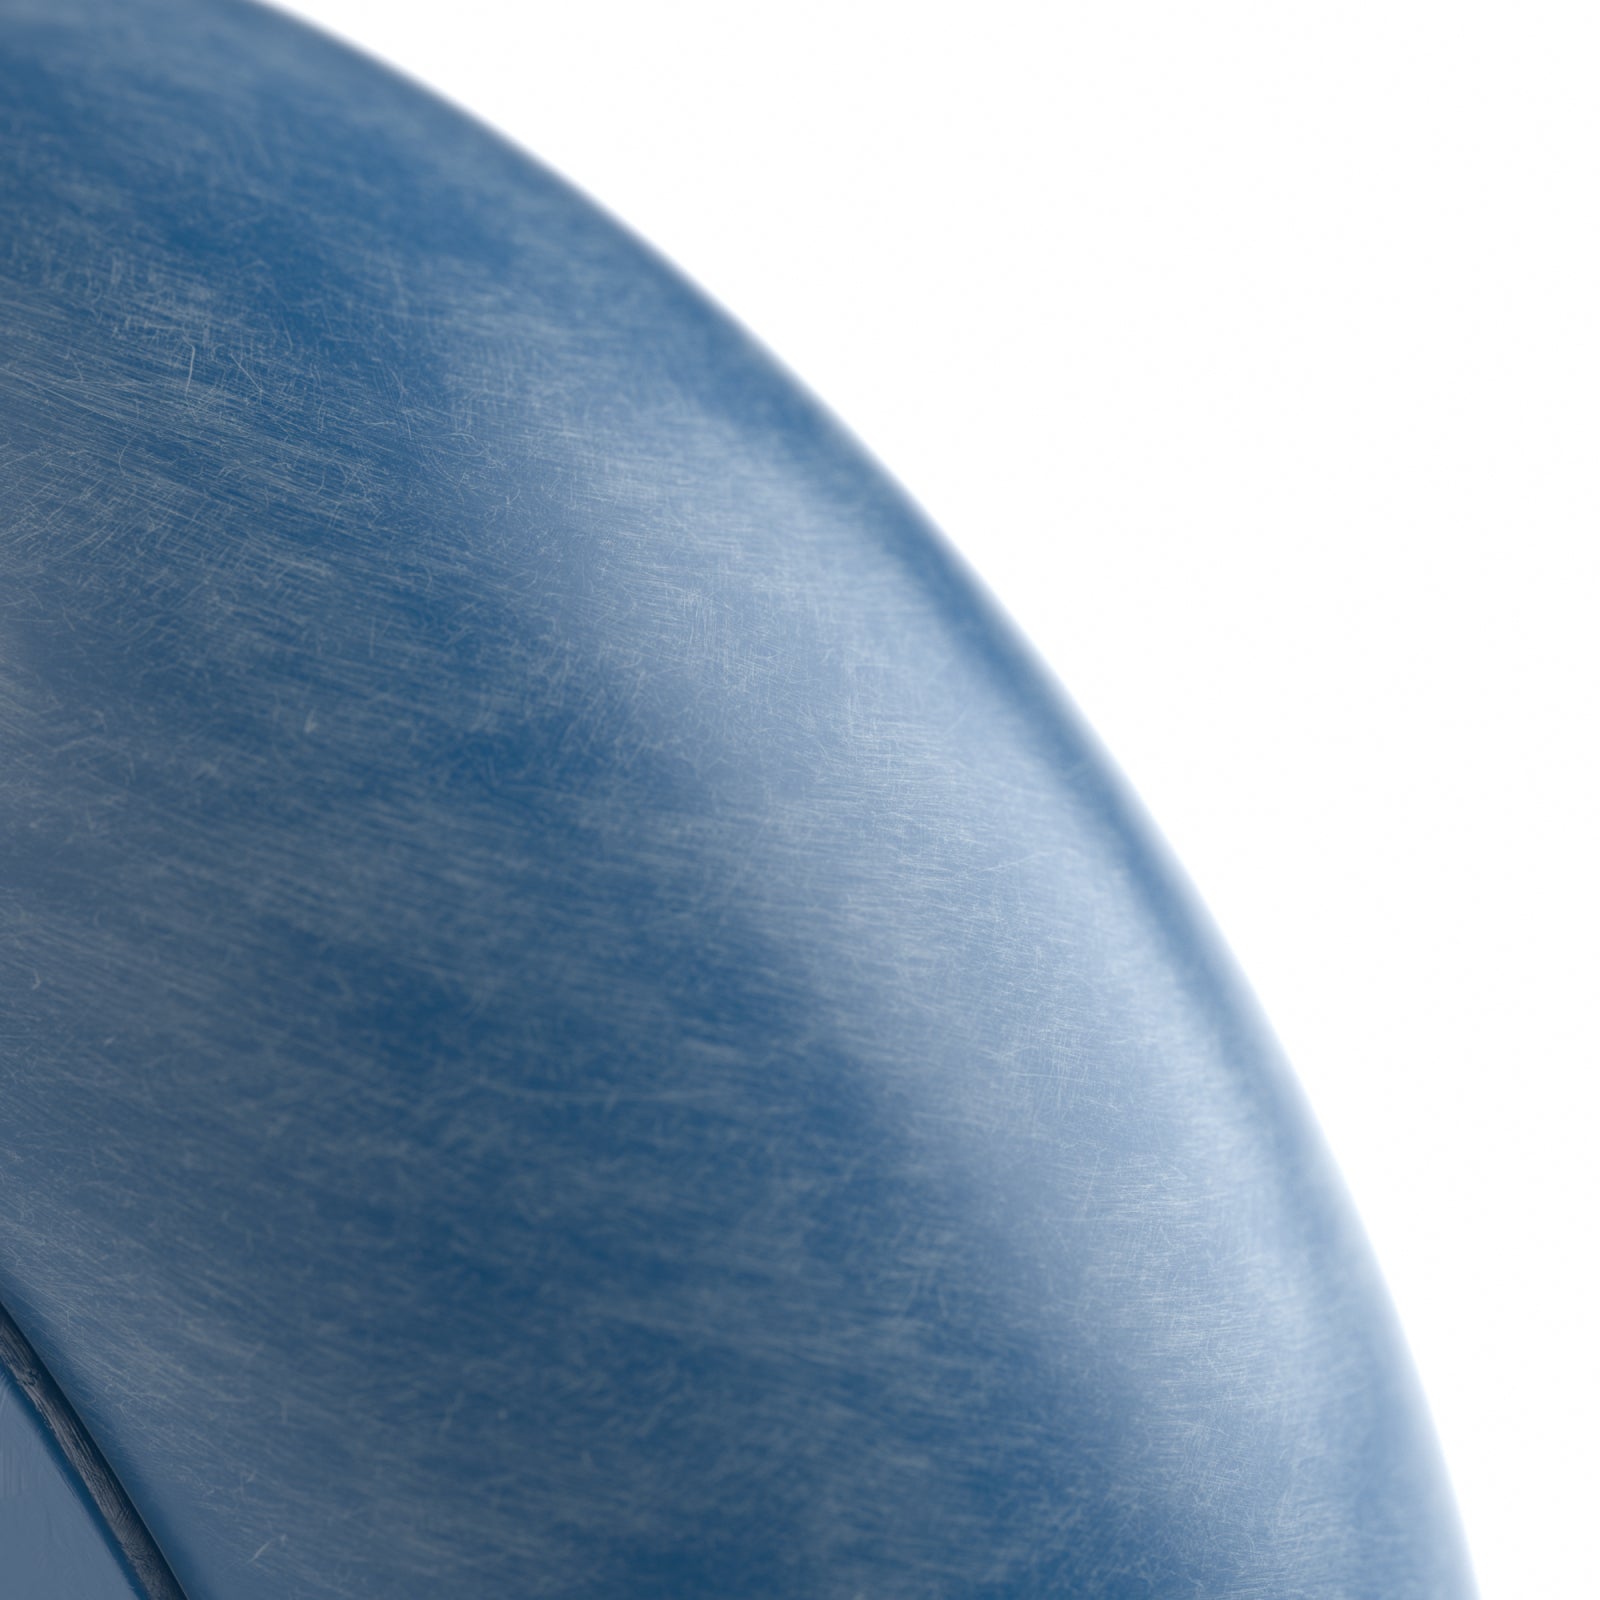
Use a coarser grit only where you need to remove visible material, then step up through finer grits to reduce earlier scratches and refine the surface. Avoid leaning heavily on the part: light, controlled contact gives you more time to check the shape and helps reduce the risk of sanding past an edge. For replacement papers and compatible additions, sanding tool accessories are the natural next step after choosing the tool.
For 3D Print Post-Processing
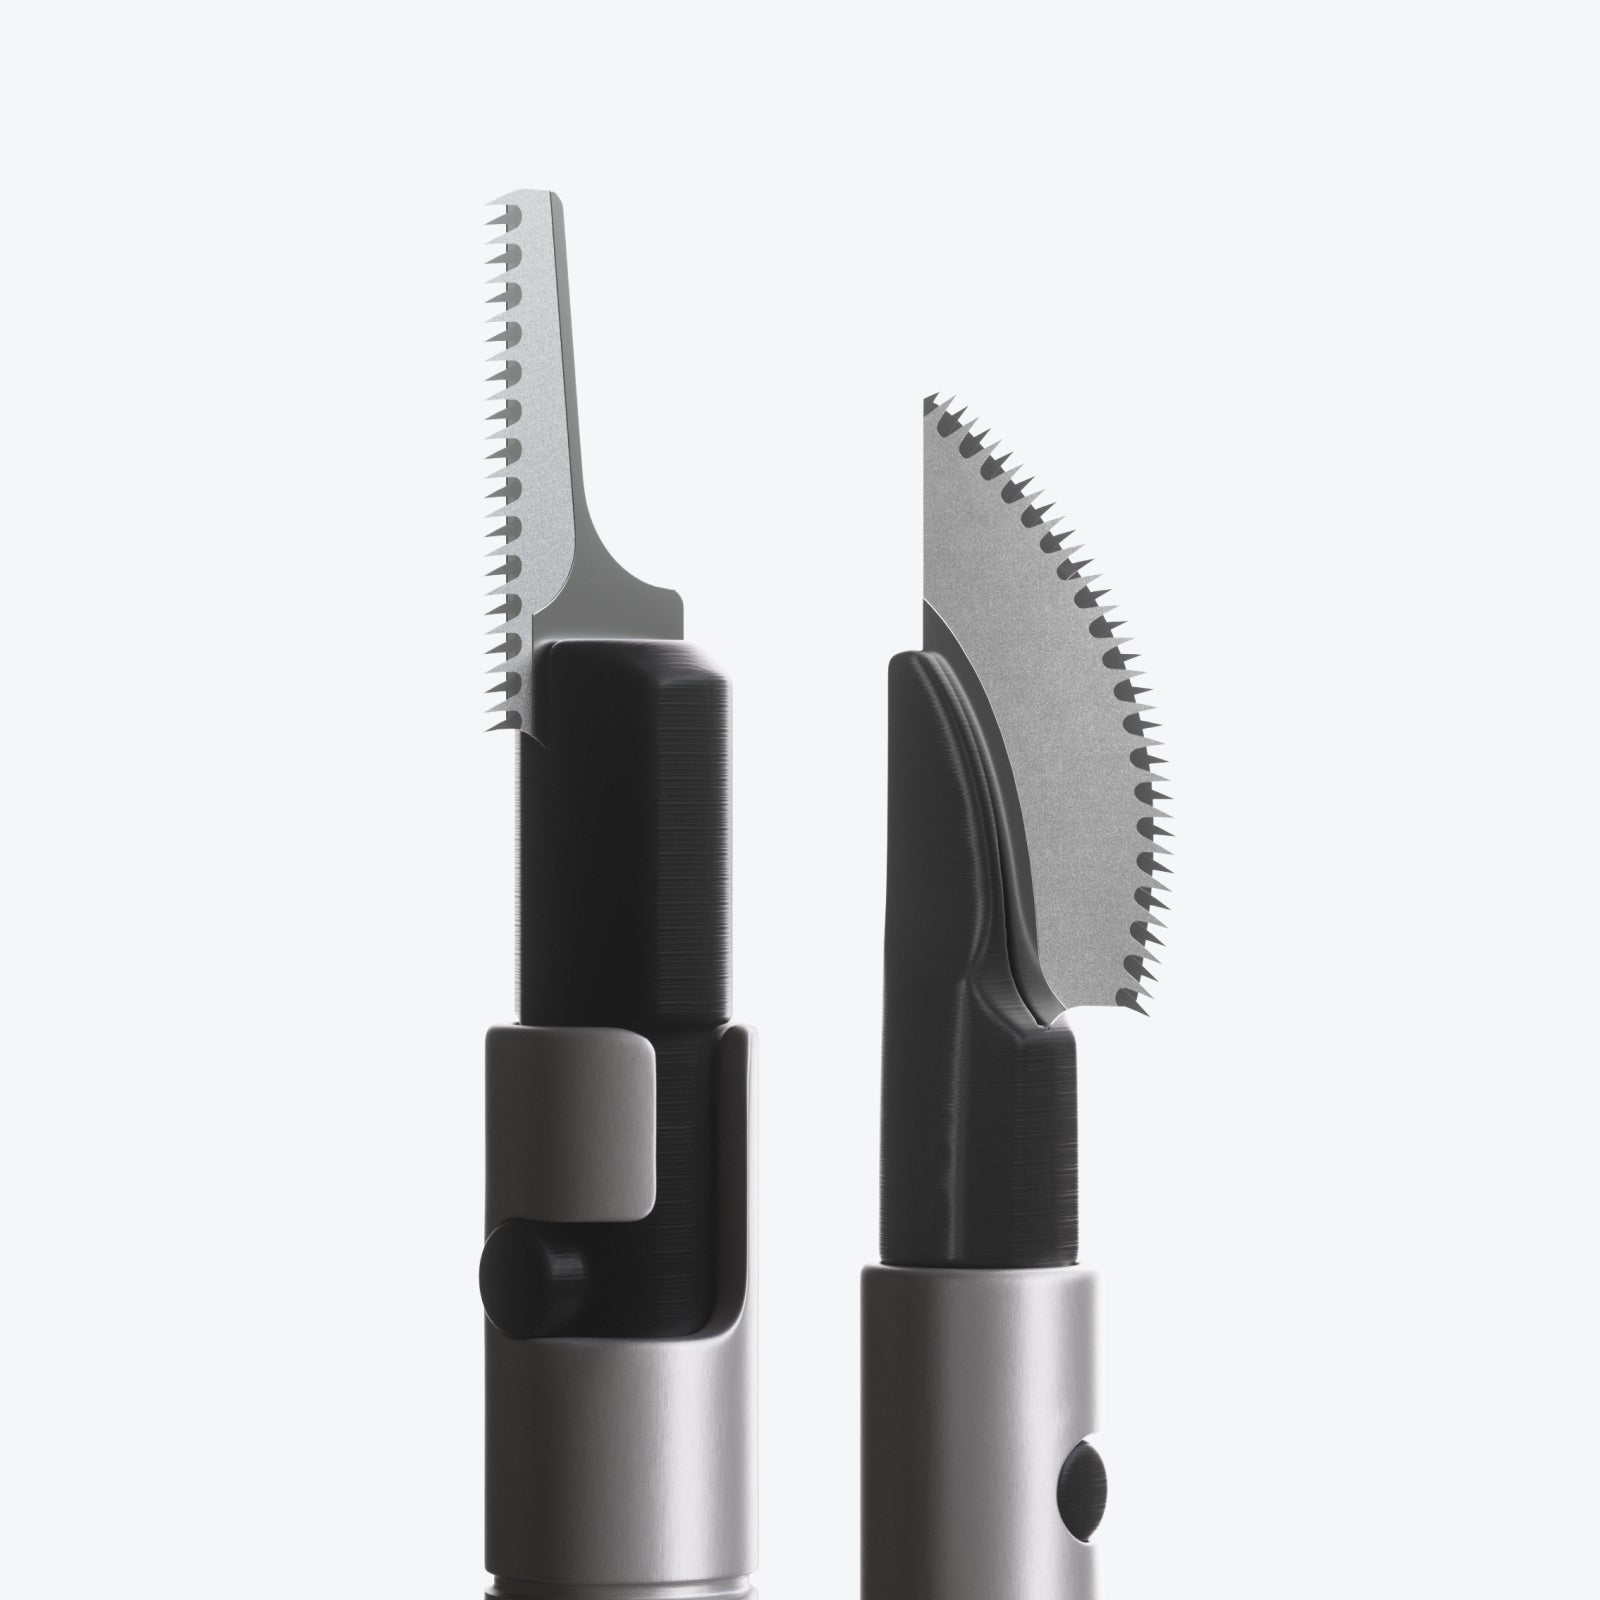
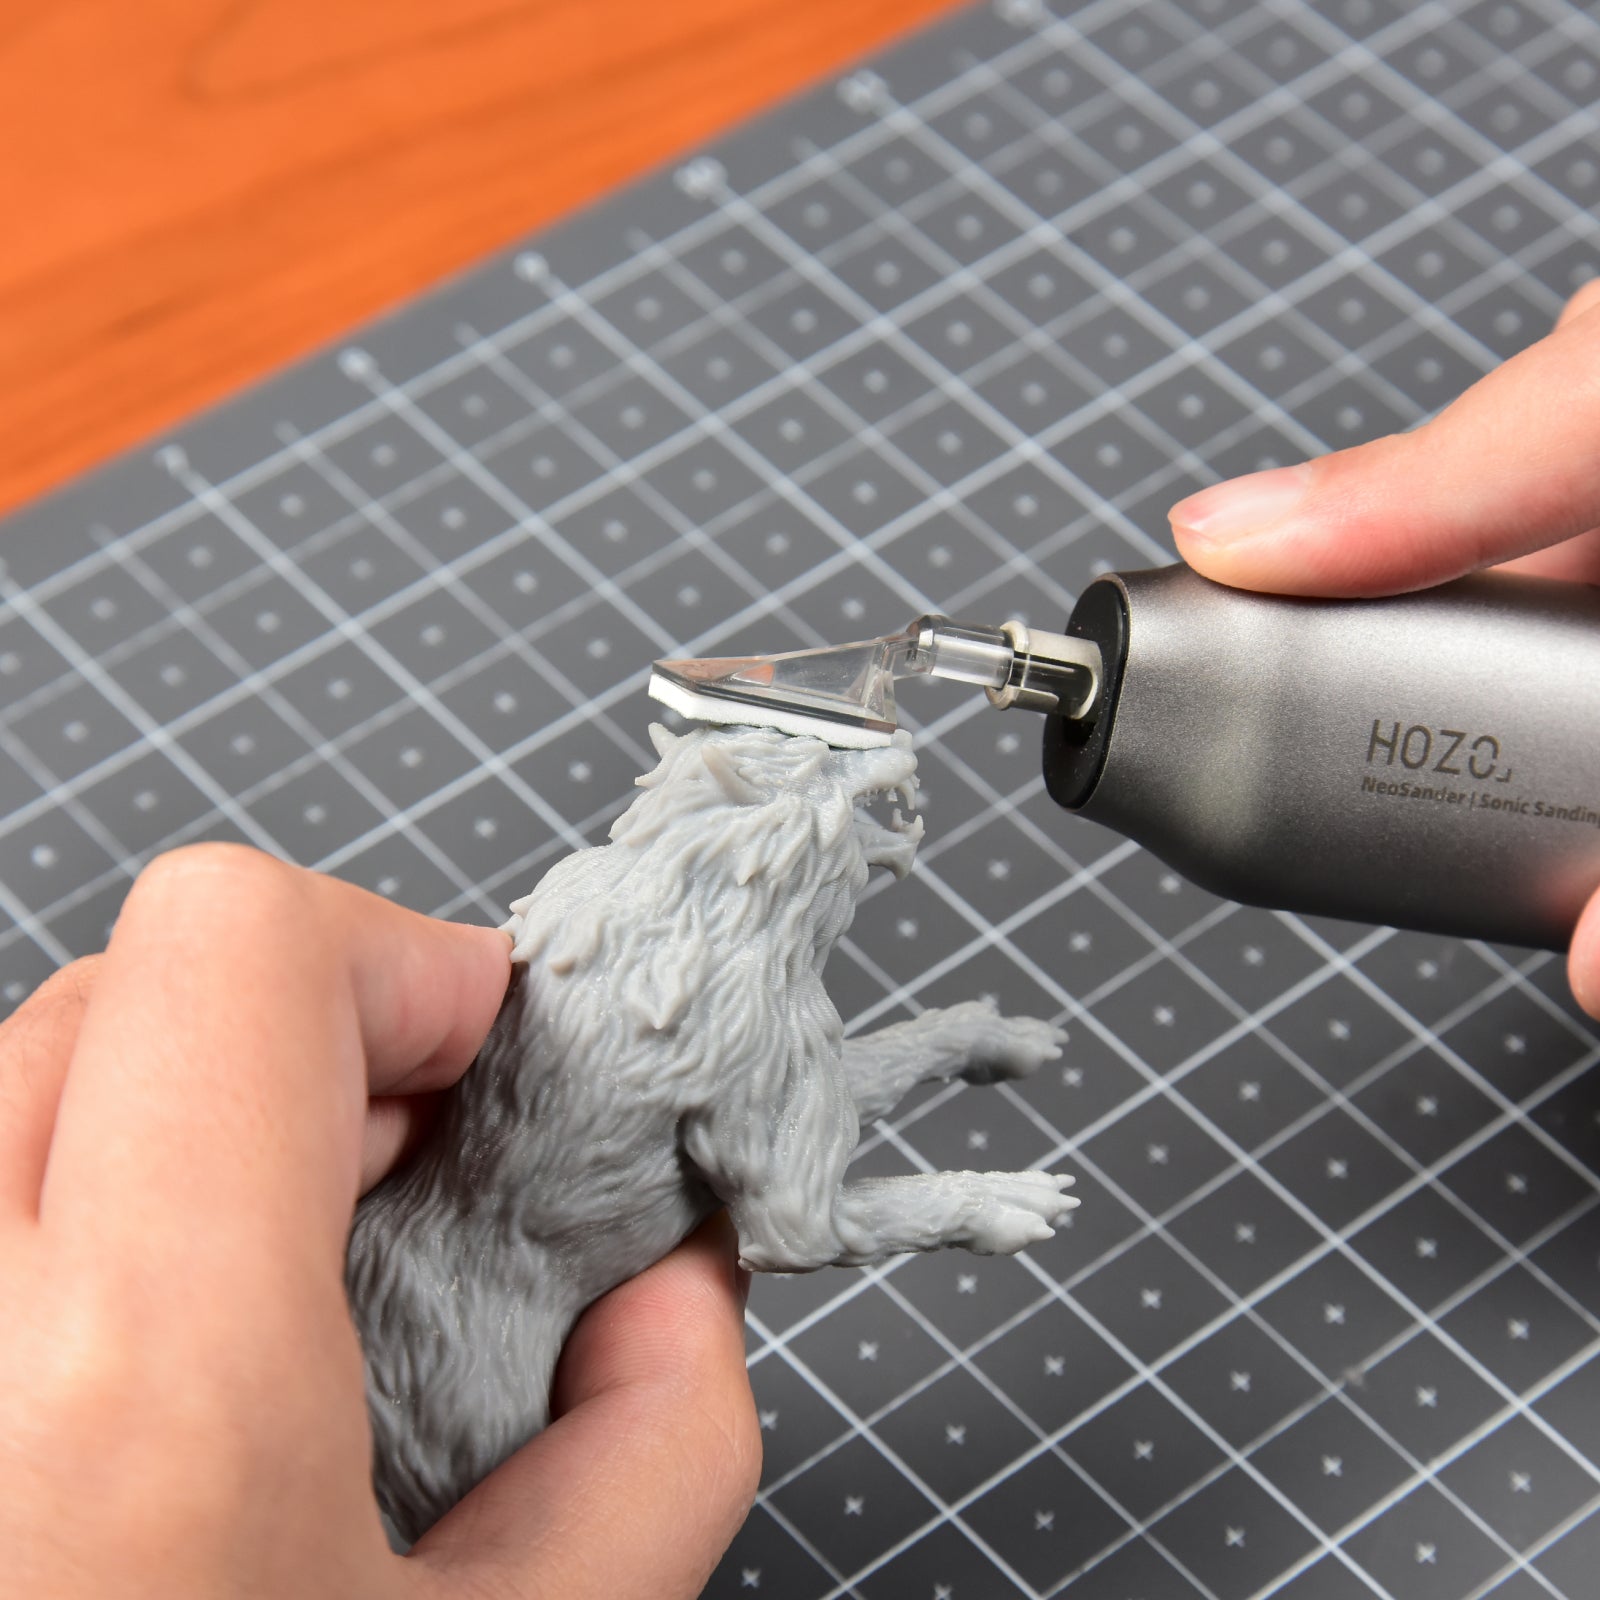
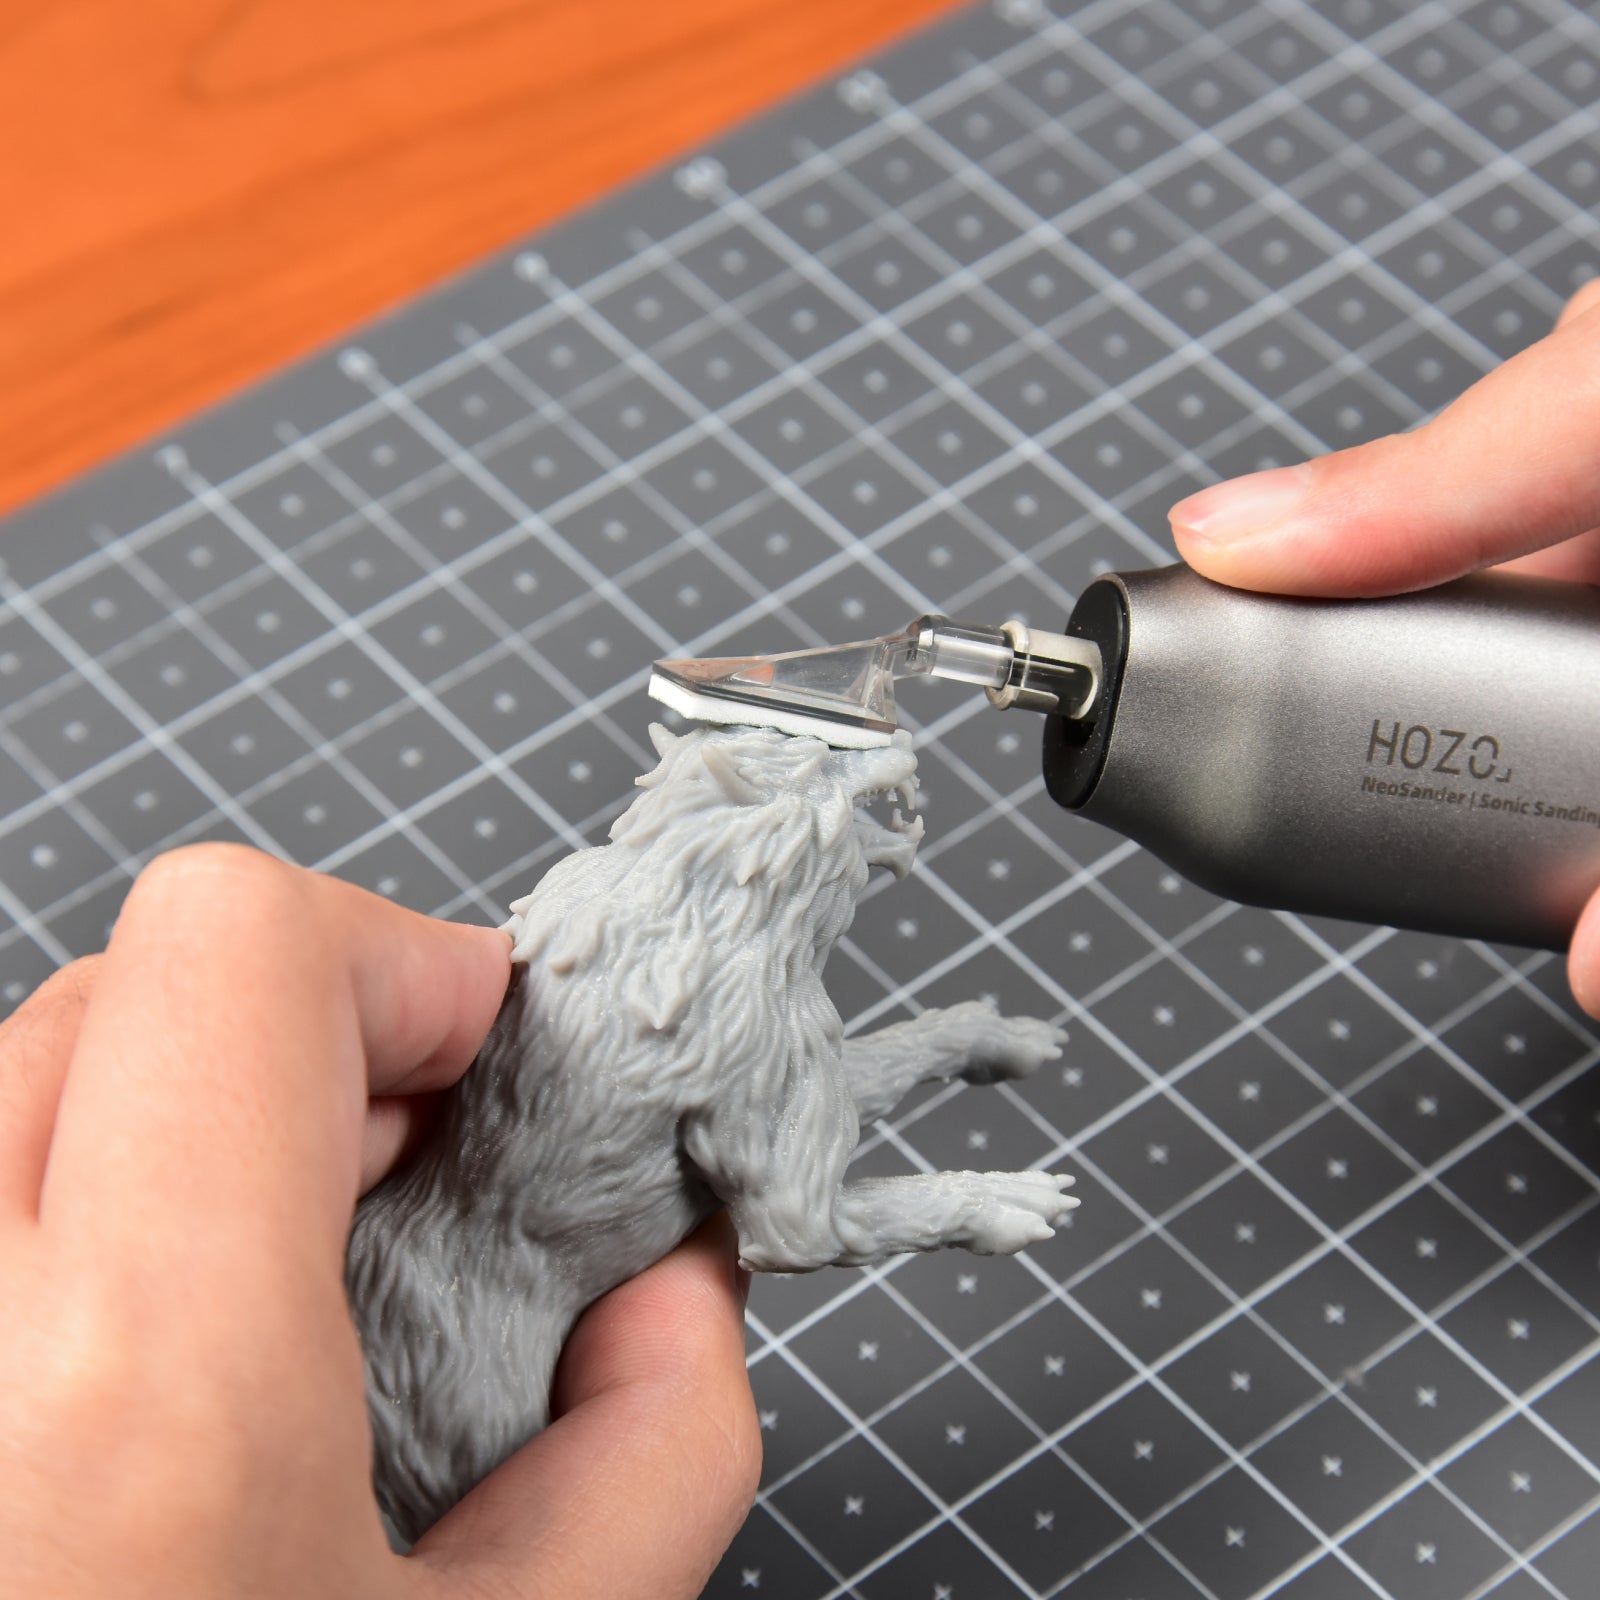
Use NeoSander for repetitive cleanup such as support marks, layer lines, seam transitions, and broad nub or edge work. The interchangeable head shapes help you reach narrow areas and curved surfaces without bringing a large rotary accessory into contact with the part. If the print is especially delicate, test the chosen grit and stroke setting on a hidden area first.
For Gunpla, Models, And Miniatures
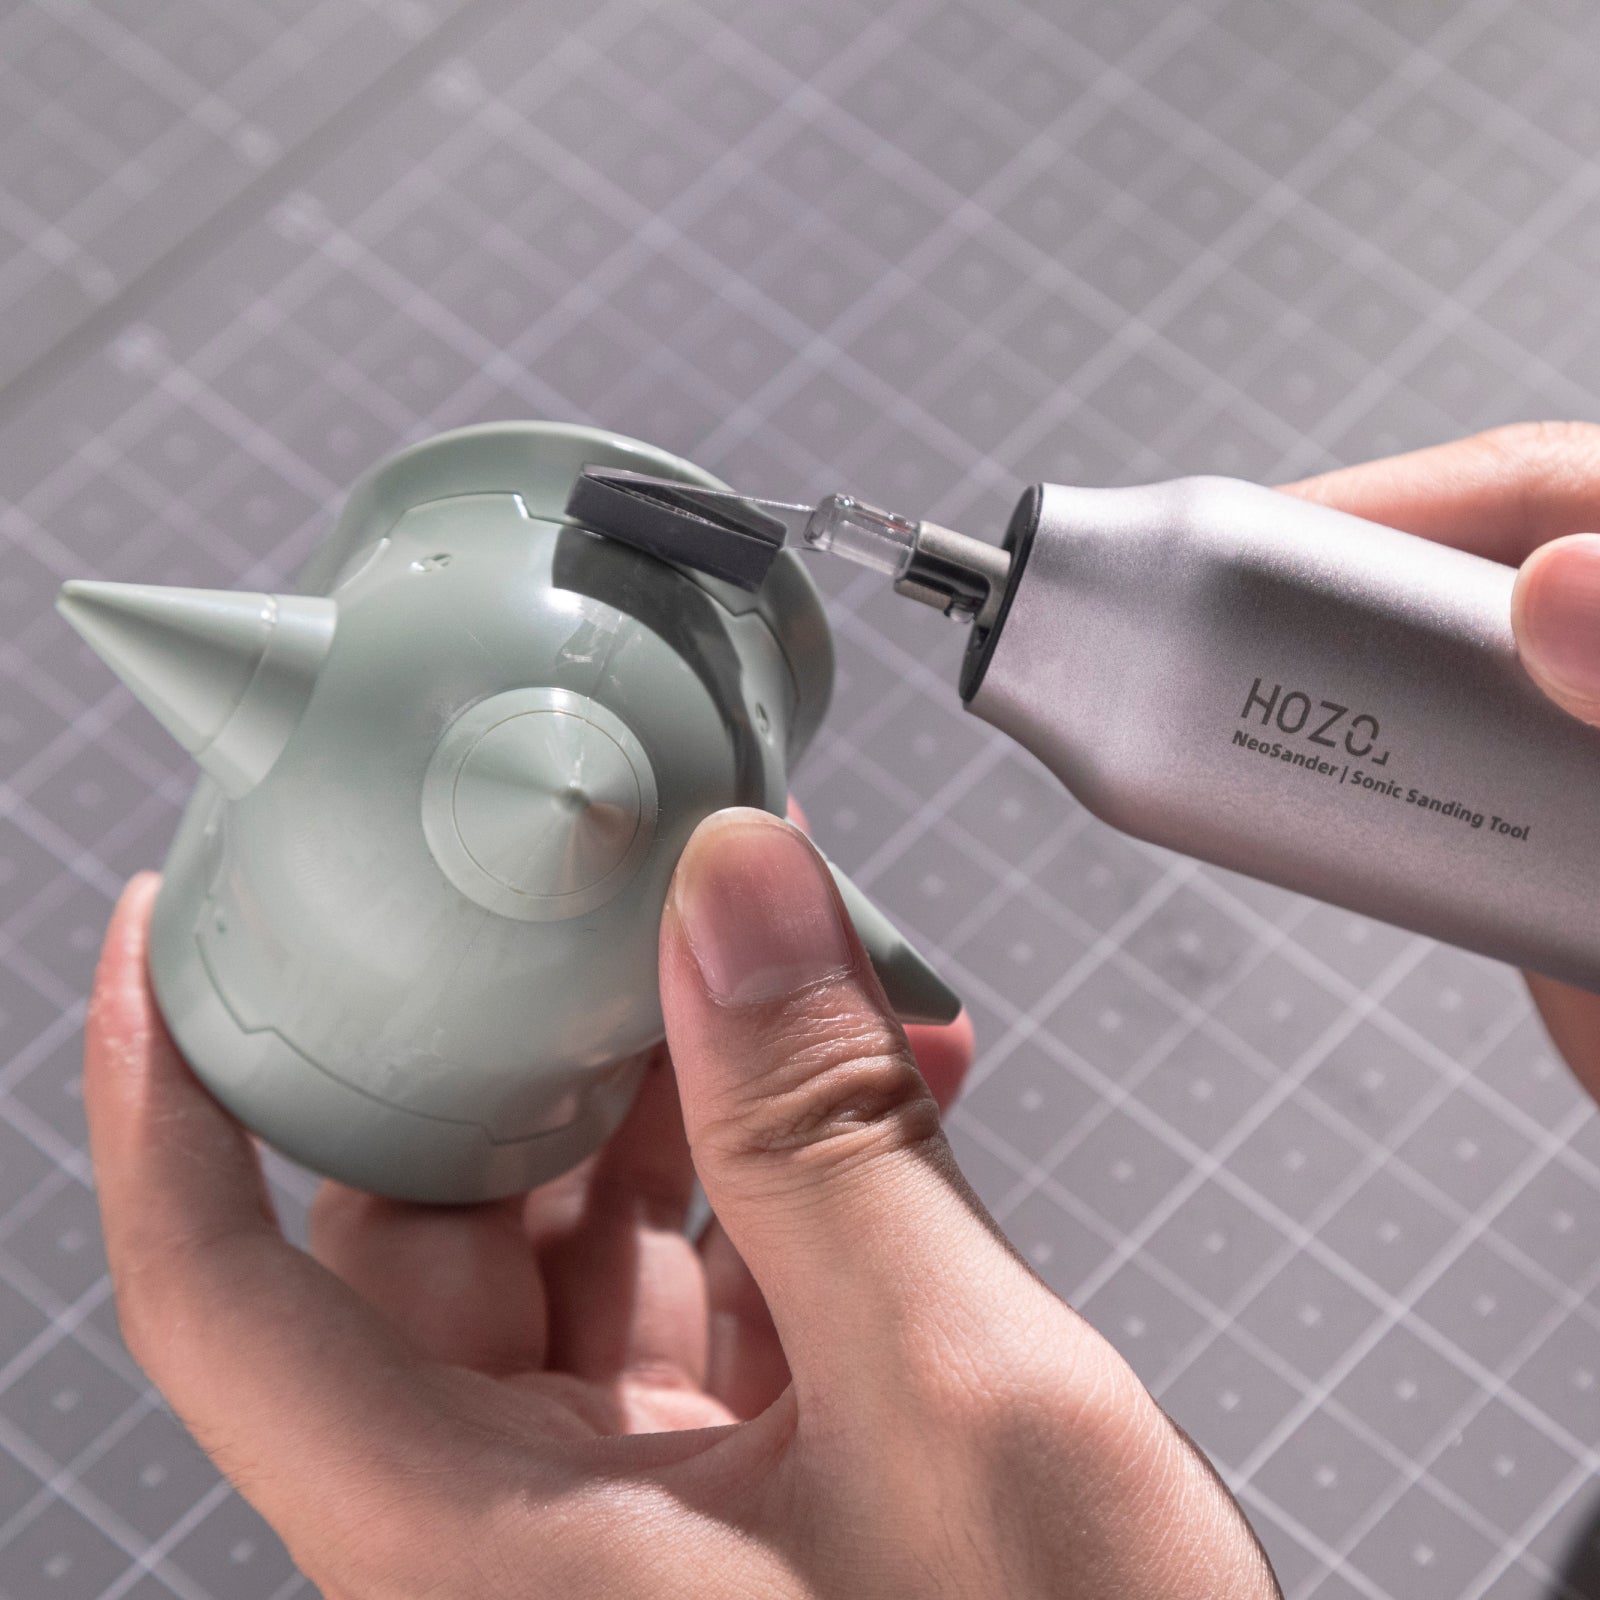
Model builders often need two kinds of control: enough abrasion to remove a nub or seam, and enough restraint to preserve panel lines, raised details, and curved shapes. Start with the least aggressive method that fits the job. A nipper, hobby knife, or file can remove the bulk; NeoSander can help with repeatable surface work; a finer manual tool can finish the last visible mark.
Shop NeoSander Detail Sanders
Compare the two NeoSander setups by the amount of sanding head variety and storage you need, then keep a manual file or sanding stick available for the smallest finishing corrections. Start with the core Detail Sander for focused projects, or move to the Premium Combo when a more complete 3D print finishing workflow makes sense. HOZO offers a one-year warranty, 14-day hassle-free returns on eligible products, and free shipping over $180 for eligible orders. Please refer to the relevant policies for full details.
NeoSander Buying Questions
Is NeoSander a replacement for a glass file or sanding stick?
Not in every situation. Glass files and sanding sticks remain useful for very small nubs, final blending, and areas where you need direct manual feedback. NeoSander is better considered a powered option for repetitive detail sanding, 3D print cleanup, and longer finishing sessions.
Which NeoSander setup should I choose?
Choose the Detail Sander if you want a focused entry point with the core tool, eight head types, and starter grits. Choose the Premium Combo if you expect to sand frequently and want the 64-piece color-coded head collection, organizer, and charging dock included.
Does NeoSander use a rotary motor?
No. It uses a reciprocating linear motor with an adjustable stroke, so the sanding head moves back and forth instead of spinning. That motion is intended for precise detail work rather than fast, aggressive stock removal.
What materials and projects is NeoSander suited to?
HOZO positions NeoSander for 3D print finishing, model making, fine crafts, and controlled sanding work. The product page also lists use with metal, automotive paint, and powder coating when paired with appropriate sandpaper. Match the grit and pressure to the material, and test on an inconspicuous area first.